My Creative Blog:
Room Makeover
DIY Herringbone "Tile" Floor Using Peel & Stick Vinyl {Knock It Off}

Guest Room Spoilers!

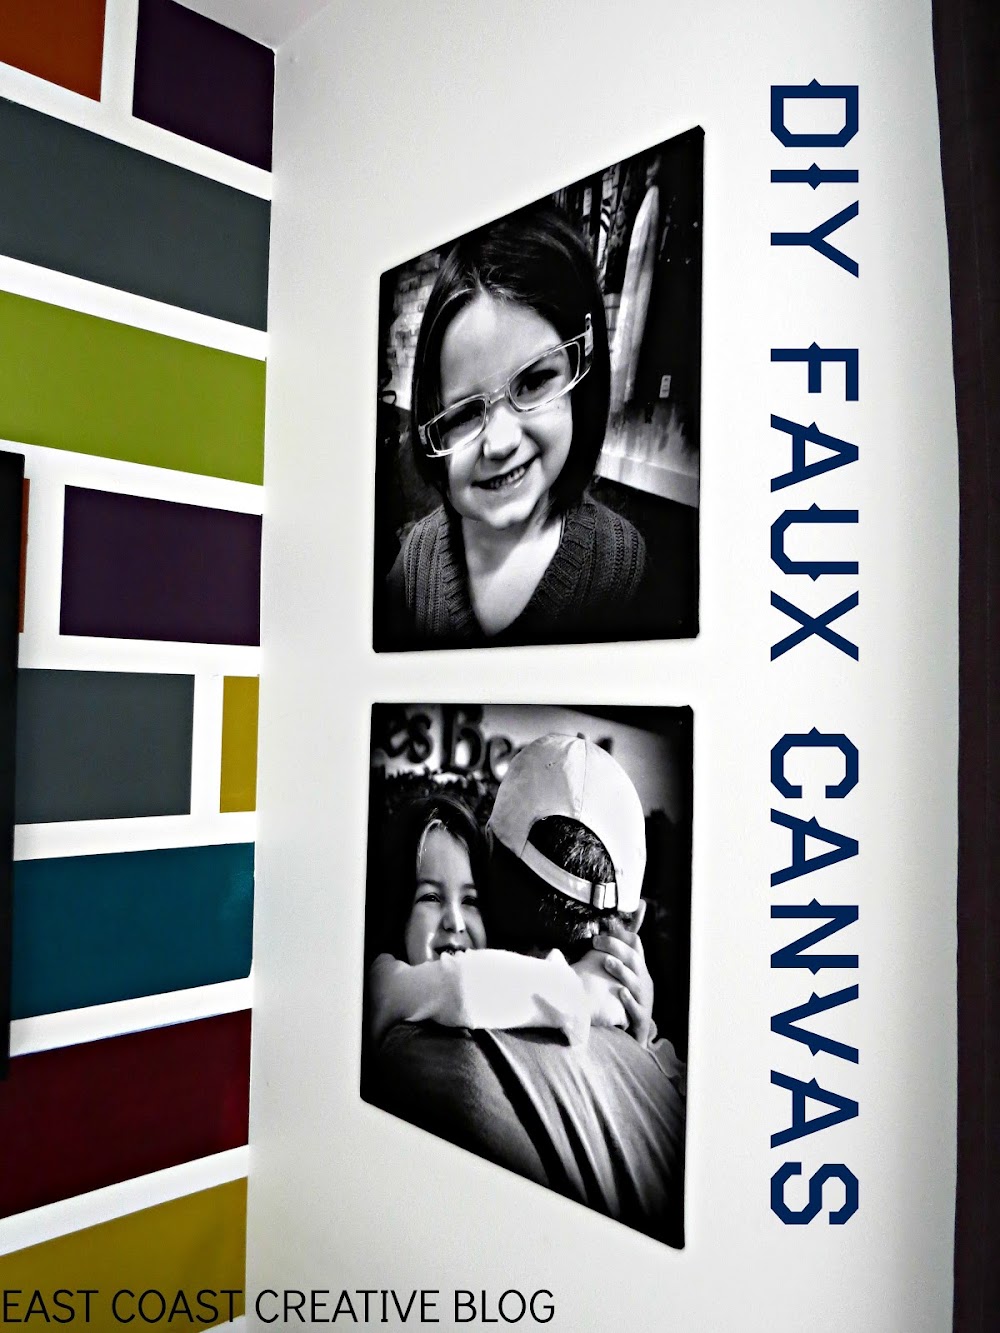
DIY Faux Canvases {Kira's Room Makeover}
How to Paint a Mosaic Accent Wall {Bedroom Makeover}

Colorful Bedroom Makeover {KJ's Bedroom}
Orange, Gray & Mint Nursery Reveal

Dreary to Cheery Family Room Makeover {Knock It Off}

Garage Mudroom Makeover {For the REAL Family}

How to Build an Outdoor Sectional {Knock It Off}
DIY Sunroom Makeover {Knock It Off Episode}

25+ Upcycle Ideas & Ikea Hacks