The weather is finally warming up and I feel like summer is right around the corner! I thought I'd invite you over to my awesome yard and beautiful patio furniture! Doesn't it look welcoming and just scream, let's drink some lemonade?

Oh, and how rude of me, I need to offer you a comfy seat!

No… you don't want to come? You don't want to get rust all over your clothes? Hmm…
Okay, so clearly I had two choices… buy a new set or figure out an update on a budget. You may or may not know that I have a BIG project up my sleeve (a new paver patio coming soon!) so I didn't want to spend much $$$ on the table and chairs. I turned to my go-to solution… Spray Paint! Looking a wee bit more inviting wouldn't you say?


Here's how the transformation happened… First, I removed the legs of the table. Not sure it was ever meant to come off, but after removing some screws and jiggling it a bit we had it off. This would allow me to paint the base and not the underside of the glass.

Next, I needed to cover the glass top, so it didn't turn red. I turned to Scotch Blue painter's tape. If I have a job where I need the tape to really stick well, but NOT pull off paint, I use Scotch Blue. I had to use little pieces to get around the curves, but it was worth it to get a nice, crisp edge.

Then, I needed to cover up the glass in the middle, so I took trash bags, cut them along the seams so I could flatten them out.

Then, I tape it down on the table. I had some weird open areas, so I patched holes with scrap paper. It looks pretty fancy doesn't it?

I painted it on a sheet, so I didn't make my grass red (not that I haven't done that 100 times before)

Since I knew this furniture was going to take a beating, I opted for Valspar's Outdoor spray paint.

The improvement was instant! I was so excited as soon as the base was started!

Next, came the chairs, and again it was instant improvement! I used a little steel wool on really rusty spots, but other than that didn't do any other prep. It was really quick and simple!

I originally thought I'd go with solid grey cushions, but these striped ones from Target's spring line caught my eye ($12 each). They're a perfect match!

This Before and After makes me happy (and apparently my chairs too!)

All ready for a fun get together! Now let's play I SPY… what's missing in this picture? Yup, 5 more cushions. They're still"In Transit" from Target.

The total cost for this project was $30. I used 2 cans of red and 5 cans of blue. I know it won't last for five years or anything, but I'll definitely get another year or two out of them.
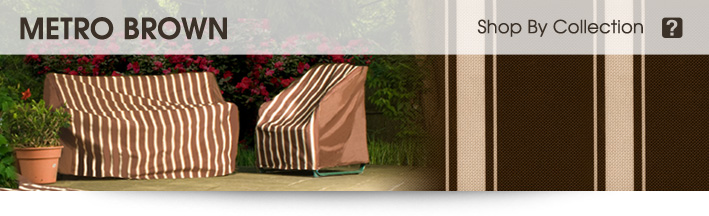
I've learned something from this experience… if you own nice outdoor furniture, cover it up in really bad weather. So that you don't have to learn the hard way, like I did, we're giving away a $75 Gift Certificate to Empire Patio Covers They sell covers to fit everything from tables and chairs, to grills, fire pits, etc. My fire pit always got rusty without a cover.
To Enter: Comment on this post with the words"Empire Patio" Bonus Entry: Like us on Facebook leave a comment letting us know Bonus Entry: Visit Empire Patio and tell us in another comment what product you need the most on their site Giveaway Closes: Friday, May 18th at 11:59pm. Winner will be announced on Saturday. Details: One winner. Prize ships to the US and Canada. One entry per email address. Winner is selected through random.org

So there you have it. A patio update on a tiny budget. For $30, I couldn't be happier with the results.
So, now do you want to come over?


