My Creative Blog:
nate berkus
Houndstooth Chair Makeover {The Nate Berkus Show}

Ginormous Family Art {With an Industrial Flare}
Nate's 12 Days of Holiday DIYs {Day 12 Monica's Details…}

Nate's 12 Days of Holiday DIYs {Day 8: Pallet Wall Take 2}
Nate's 12 Days of Holiday DIYs {Day 7: Great Minds}
Nate's 12 Days of Holiday DIYs {Day 5 Video Surprise}
Nate's 12 Days of Holiday DIYs {Day 1}
Mirror Mirror on the Wall…
Poe Inspired Mantle & DIY Fall Scrap Sign

I'm a legend in my own mind...

Hello World

The Bench

new york nate of mind...

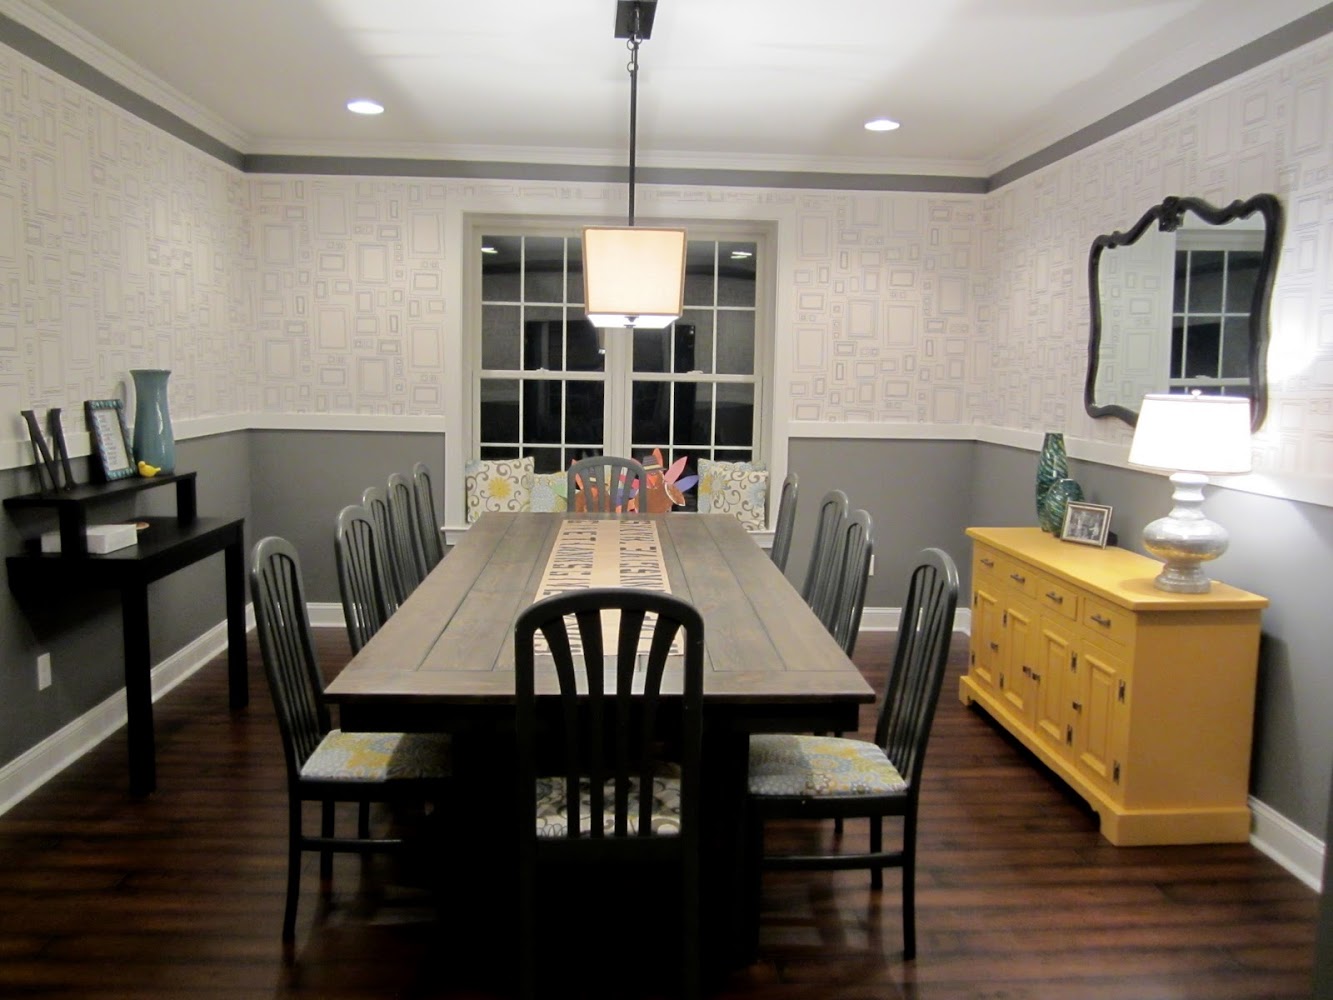
Farmhouse Table & Freebie Chairs

The Nate Berkus Show {Sneak Peek}

nate meets a perfect gray...
We've Got Some Really Big News! {Knock It Off}

gray bath by nate berkus

katie lee joel's NYC apartment by nate berkus


