My Creative Blog:
bags
Green Thumb or All Thumbs?

Sugar & Spice {And Winner of Giveaway}

Wood Shim Wall Art {Crafting for Charity with Homes.com)

An Angelina Ballerina Birthday Party

HGTVGardens: Everything a Girl's Gotta Know!

Trendy Tire Table: {While They Snooze}

Once a Month Lunches {20 minutes: 35 sandwiches}
Adios Amigos Day 2 {Hannah Kate Flora}

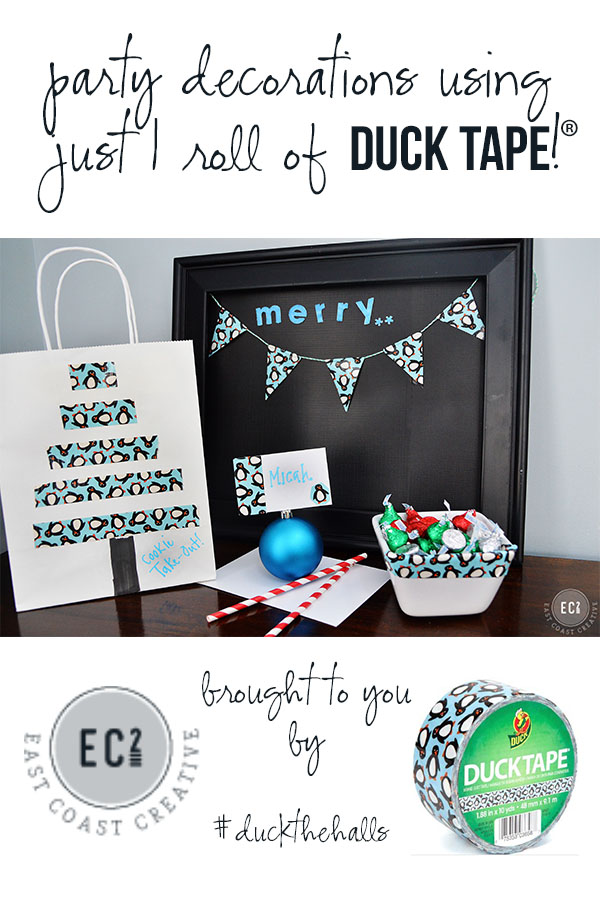
Decorate for a party using just 1 Roll of Duck Brand® Tape: Cookies & Carols
Countdown to Christmas

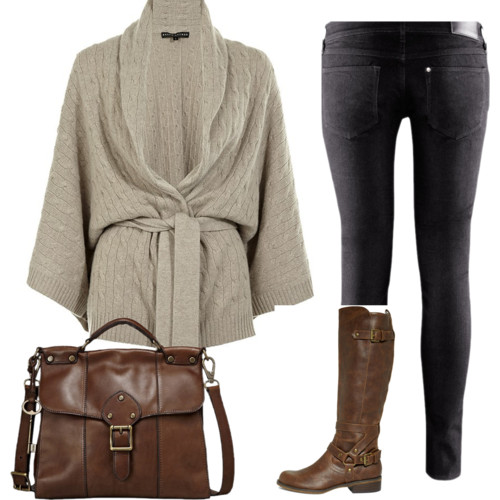
Classic, Timeless Style {FOSSIL Vintage Revivals Handbag GIVEAWAY!}