My Creative Blog [Search results for bags]
Countdown to Christmas

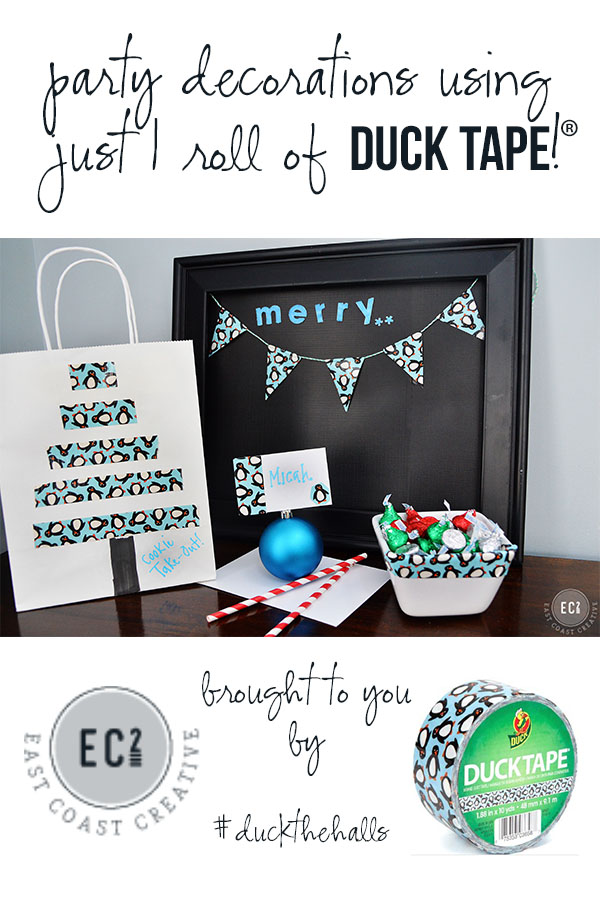
Decorate for a party using just 1 Roll of Duck Brand® Tape: Cookies & Carols
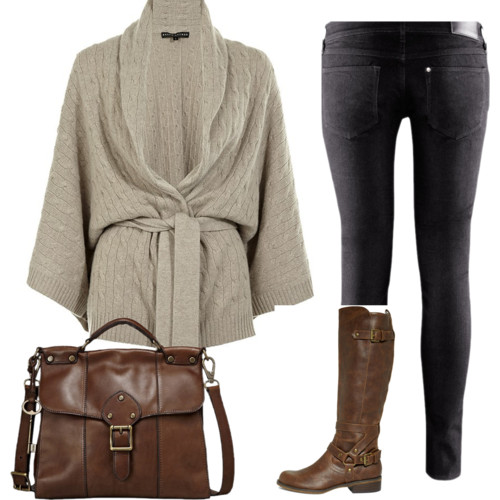
Classic, Timeless Style {FOSSIL Vintage Revivals Handbag GIVEAWAY!}
Target Dollar Bin Mantel

An Angelina Ballerina Birthday Party

Monster Mash Candy"Bowl" with Martha Stewart Crafts

Something to Celebrate {B2S Day 4}

Thanksgiving Leftovers Station

Fall Sponsor Love

Once a Month Lunches {20 minutes: 35 sandwiches}
East Coast Creative 10k Fan Giveaway!
What can YOU do with a Dollar?

October Sponsor Love

These are a Few of our Favorite Things {Sponsor Spotlight}

Favorite Things Party {Free Printable Invitation}
Trendy Tire Table: {While They Snooze}

Sugar & Spice {And Winner of Giveaway}

How to Build the Easiest Coat Rack Known to Man

2nd Annual Worthwhile Evening {Giveaway!}
Adios Amigos Day 2 {Hannah Kate Flora}