My Creative Blog [Search results for hey that's my....]
Rugs, Rugs, Rugs

30

Blank & White

A New Look {Free Firmoo Glasses}
hey, that's my chair...

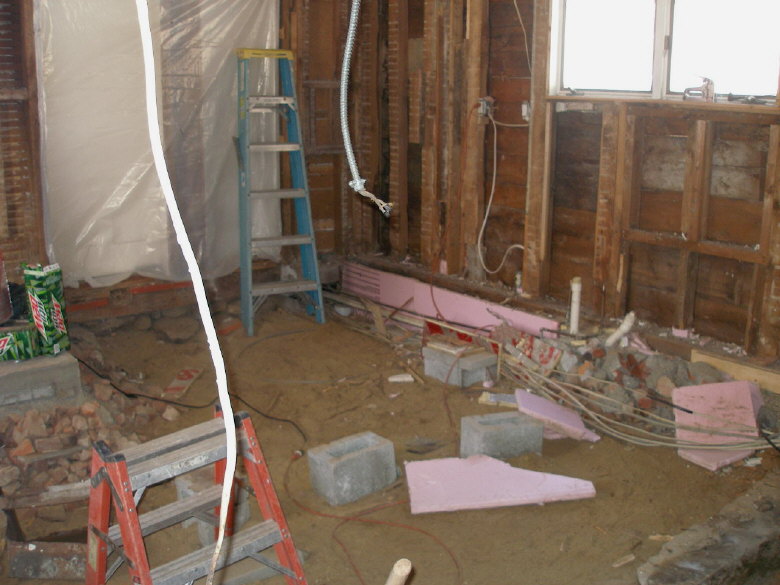
Kitchen Renovation: Before and After
How to Make a Pallet Crate {the space between}

Warm & Cozy

Ombre Door {Keepin’ it Real}

European Visions....part one!

DIY Photo Block Display {Shanty 2-Chic}

Seasonal Front Door Decor {DIY Snowman Wreath}

Something Shiny...

Green Painted Piano {Annie Sloan Chalk Paint}

hey, that's my wallpaper!

Nate's 12 Days of Holiday DIYs {Day 12 Monica's Details…}

Tips for Accessorizing your Space {SuperFab Room Redesign}

Projects Not to Miss

31 Gifts {Stop the Juggling Act}

Houndstooth Chair Makeover {The Nate Berkus Show}


