So I've confessed that I'm impulsive, but have I mentioned that I'm a procrastinator? Yup, it's true. I never return library books on time… this is awful, but I actually owed over $100 in fines after completing my senior thesis in college (Sorry to any librarians reading our blog!) Anyhow…try as I may, I still put things off all the time occasionally. This week it was my new family room curtains. Since this blog is committed to keepin' it real, I'm going to show you my project anyhow! Painted Curtains
Remember my journey to the perfect stripe? Well, now I needed to journey down the road to painted curtains. It's really simple, so here's what you need to do… Get your Suzie homemaker on… you need to iron! {GASP} People that know me, knowt that I don't iron! Honestly, before our Nate Show appearance a friend ironed for me (she's the best!) I did do this project's ironing all by myself! Go Me!

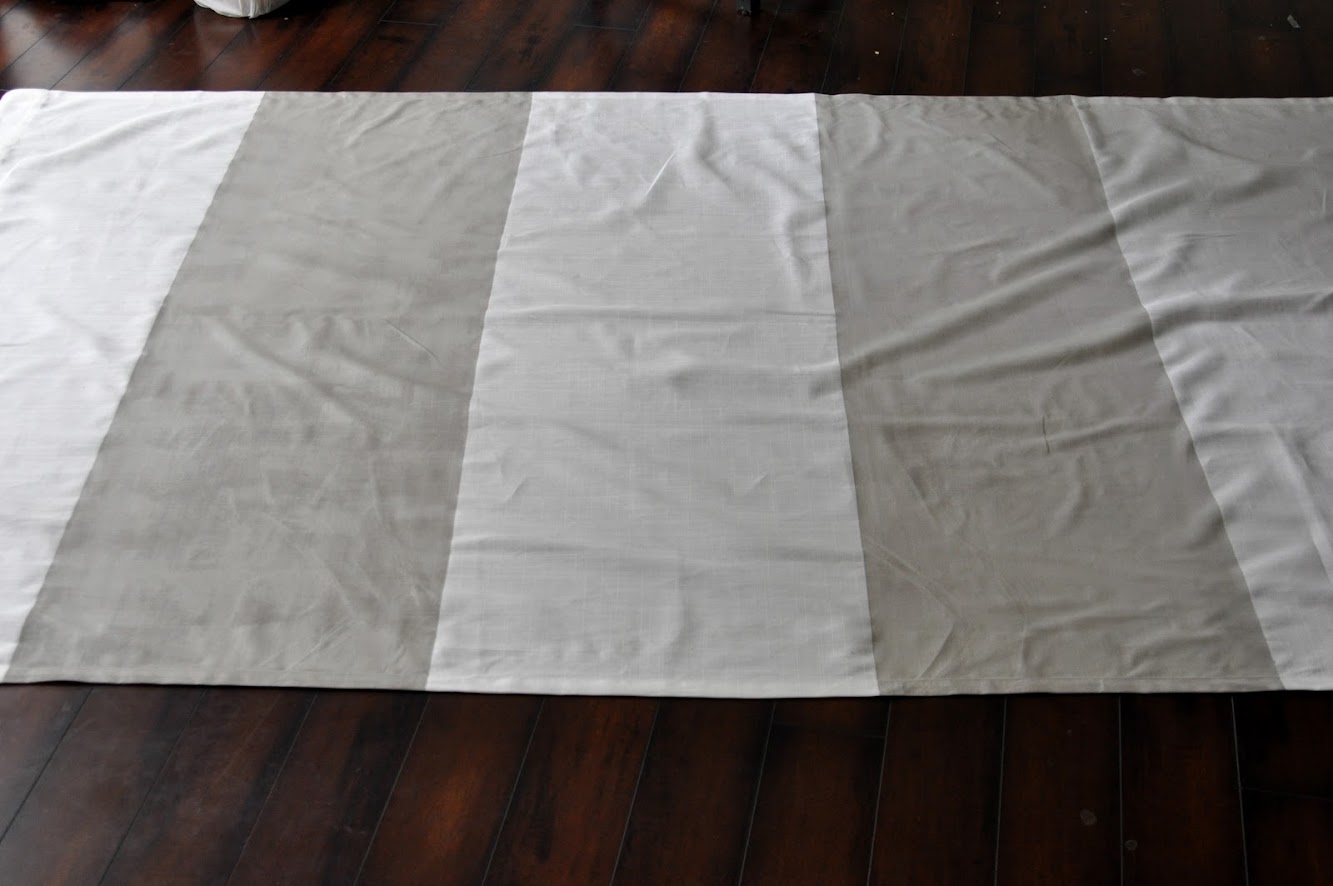
You need a big open space to complete this project, I wouldn't do it outside though because bugs and dirt could end up as part of your curtains- gross! (Oh, and ignore the wrinkles… I didn't say I ironed well!)

Determine the width of your stripes. I used 19 inches (almost the same as the wall stripes). Then, measure across the stipe and put a few pencil marks to use as guide lines when you're taping it off.

Make sure you get your tape nice and flat and seal it down with your hands a few times

Ta-da! (I swear, they're"wear wrinkles!!")

Now, I took my own advice from Journey to the Perfect Stripe and I used Mod Podge to seal the edges. I'd rather have a clear liquid sneak through than paint. That's the idea with the Mod Podge.

I waited about 10 minutes and then took my handy-dandy foam roller and got to work. I really need to invest in some"decent" looking paint clothes. These pink plaid pants and inside out tee are not the rockin' blogger look I should be going for!

Don't worry if the fabric is a tad bunchy… it will dry fine. I needed to do two coats, but if your curtain will be having any direct light shine through, you'll probably need at least 3.

I heart crisp lines!

Well hello awesome curtain… welcome to my room!
WAIT… Did she say curtain doesn't she mean curtains? Don't you need two panels for the window? Ugh, now we're back to confessions time… I only finished one panel! The other is hung, but plain white!


Maybe you're wondering what's going on with the rods? Well, I didn't measure the window… I bought a rod… it was too short… so I ran with plan B! We're just going to cut down the rod and just have a little mini rod on each side. Even though it was born out of a mistake, I really love how it's going to look… when it gets done…

Now the million dollar questions… how long have they been hanging that way? 9 Days. How long will they remain that way? Either 3 days or 14 (I'm headed out on a little trip soon, so we'll see if I get it done first)
So there you have it… Custom Striped Curtains. This is a totally doable DIY. Ok, well I can't really vouch for that, but half of it is totally doable!

PS One thing we didn't procrastinate on was our Crafting with the Stars Entry! Head over to the contest to see the winners from the first round. We are so excited about the results!! Check it out HERE! We'll give you a little hint…

:)