My Creative Blog [Search results for Font]
10 Free Fonts for Fall

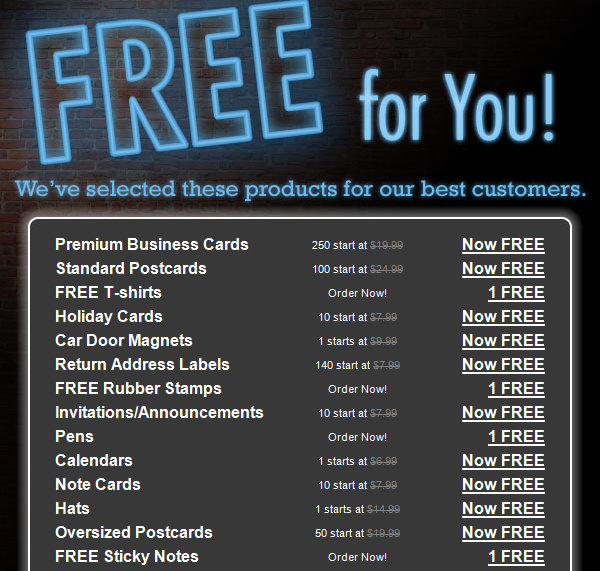
Another Freebie! {Paper Coterie}

Blogging 2 Better Summer Challenge

Father's Day Gift Round-Up

Poe Inspired Mantle & DIY Fall Scrap Sign

Do you Vista?
Thanksgiving {Centerpiece & Place Card Ideas}

Wood Grain Christmas Countdown 2012

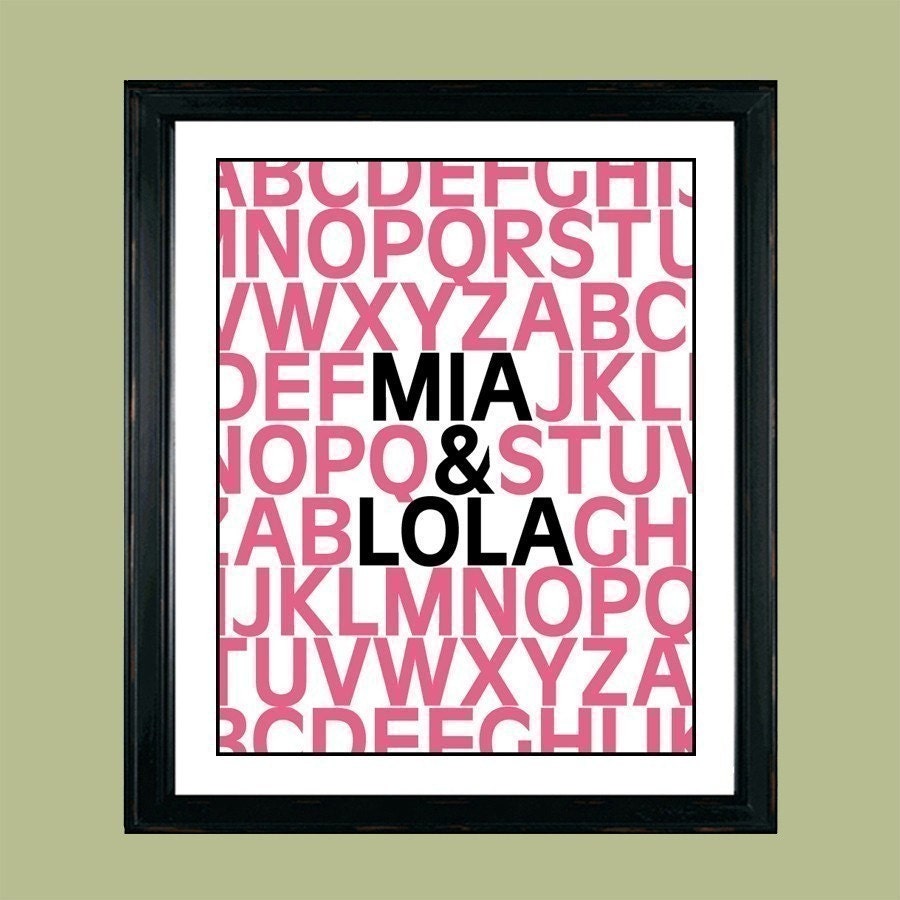
Alphabet Print
Summer Bucket List- Free Printable!

Anti-Wreath #2 {Seasonal Front Door Decor}

Design it How you Like it {EC2 House Tour Update}
ByeBye Picnik… Hello PicMonkey!
Anthro Ordinal Dresser {Knock Off Style}


