Hey Everyone! I'm so excited that I can finally share my Christmas Countdown with all of you! I had to wait until P&G was ready for it on their pgtryit.com site, so I'm sure you've already created yours for 2012, but hey, Pin it for next year! Tomorrow is Jess' Christmas home tour and I don't know about you, but I'm really super excited (okay, yes I've seen it all, but not in pictures!)
------------------------------------------------------------------------------------------------------------------- Hope your Thanksgiving was awesome and you're ready for the crazy holiday marathon that is the next few weeks! I don't know about you, but the time between Thanksgiving and Christmas is probably the most exciting time of the year for my family. It's also really easy to get so busy that we miss taking time to do some of the things we love!
As the Trend Trio Home Expert from P&G’s Have You Tried This Yet? I'm going to share with you a fun craft that you can make to ensure the month doesn't pass you by!

Christmas Countdown Tutorial Christmas Countdown Tutorial This is not yo mama's countdown where you just get a little piece of candy that most likely was packaged last year… This is an interactive family activity that I know your family will love. The best part is that it will ensure that none of the special activities and traditions slip through the cracks.
Step 1- Start with a plain Jane piece of plywood. I'd recommend looking for one that has really cool patterns in the grain like this one does!

Step 2- Lightly spray paint. I gave the wood the lightest possible coat of white spray paint. Keep the can far back and move it back and forth very quickly. The spray paint got rid of the warm brown tones and began to highlight the grain.
Step 3- Paint the grain to highlight the details. I used about 1 part paint to 3 parts water to paint over the awesome grain! I dipped my brush in the mixture and then dabbed it dry on some paper towels. I used a really light hand and tried to feather the paint on, so that it looked natural.

Step4- Use Stencils to title your board. I used a simple, industrial font and stencils that are adhesive backed. They make my crafting life so much easier.


Step 5- Spray paint 25 wooden clothes pins. I picked a cool-toned grey blue color that would pop on the white-washed plywood.

One tip about spray painting- have an old drop cloth handy. I use this piece of plastic when I need to paint in my garage so that I don't get it all over the floor.

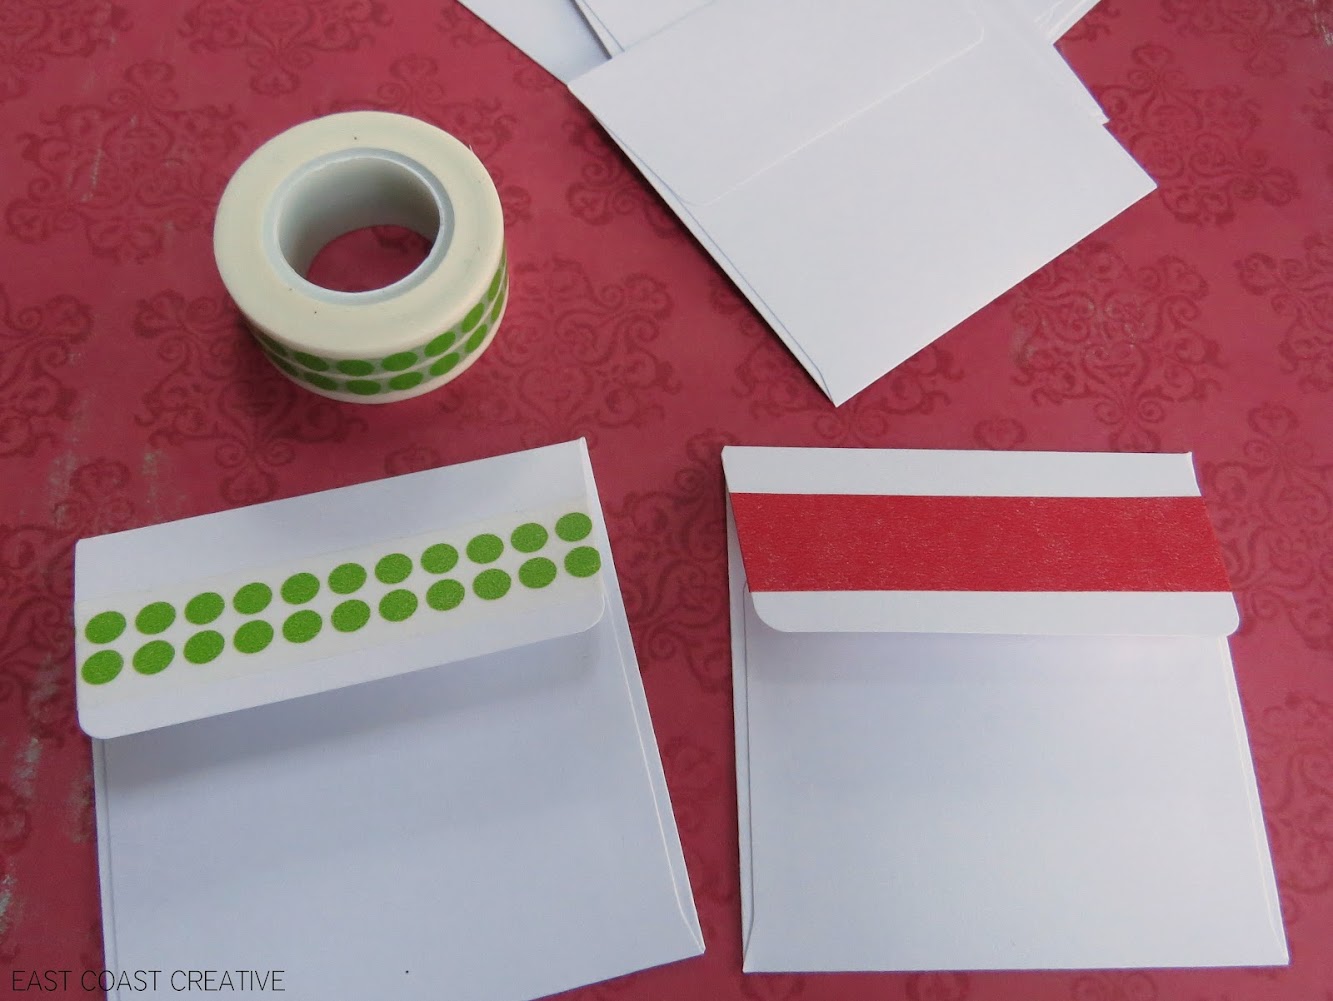
Step 6- Choose some washi tape colors. Washi tape comes in almost every pattern imaginable these days. You can order from a huge selection online, but I actually got these colors at my local craft store. Washi tape is really versatile and can be used on all kinds of surfaces.

Accent each mini envelope with your washi tape and then either hand write or stamp your countdown numbers.
Step 7- Measure, Place & Hot Glue your clothes pins. The easiest way to do this is to just lay it out on the wood and then measure your spacing to keep it consistent in each row.


I just love the end result!

Step 8- Plan 25 Awesome Family Activities. Write down 25 things that you want to do. Each day you will open an envelope and do what's written inside. I recommend using a calendar to plan out your activities before putting one inside each envelope.

Our activities range from something as simple as reading a holiday story as a family to going out to see all the Christmas lights in our neighborhood.

I hope your 2012 holiday season is super special and that your family enjoys all the awesome activities you plan for them!


The countdown is on!
What kinds of activities will you choose for your family to do this month?

Make sure you check back to keep up with all of the Trend Trio videos, blog posts, and product tips to help make this holiday season the best one yet!