My Creative Blog [Search results for Thanksgiving]
Happy Thanksgiving

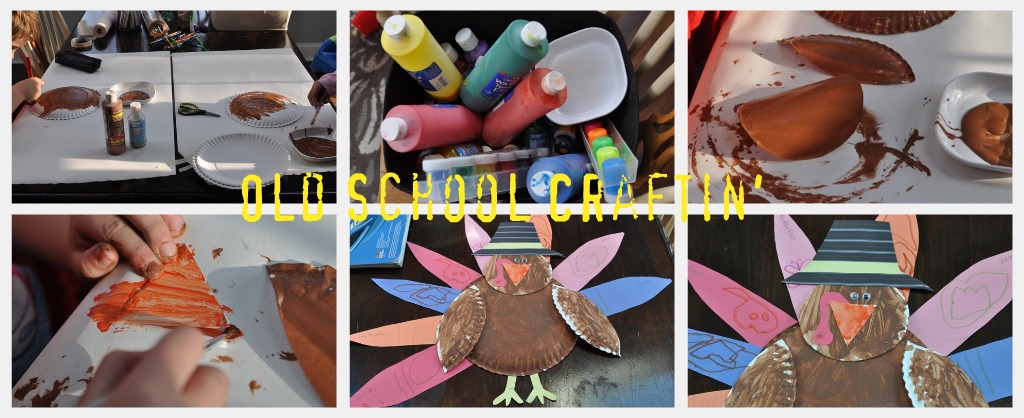
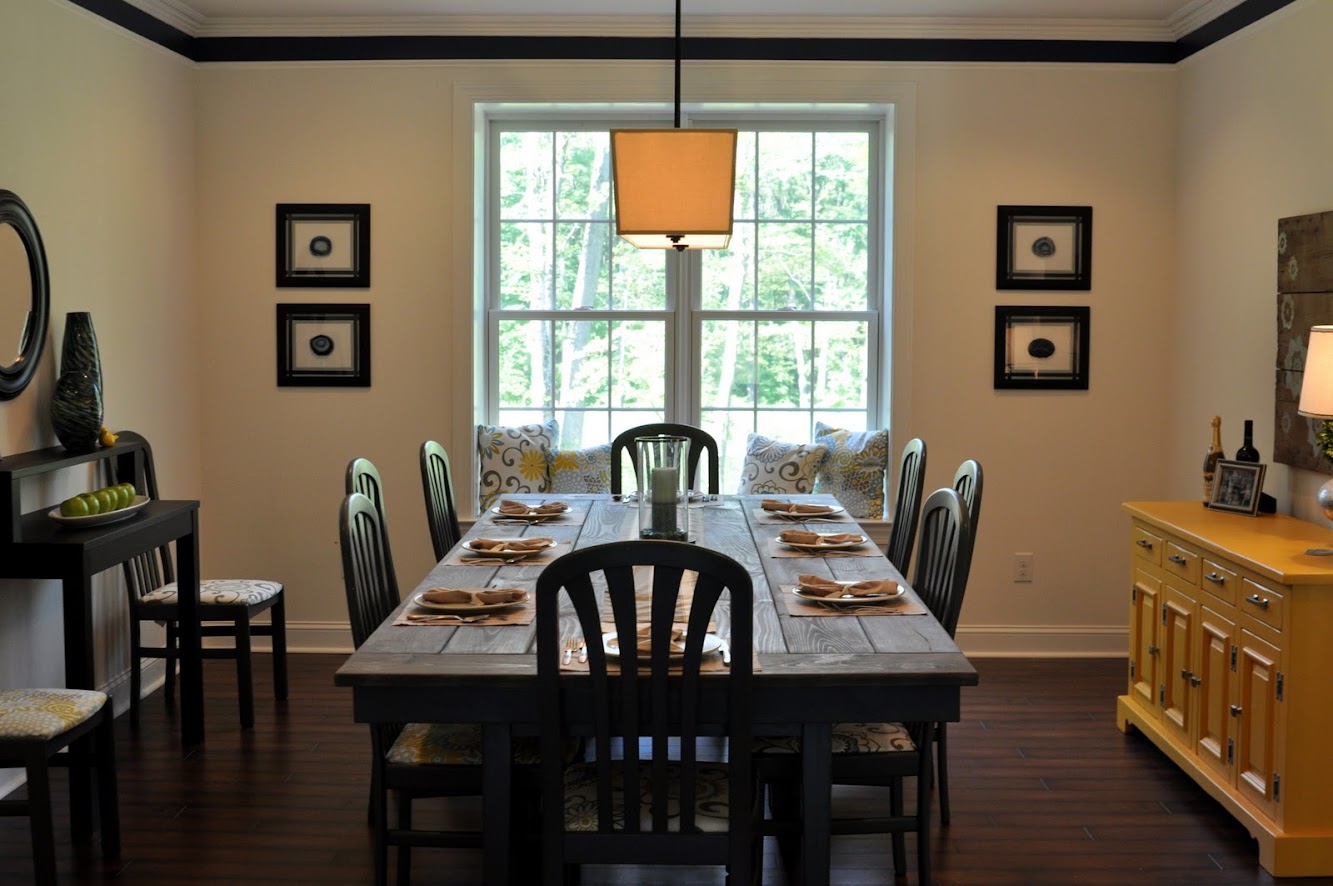
Thanksgiving #1 and Dining Room Update!
Thanksgiving Scramble
Thanksgiving Leftovers Station

Thanksgiving {Centerpiece & Place Card Ideas}

Holiday Your Way with Bed Bath & Beyond
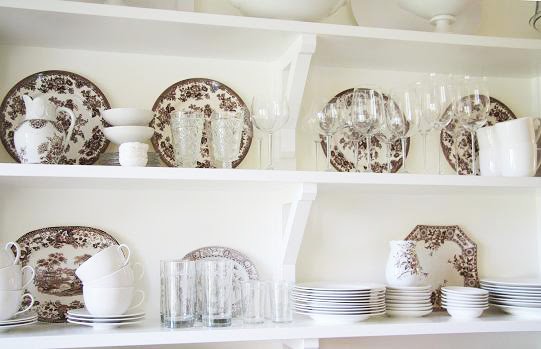
Transfer Ware
These are a Few of our Favorite Things {Sponsor Spotlight}

Thanksgiving Decor {Sneak Peek}
{Thankful}

Wood Grain Christmas Countdown 2012

Where to Buy your Holiday Project Supplies {Consumer Crafts}

Fabric Thankful Tree Canvas

{Blossoming Business} Guest Blogger

September Pears

Merry & Bright Christmas Inspiration

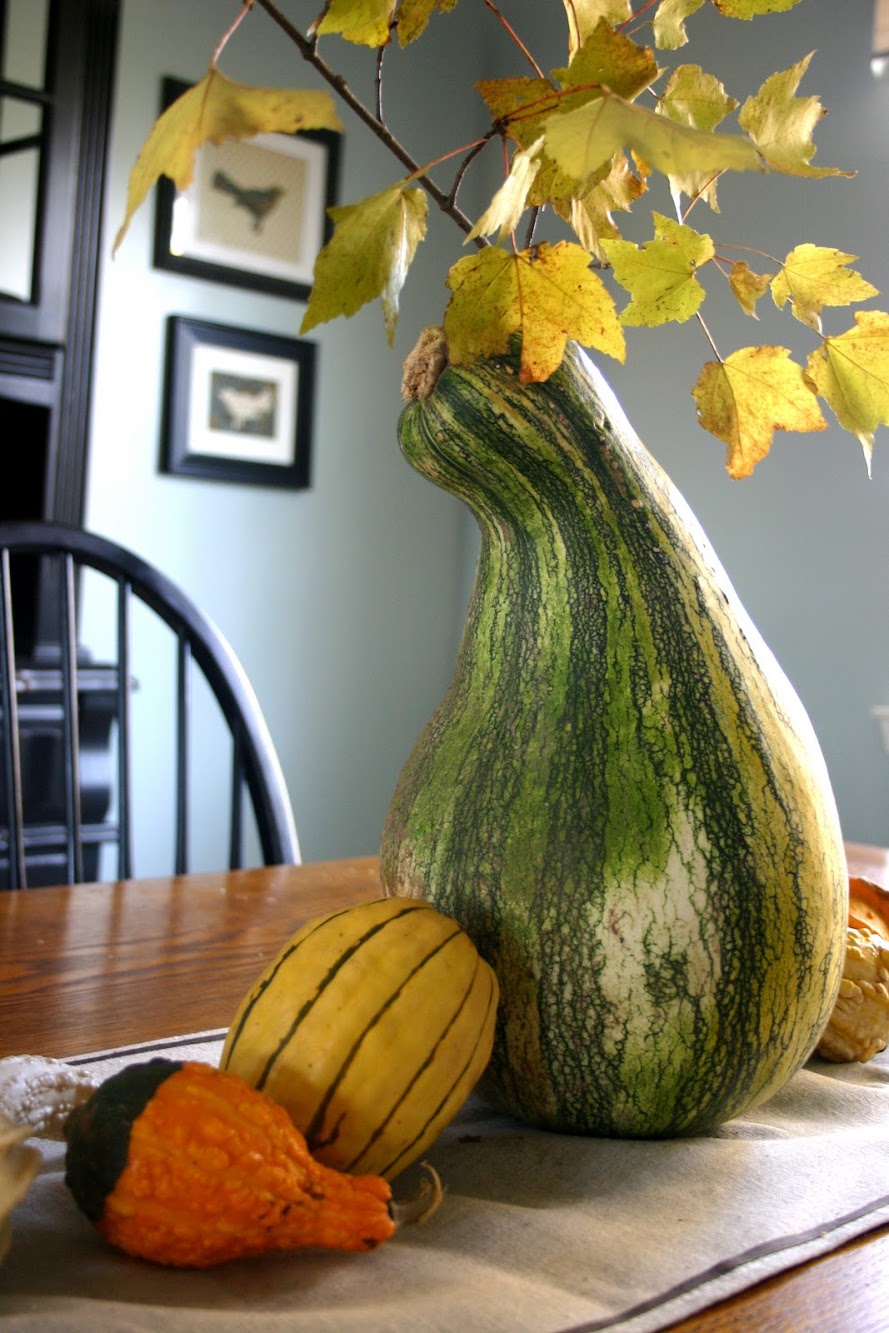
Fall Dining

Christmas Card Display

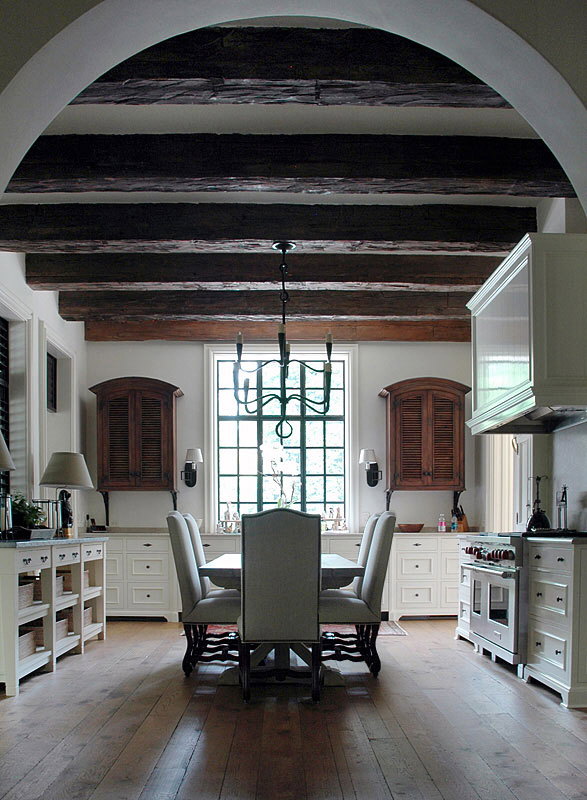
Kitchen Renovation: Part 1, Ideas
Fall Gingerbread and Transferware

