My Creative Blog [Search results for Spray paint]
Brass Fireplace Update

Curb Appeal

Wood Grain Christmas Countdown 2012

DIY Tiered Planters {With a Little Southwest Flair!}

Anthro-Inspired Ikat Console {5 Foot 12 Creations}

The Anti-Wreath {Fall Lovers Series Day 1}

Not your Mama's Pumpkin!

Have A Seat {Stumpy Stools DIY}

DIY Planters
Stenciled Outdoor Rug

Patio Furniture Update on a Budget! {and a giveaway}
Kids Desk & Craft Area

Ladies Night Out White Box Challenge: The Details

DIY Console Table {A Pottery Barn Knock Off}

Stenciled Faux-Tile Fireplace {Tutorial}

Outdoor Furniture Upcycle
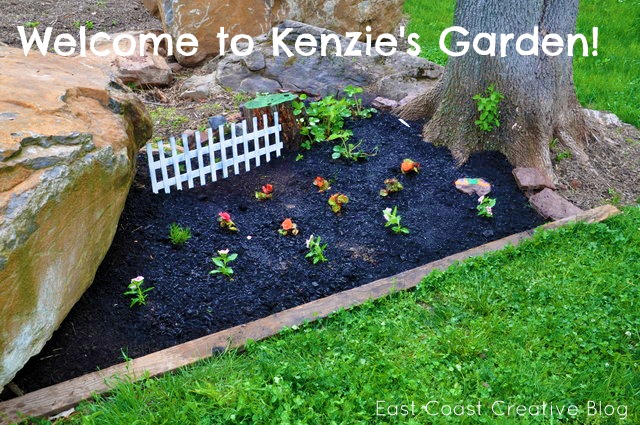
Gardening for Kids {Kenzie's Garden}
Creating with the Stars: Link Up Winner {Round 1}

Frame your own HUGE Photo for Under $20!
How to Spray Paint a Chandelier


