This project comes to you courtesy of my little helper…

Apparently, girls snow boots, plaid pj pants, and a hoodie are all the rage for DIY outfits! Warning: This is a cool project, but done in a very non-blog, fancy-schmancy way. Here are our very official supplies… left over sample paints, spray paints, blue painters tape, and old brushes (don't use your good, expensive ones)

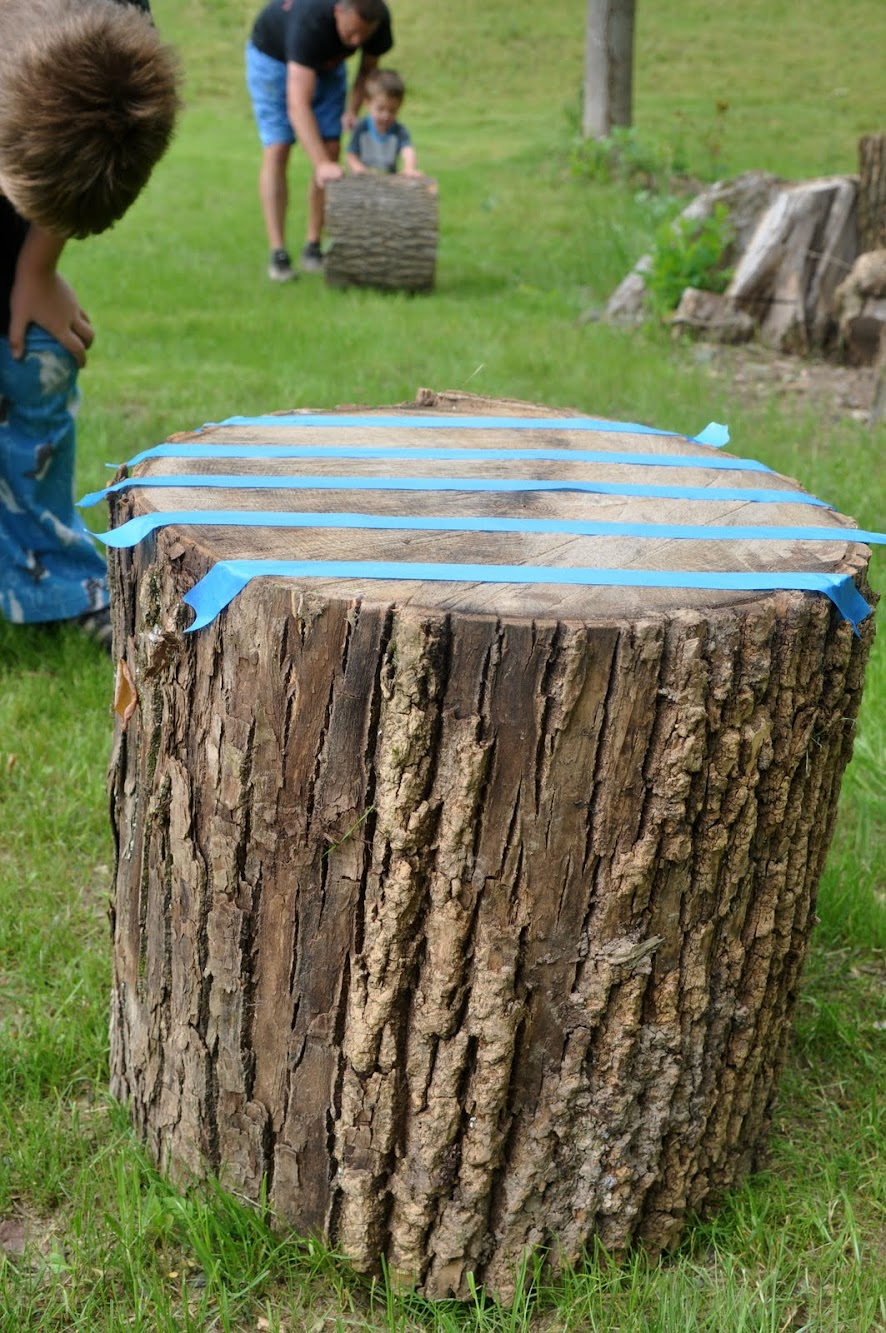
We used the tape to make some fun, simple designs… mind you that the average age of my helpers was about 3yrs.

Then, we randomly slapped on paint carefully painted the first stump… the tape stayed in place pretty well, but make sure you wipe off any dirt from the stump before taping.

Future bloggers and DIYers?

These crazy shades were the inspiration for the next stump

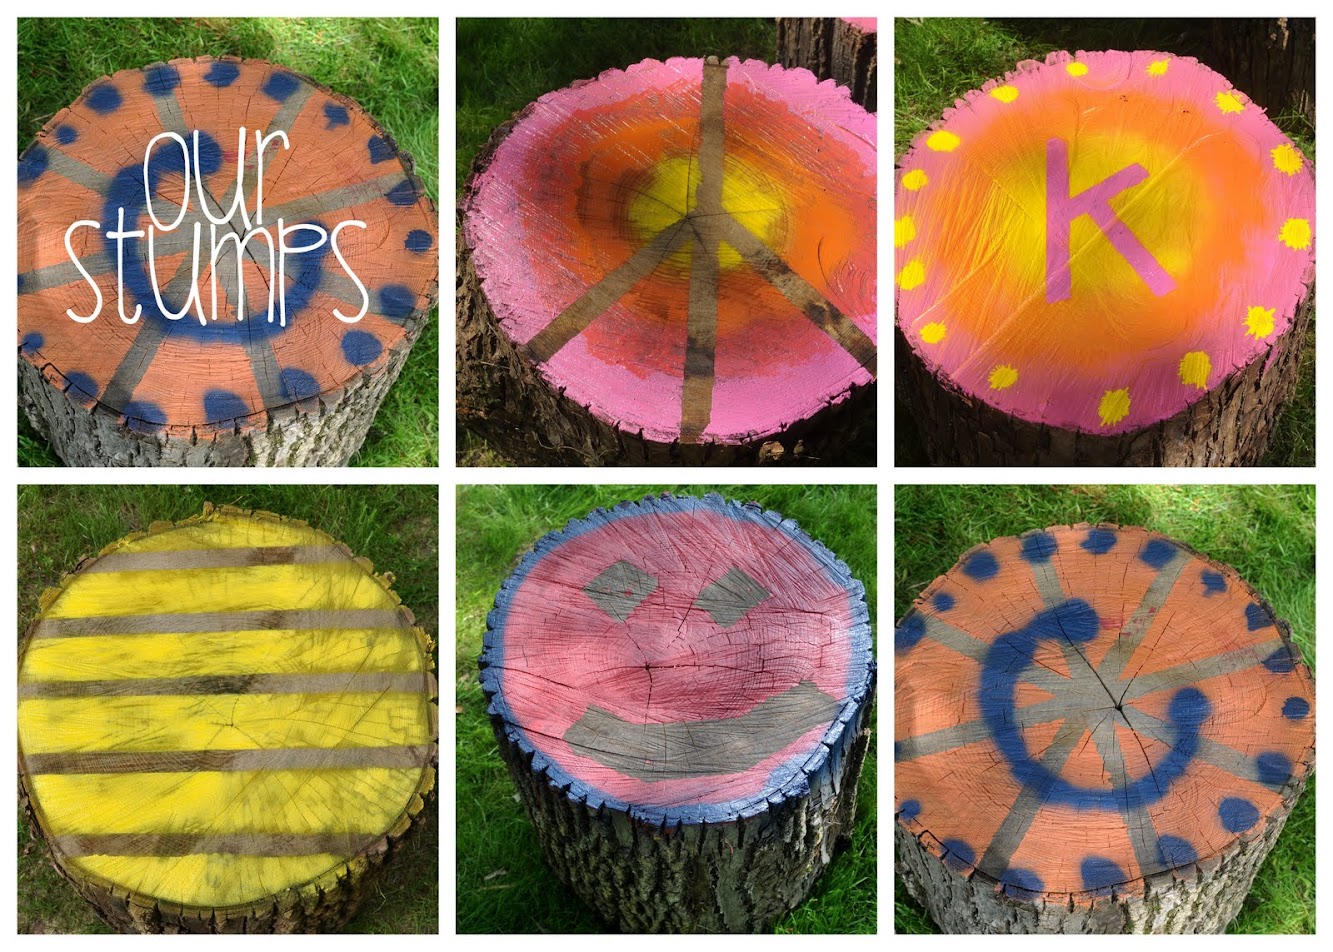
Just some simple stripes…

Some yellow spray paint courtesy of a new helper (bringing my average helper age up to 4 years)

and voila! I would have done another coat or two, to make the color more solid, but I was trying not to be controlling mommy to let the kids do their own thing.

Rolling over another stump to be beautified!

Ok, so perhaps I didn't let the kids help too much on this one… Kira did paint the pink background, but then I used orange and yellow spray paint and some tape to make my little lady a cool stumpy seat! To make the"splotchy" looking circles, just hold the spray paint can about an inch from the surface and SPRAY! The result is a fun"splotch!"

This project is a really neat way to put seating around your swingset or play area. I love that we're using stumps that came from our property. The kids have been so excited to show everyone their very own DIY Stumpy Seats!
Would you want to come and have a seat? We have an extra for you!

Linking up to: Tip Junkie
