My Creative Blog [Search results for Stenciling]
Colorful Stenciled Accent Wall {Knock It Off}

Modern Houndstooth Stencil
Stenciled Faux-Tile Fireplace {Tutorial}

Stencil Happiness {Royal Design Studio}

How to Make a Pallet Crate {the space between}

Stenciled Wall Panels {Royal Design Studio}

Interactive Playroom Wall {Five Foot Twelve Creations}

Fall Sponsor Love
Anthro-Inspired Ikat Console {5 Foot 12 Creations}

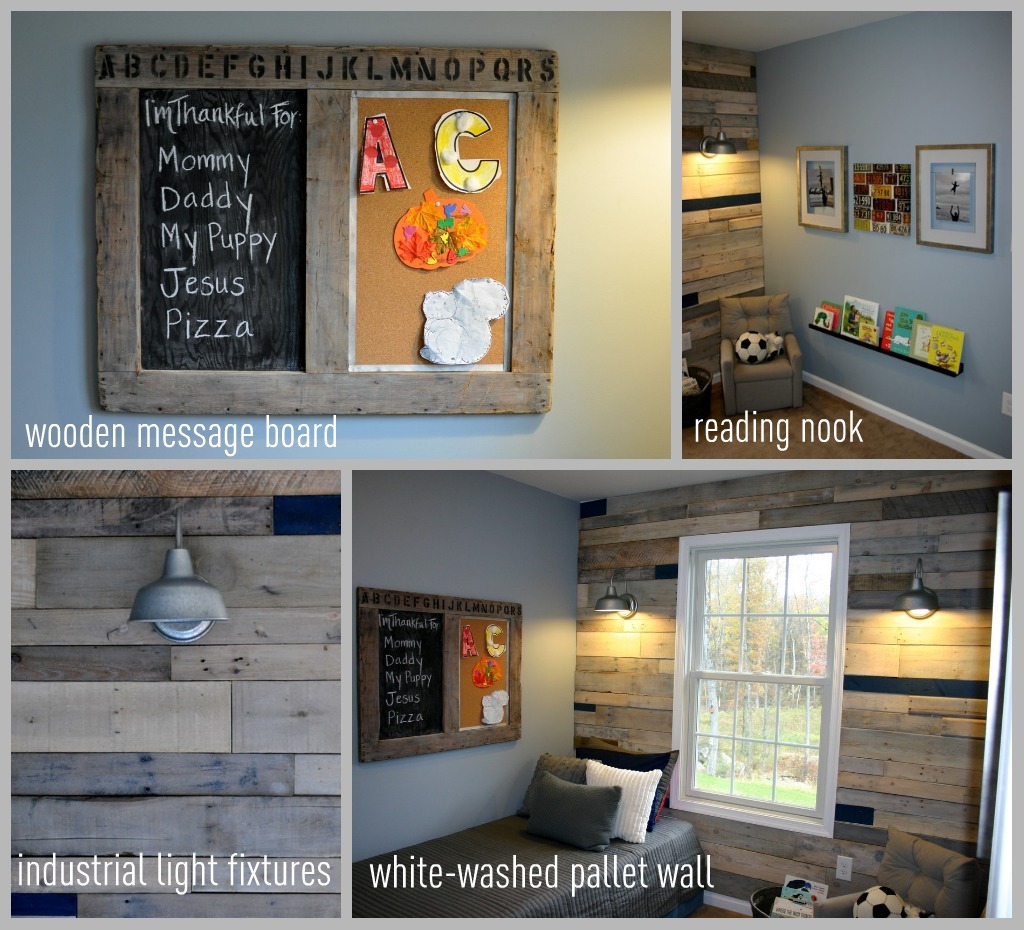
Wooden Memo Board
Dreary to Cheery Family Room Makeover {Knock It Off}

Welcome {to my New & Improved Entryway!}

Welcome {To My Entryway}

How to Make a Wood Framed Mirror

Top Projects 2012

Create Art from Anything {Nate Show Wall Panels}

Going Green {Granny Frames Gallery Walls}

Fabric Thankful Tree Canvas

Modern Typography Meets Reclaimed Barnwood

Stenciled Outdoor Rug