My Creative Blog [Search results for my style in one picture]
what's your style — in one picture

Family Room Art & How To Add Grommets!

Blank & White

A New Look {Free Firmoo Glasses}
Fab Find Friday {What We're Crushing on!}

When Irish Eyes are Smilin'

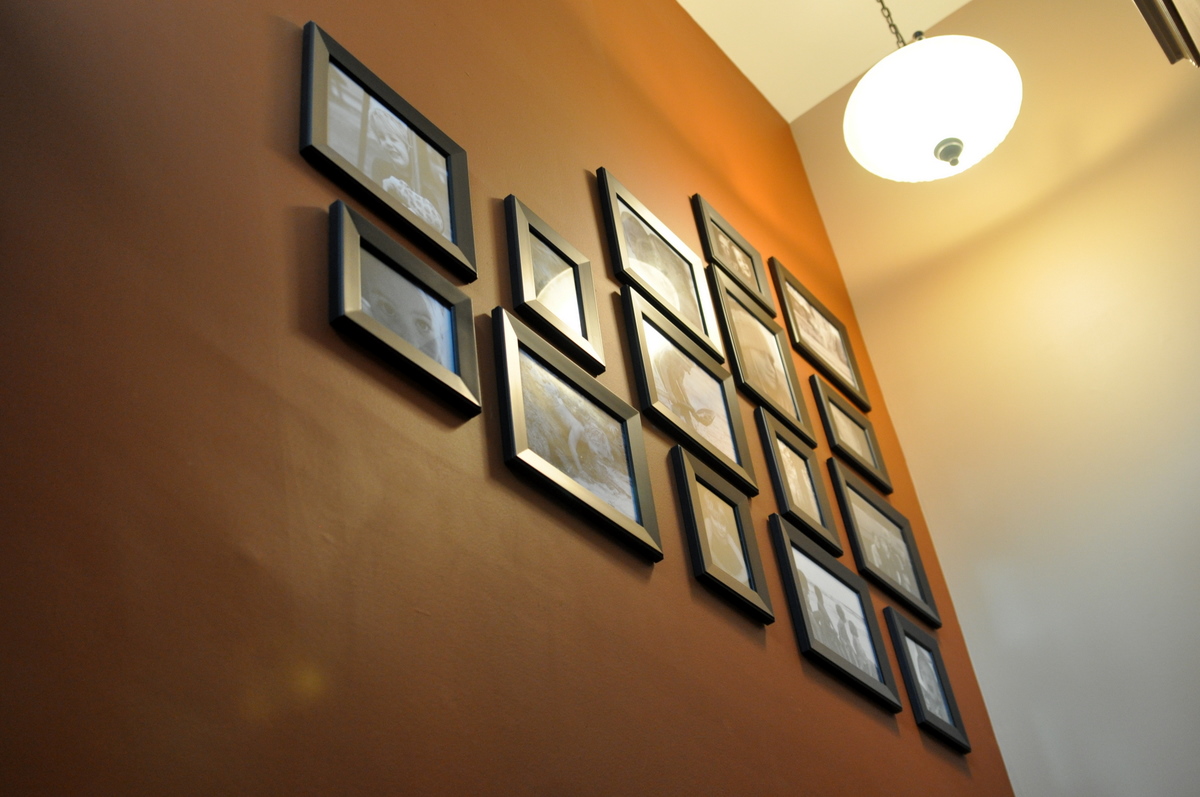
Gallery Walls {We Love Them}
Fancy Mantle (Fall Lovers Series-Day 2}

Making the Master our Own

Disney Recap {and awesome blog alert!}

DIY Planters
Curb Appeal

Slow & Steady {Bathroom Update}

Creating Custom Artwork

A Clean Slate

Doggy Style…

Fingerprint Artwork {Meaningful Art}

Memorial Weekend Re-Cap!

Stenciled Wall Panels {Royal Design Studio}

Barn Sale Treasure! {DIY Chalkboard Mirror}

