My Creative Blog [Search results for Recipes]
{Be Intentional}

Creamy Guacamole with Homemade Tortilla Chips {Guest Post}

Fab Find Friday {B2S & Irene Style}

Fall Eats {Fall Lovers Series-Day 3}

Fab Find Friday

A House Plant

Pinterest Inspiration

Memorial Day Drinks!
The Sweet Scent of Basil

July 4th Recipe Round-up

I Wonder if they'll eat it? {Wonder Bread Review & Giveaway)

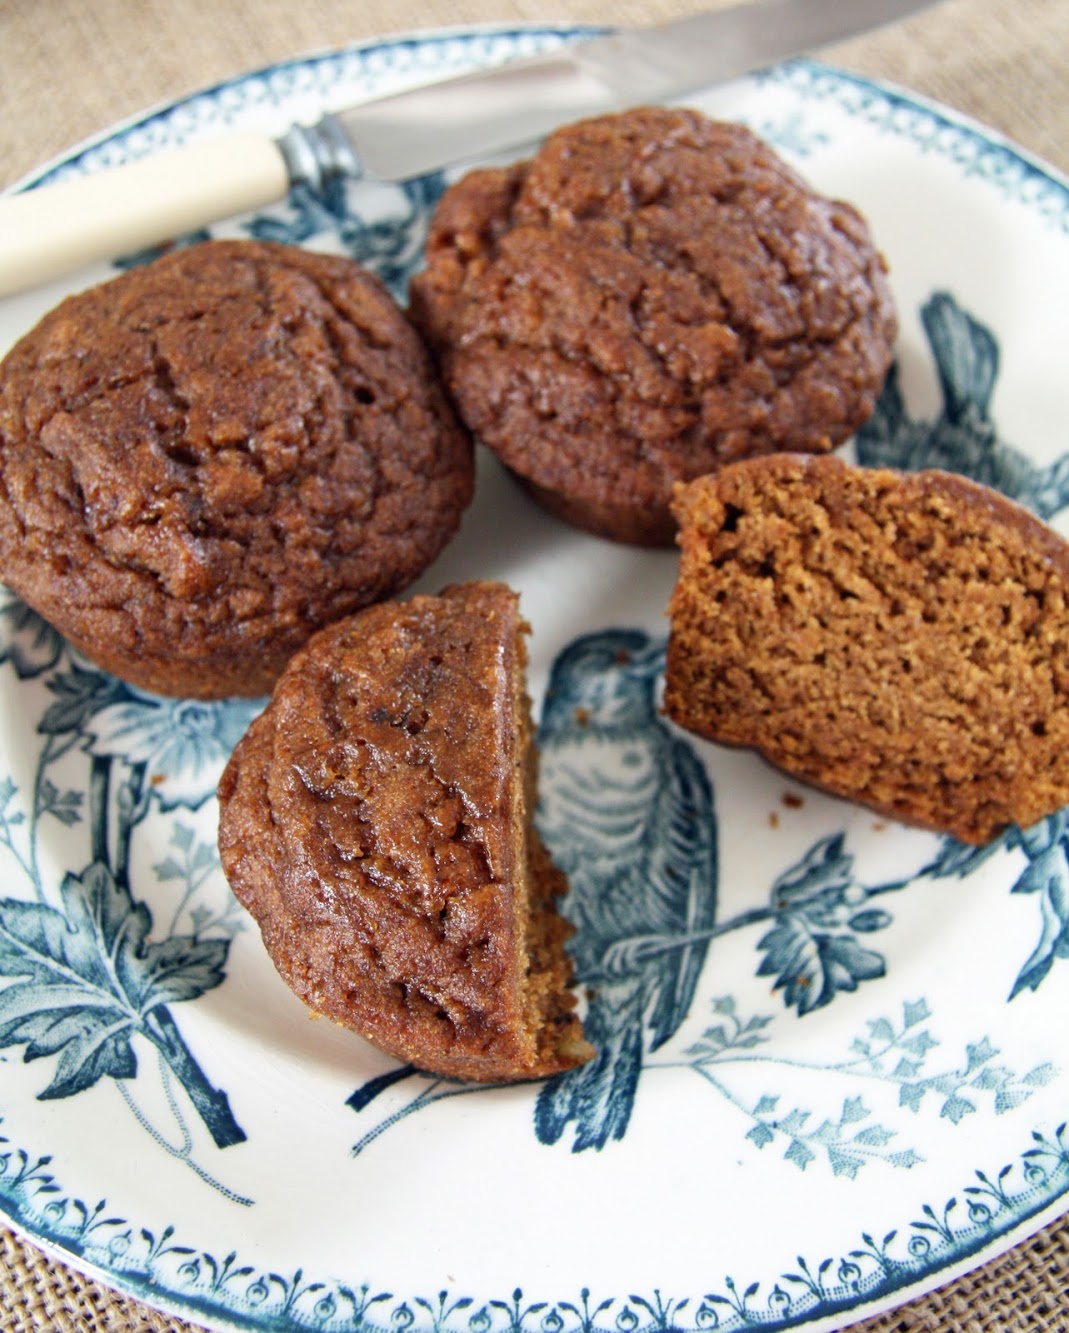
Pumpkin Walnut Muffins
Yum

Pumpkin Walnut Bread

Advice for the Part-time-Blogger {Part-Time Bloggers Dilemma Part 2 }

Crockpot Chicken Chili Recipe (Perfect for Fall)

The BEST Mulled Cider

Huckleberry Muffins

Repurposed Art into Bulletin Board {Cleverly Inspired}

My Go-To Meal {Entertaining Part 2}


