My Creative Blog [Search results for Lighting]
Modern Country Designs…Say What?
Dining Room Lighting {Lucent Lampworks}

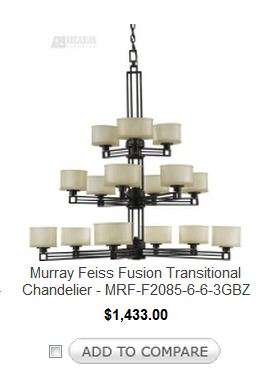
Give a Custom Feel to Your Home with Lighting!

Behind the Scenes of a Small Business {Lucent Lampworks}
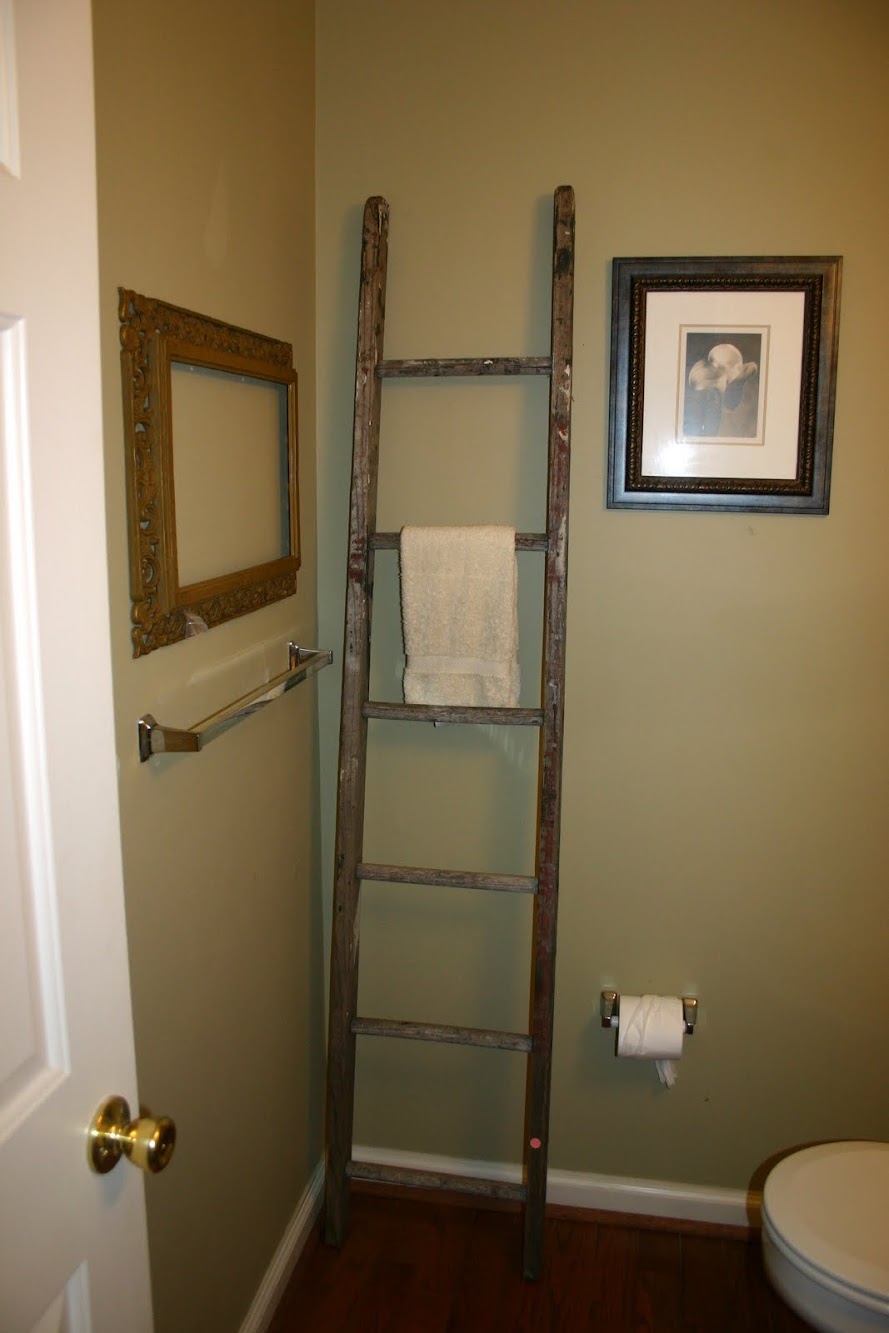
The {Bathroom} Game Plan

Creating a Dream Backyard Experience

Nate's 12 Days of Holiday DIYs {Day 5 Video Surprise}

Moving Right Along {Bathroom Redesign}
The Good Ol' Mason Jar

How to Build a Patio- Update # 4
DIY Patio Reveal {It's Finally Here!}

Slow & Steady {Bathroom Update}

Creating with the Stars Round 1 Voting

Last Minute Announcement- Best Barn Sale Around!

CWTS Round 1 Link Party
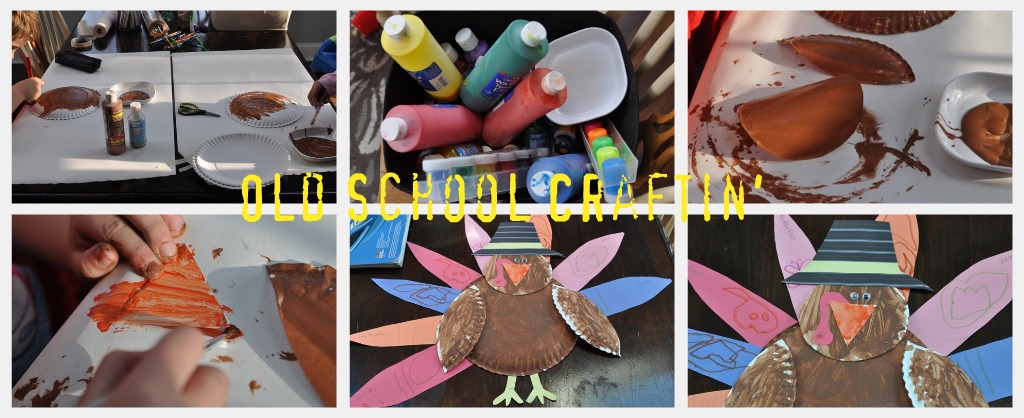
Thanksgiving #1 and Dining Room Update!
FOR SALE!

Brass Candle Sconce

Adios Amigos Day 1 {Infarrantly Creative}

Welcome {to my New & Improved Entryway!}


