My Creative Blog [Search results for Fabric]
DIY Fabric Floor Cloth {Floor Mat}

DIY Pendant Light & Custom Shade

Fabulous Fabric Wallpaper

12 Awesome Fabrics {Arrows, Stars, and Narwhals Oh My!}

How to Build a Custom Headboard with Arms {Sarah M.Dorsey Designs}

Fab Find Friday {Contact Us- Help a Reader Out}

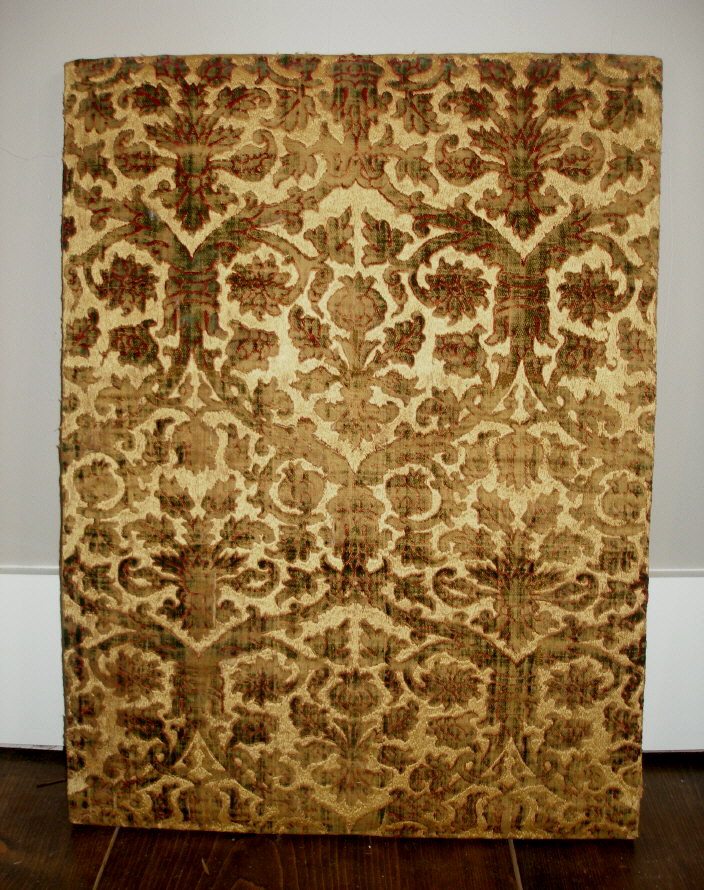
Fabric as Art {The Nate Show Artwork}

Layered Upholstered Headboard {Knock it Off DIY Project}

Creating Custom Artwork

Nate's 12 Days of Holiday DIYs {Day 1}

Ikea Lack Ottoman {Ikea Hack}
.jpg)
Dining Room Chairs- I Need Your Help!

Loads of Color

With Just a Little Scrap…

Adios Amigos Day 2 {Hannah Kate Flora}

Project Time!
A Clean Slate

Pimp My Billy {Part 1}

Creating with the Stars Round 4 Voting {The Final Round!}
Fabric Thankful Tree Canvas


