My Creative Blog [Search results for Design it Forward]
{Design it Forward}
Design it Forward Recap

DIY-FO SHO! {Bench Renovation}

Ladies Night Out DIY White Box Challenge!

A Big Day!

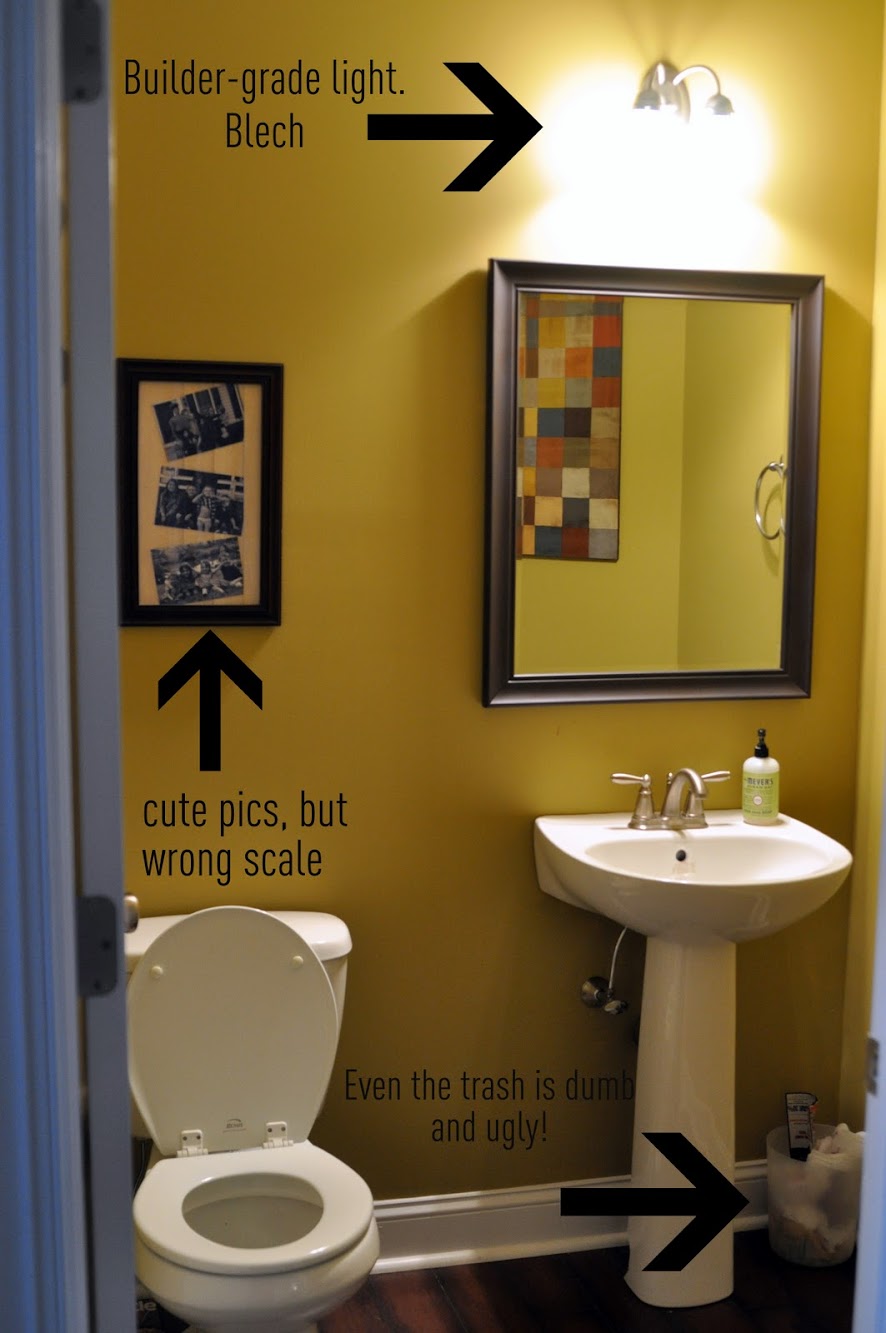
Ugly. Ugly. Ugly.
Pint Sized Picasso {I'm being buried alive by piles of papers}

Creating with the Stars on EC2!

Creating with the Stars Round 1 Voting

Loads of Color

Fall Sponsor Love
DIYers Must-Have Supplies

{Happy Halloween?}

Last Giveaway! {Royal Design Studios}

The Nursery

Submissions are Open! {Creating with the Stars}
30

Away we go!