
Last week we completed our very first Design it Forward project. It was a wonderful experience and we're excited about future projects! Not sure what Design it Forward is?? Well, check out this post.
To respect the privacy of the family that we helped, we aren't going to go into personal details, but we will share some of the fun projects that we did! There was a slight twist to our day when the media got wind of our project. PhillyBurbs.com sent a crew to interview us and tape us working on preparing for our surprise. We were a little torn because we weren't doing Design it Forward for recognition, but at the same time, we were excited that it might encourage others to use their talents to help someone else. Here's the clip…
Ok, so onto the projects we did…
You can't have a fall porch without mums, pumpkins, and hay, so I loaded up my van…

The first project that we tackled was a cute pennant banner. Jess picked out 3 fun fabrics from JoAnn Fabrics and some brown ribbon. There are a million tutorials on how to do this, but we do it pretty simply… 1. Use cardboard to make a triangle template 2. Trace a million triangles on your fabrics 3. Cut the triangles 4. Iron with heavy starch to give it some stiffness 5. Hot glue each triangle onto ribbon. Voila! Adorable banner!

Haha, don't you love our cheesy"hand on hips" pose? Nerdballs!

Next we made a little fall sign. Remember my Scrap Sign post? Well, we did a quick version of it… 1. Find scrap wood 2. Paint it 3. Add fun words Ta-da! Obviously, I love the bold yellow!

(Of course I didn't plan ahead, so the Give is stenciled, but the Thanks wouldn't fit, so we free-handed it.)

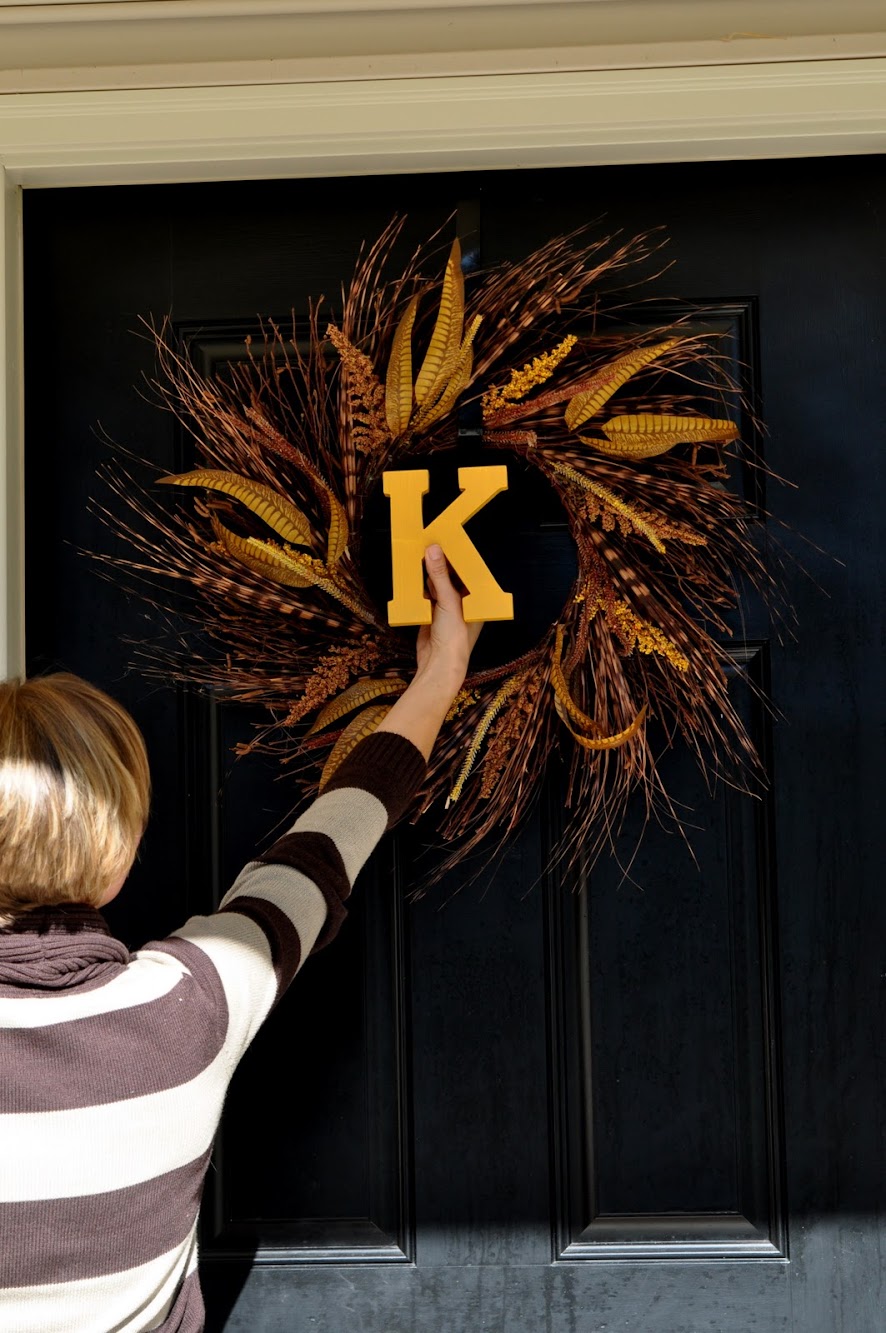
Have you ever made or bought something for someone else and then sorta wanted to keep it?? Nah, me neither… I totally didn't consider keeping this wreath because of it's awesomeness… We got the wreath and then a plain wooden letter that we painted in yellow to match the sign. We were trying it out on my front door before we attached it.
One of my favorite little touches was the wooden crate we decorated. It had been sitting in my basement for a year with just a coat of tan paint. Here's what we did… 1. Use painters tape to block off two stripes 2. Give the whole thing a quick coat of brown spray paint. 3. Remove the tape 4. Hot glue a fabric strip in the middle 5. Add a coat of modpodge over the fabric It made the most adorable holder for one of the mums.

So here's what it looked like when we put it all together… Before

After

Because we couldn't open the front door, we just hung the wreath on the light (we were laughing wondering if the homeowners will know we didn't really intend for it to stay on the light!)

Overall, we think it turned out really cute and we're so thankful for those of you that partnered with us to make it happen. It was a very special afternoon and we can't wait to Design it Forward again!

P.S. We're double posting today… yup, we just have so much that we want to share that we need to post Twice!! So, check back later for more!