My Creative Blog [Search results for Comments]
Blog Award & Thank you...

Pancakes and Transfer Ware

HELP!

The Real Housewives- An Announcement!

79 Valentines & An Instagram Valentine's Idea

Modern Country Designs…Say What?
What can YOU do with a Dollar?

A little of this, and a little of that…

A Note of Gratitude

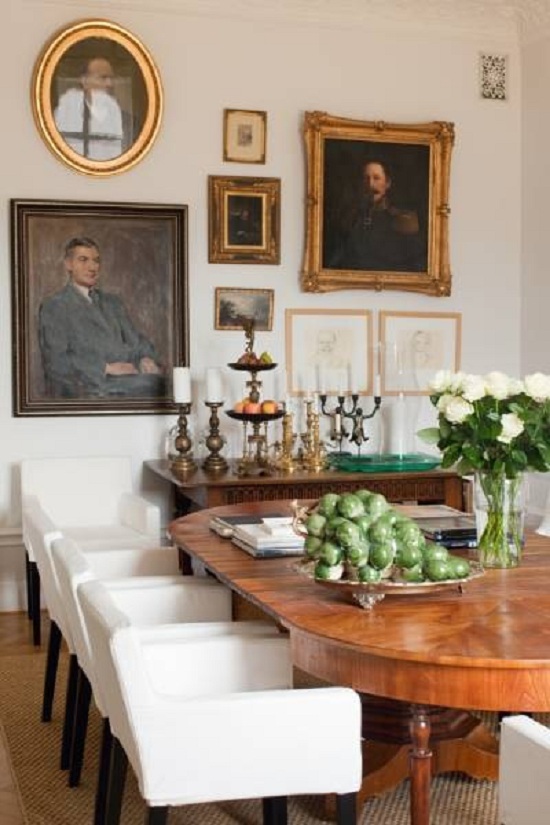
A beautiful picture

How to Add {Awesome} House Numbers
Farmhouse Table & Freebie Chairs

Good-bye September…Hello October!

peace...

True Confessions of a Blogger {and a Giveaway}

Fab Find Friday {Salvatori Photography}

thanks for comin' through for me....!
EC2 in 2013 {What to Expect When You're…}

How to Build a Patio- Update # 4
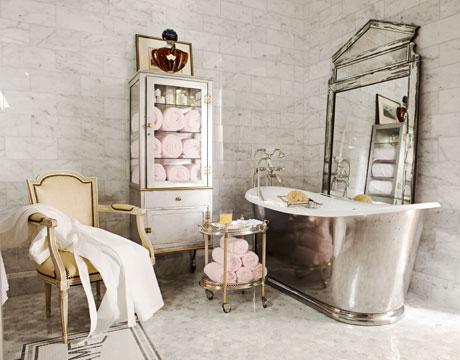
vintage medical cabinet perfection...