My Creative Blog [Search results for walls]
An Easy Way to Add a Pop of Color to Your Walls!

How to Paint a Whiteboard Wall

Details: Mister man Built a little somethin'

Faux Planked Walls {Knock It Off DIY Project}
How to Paint a Mosaic Accent Wall {Bedroom Makeover}
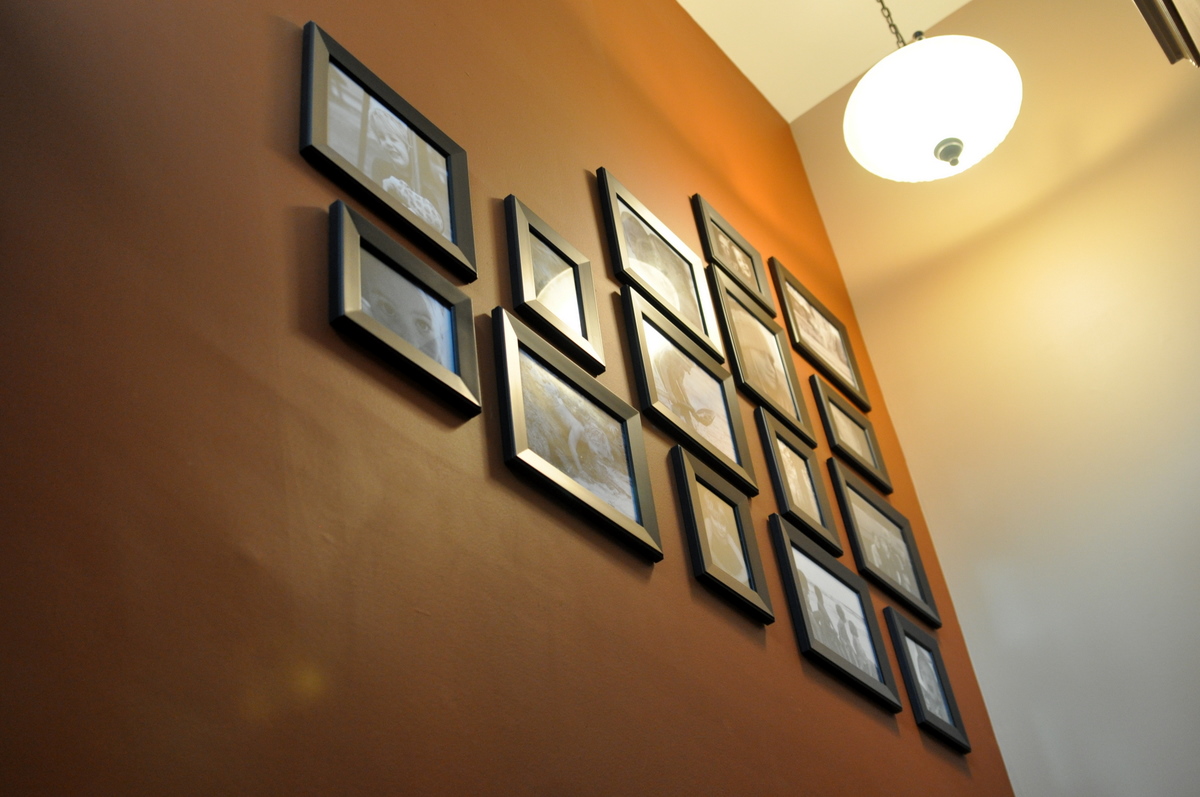
Gallery Walls {We Love Them}
Painted Wall Mural and Dresser {Love and Renovations}
Slow & Steady {Bathroom Update}

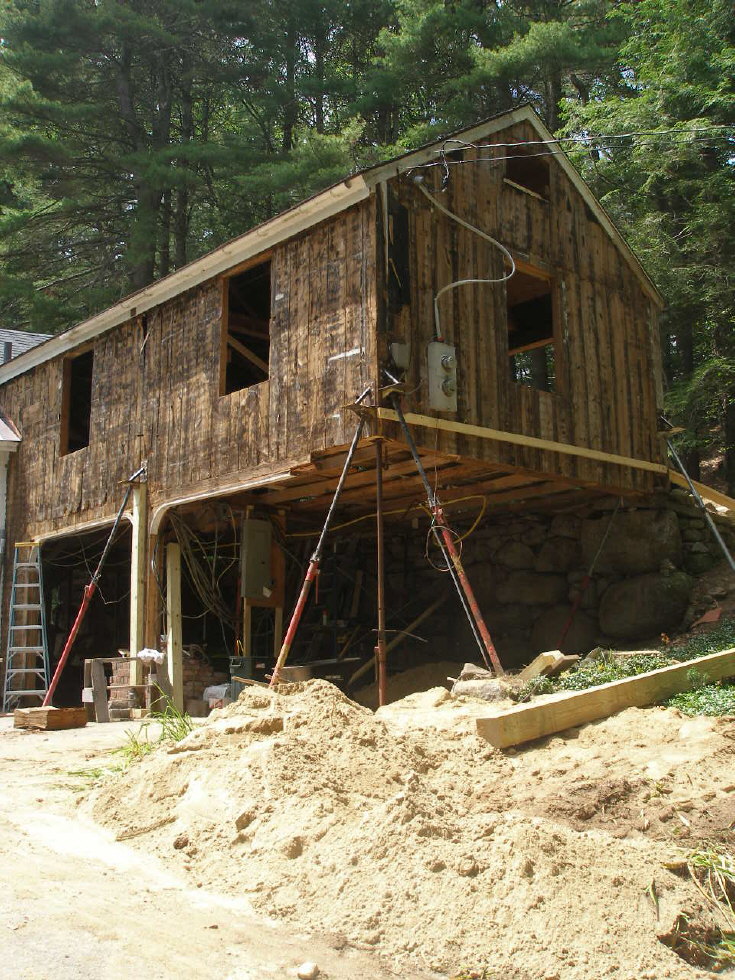
Barn Renovation Part 2: An Engineering Feat!
Colorful Bedroom Makeover {KJ's Bedroom}
The Den Revisited

The Original Funkmaster… My DIY Dining Room and CWTS Updates!
Going Full Circle

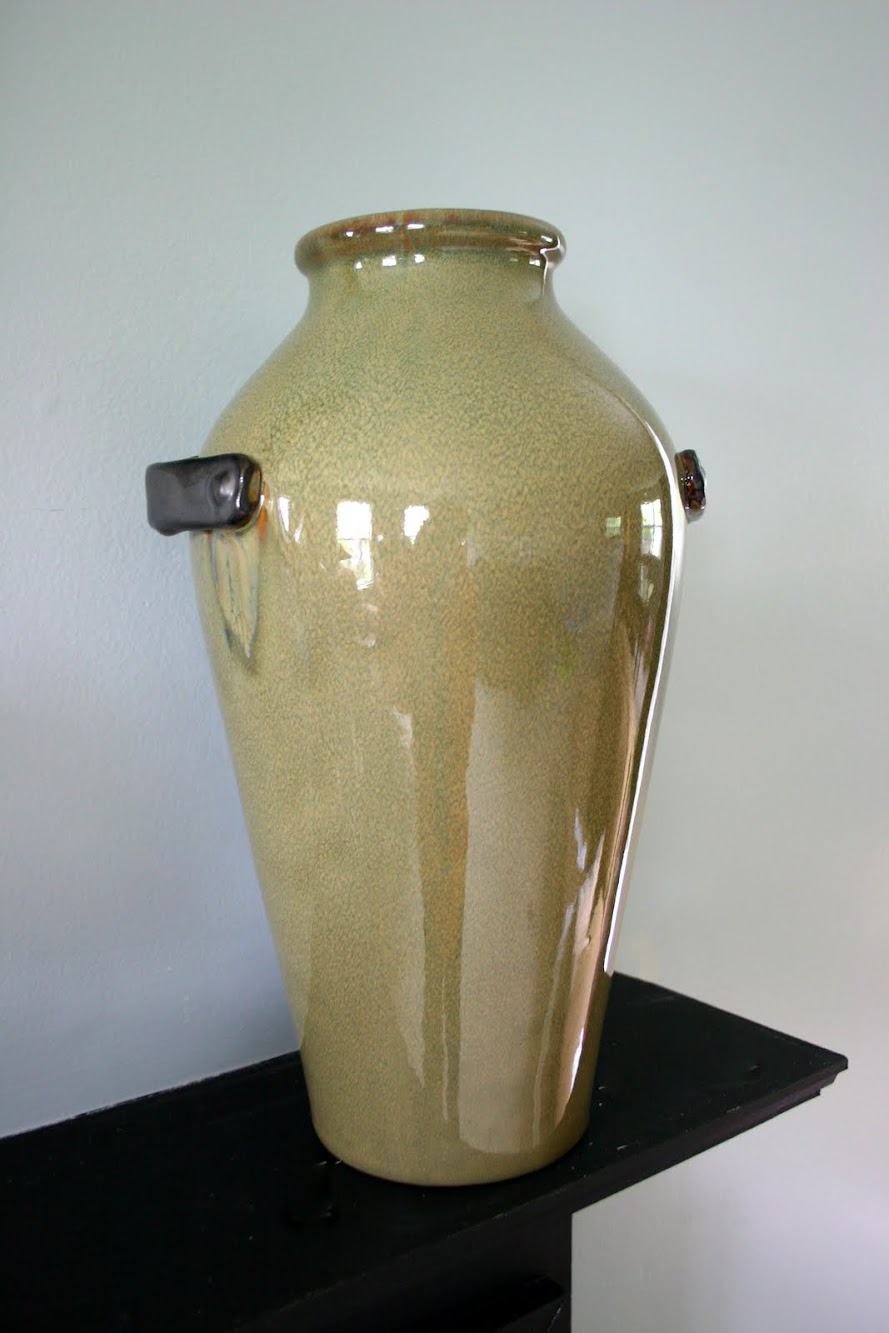
Finding Treasures {Flea Market Hunt}
Family Room Update {AKA What ever happened to those stenciled wall panels?}

Big Boy Room Inspiration

Creating with the Stars Round 4 Link Up
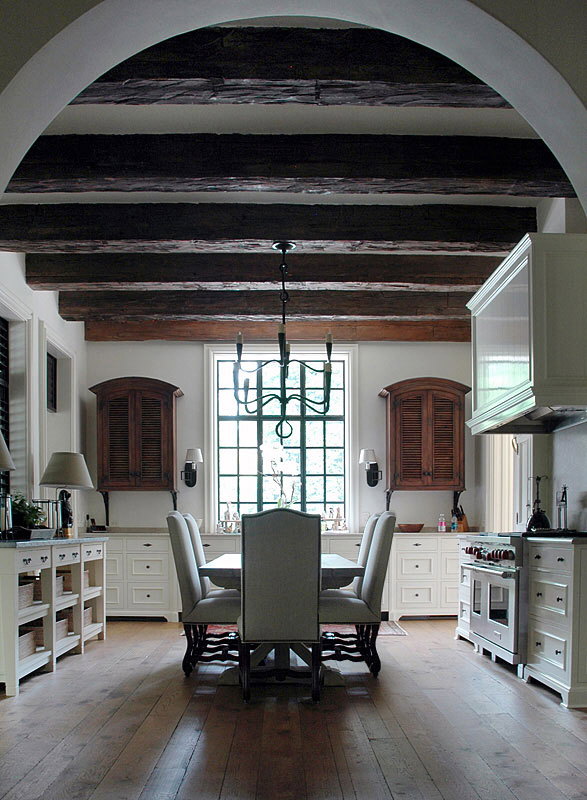
Kitchen Renovation: Part 1, Ideas
White, Silver and Wood

Playhouse Loft Bed {Little Girl's Room}
