My Creative Blog [Search results for turquoise]
I Heart Fiesta & My Fiesta Hearts Me

Free Printable Invasion

October Sponsor Love

Thanksgiving Scramble
Anthro Ordinal Dresser {Knock Off Style}

How To Make Pysanky (Ukrainian Easter Eggs)

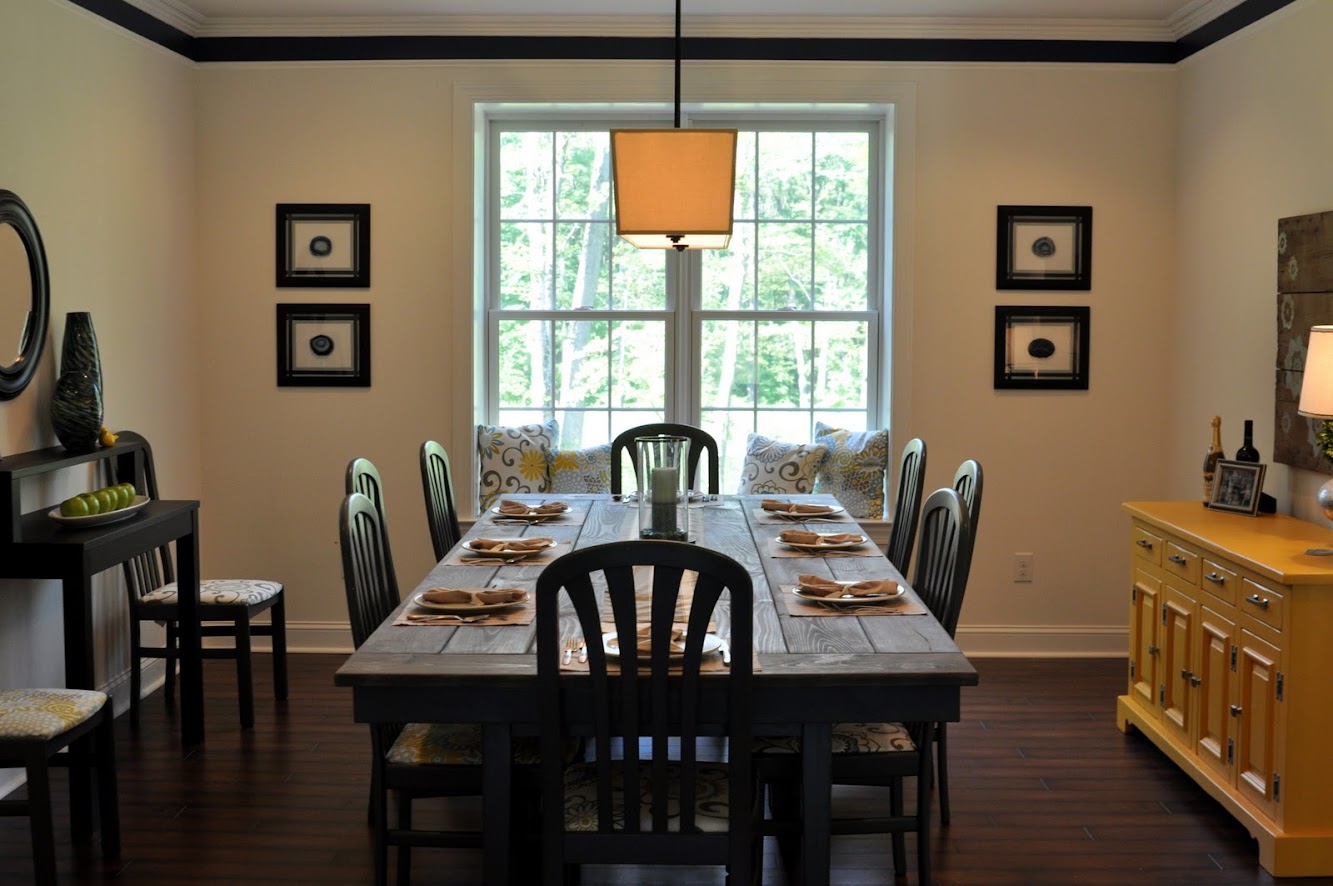
DIY Pendant Light & Custom Shade

Granny Frames! {Dining Room Update}

Creating with the Stars Round 3 Voting

Blue and turquoise table settings

It's the Little Things {Hallway Update}

