My Creative Blog [Search results for style]
Classic, Timeless Style {FOSSIL Vintage Revivals Handbag GIVEAWAY!}
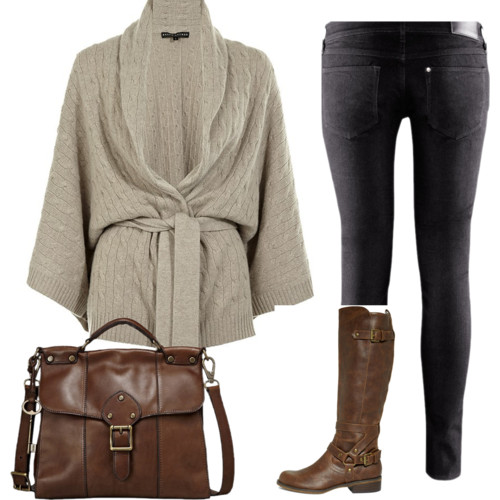
what's your style — in one picture

She's Gone Country…

How To Make Necklaces With Vintage Keys

Spotted on Celeb Style Watch!

FOR SALE!

Doggy Style…

Designer Profile: Victoria Hagan

Flea Market Style

How to Cut a Perfect Mohawk using Frog Tape!

Blank & White

For all you Tomboys out there…

3 Blogs You Should Be Reading

Pure Style Home

Antiques: Sunday Find!

The Evolving House {C1's Bedroom}

DIY Planters
Seating Pleasure...

A New Look {Free Firmoo Glasses}
Zinc: Irresistible Blue/Gray


