My Creative Blog [Search results for print]
12 Free Nursery Printables

Fancy That Design House & Co {Giveaway!}

Staples Engineer Print Artwork {Garage Mudroom Makeover}
Fall Mantel 2013
Frame your own HUGE Photo for Under $20!
In or Out Media {Giveaway!}

Ginormous Family Art {With an Industrial Flare}
DIY Photo Block Display {Shanty 2-Chic}
Matisse

Free Canvas for You!

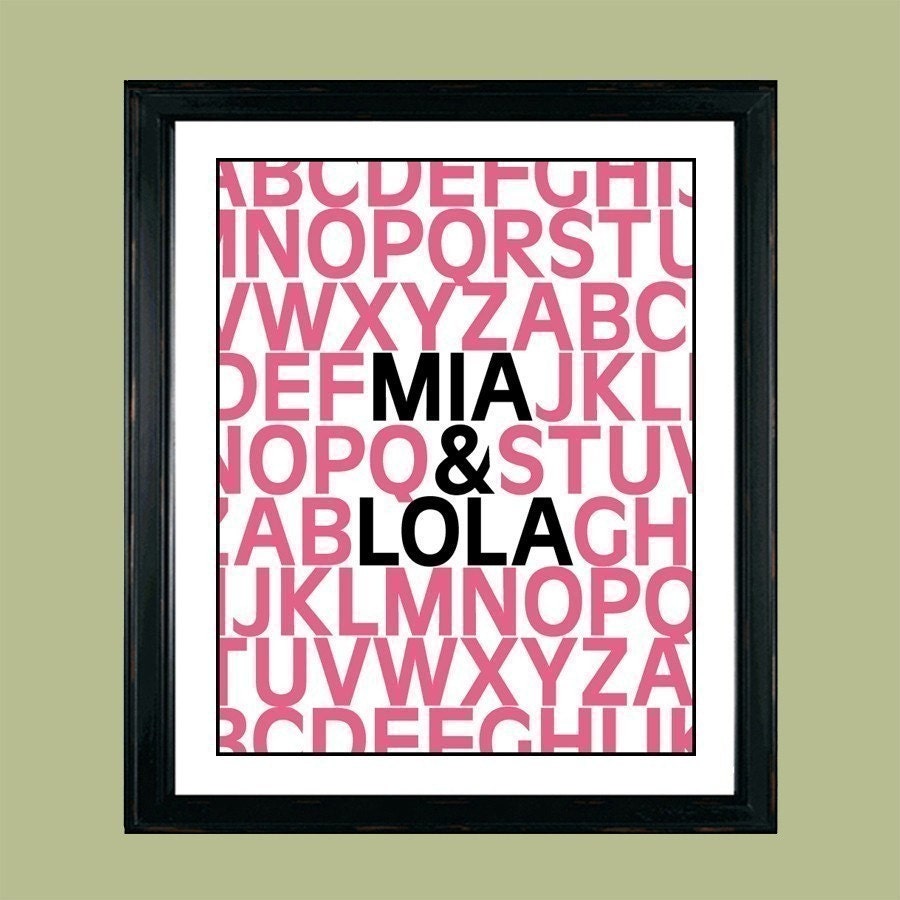
Alphabet Print
InstaThis! {Giveaway}
Free Printable Art Round-Up

Nate's 12 Days of Holiday DIY's {Day 4}

A Pinteresting Home! {Meet Kelly}

Sweet Little Owl

October Sponsor Love
White, Silver and Wood

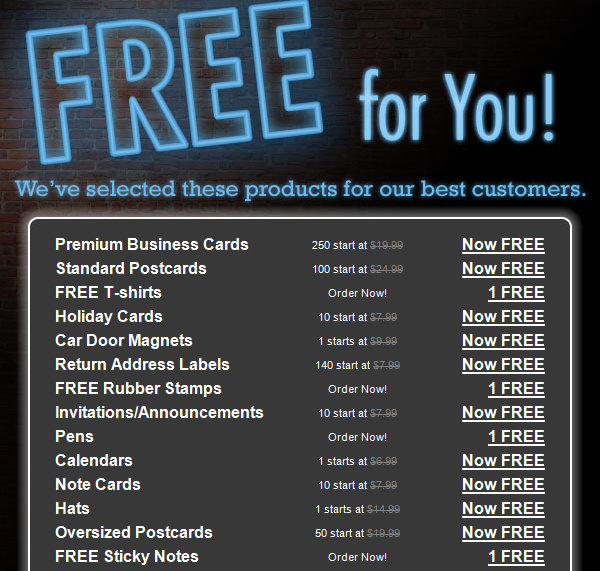
Do you Vista?
Digital Scrapbook Paper = Endless Possibilities


