First off, if you haven't been using digital scapbook paper: why the heck not?!! You can create completely custom, totally cute and very affordable cards, banners, cupcake toppers, pennant banners, posters, or any sort of printable you want EASILY! I am clearly not the first person to ever post about this, but if I can convince just one of you to give this a try, then I will be a happy woman.

Last week, I showed you the birthday party invite I made using digital scrapbook paper for Charlie's 2nd birthday. You might remember that it looked like this;

We've also used it to create printables for our homes, like these:

Glory of God Printable

Summer Bucket List Printable Anyway, there are a TON of things you can make, and I want to show you, in just a few steps, how I do it! Today, I made two different thank you cards, one with a picture, and one without. Here's what they look like:


To make the card with the picture, here's what I did:
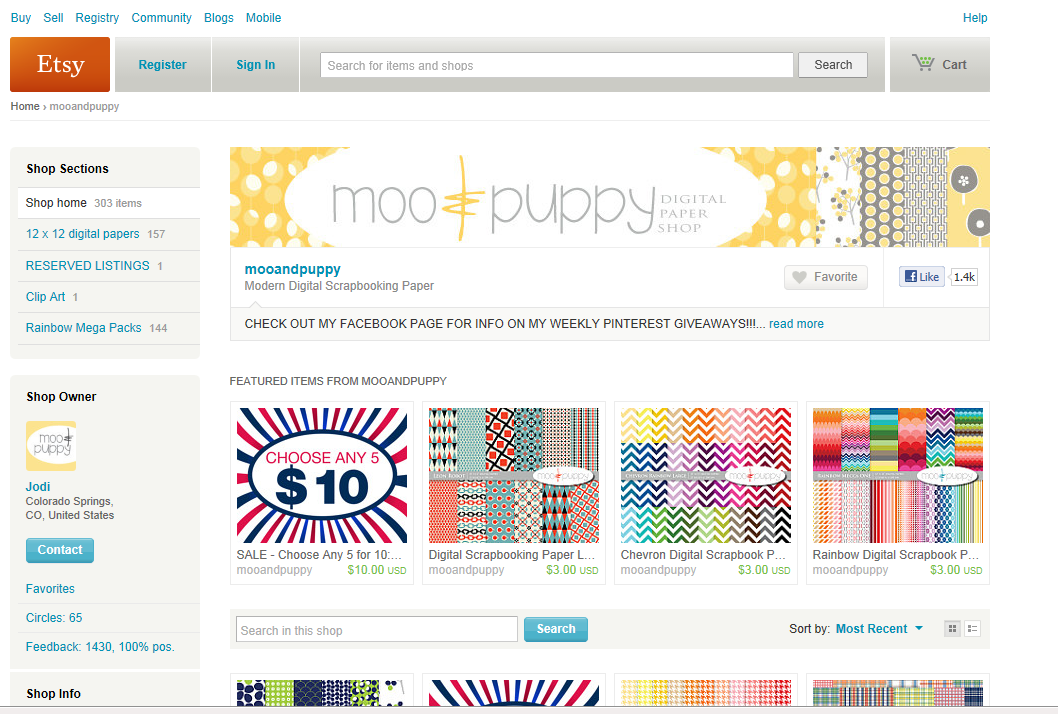
I went to my favorite digital scrapbook paper store, Moo & Puppy, and picked out a pack of paper that I liked. She has SO many cute and modern options, that you'll be able to find anything you're looking for! I used the Gridley Patriot pack.

When you receive the paper download after purchasing, it will show up on your computer like this:

Then, I upload the paper I want to use into Picmonkey, just like I would upload a picture. In picmonkey, I crop the paper (I believe it comes as 12x12 sheets), to the size I want to print- in this case I cropped it to 5x7.

I knew I wanted to add a picture, but I wanted to create a layer for a more professional look. I clicked on the geometric overlays, chose the rectangle shape, and then changed the color of the shape to navy blue. This created the"frame" for my picture.

To add my picture, I clicked on the"your own" tab (you can see it in the top left corner on the pic above) and chose the picture I wanted to upload.

Once I resized my picture to fit the"frame" beneath it, I started messing around with all the fun overlay options they have. I decided to go with comic bubbles for a fun kid element, and layered them again to create depth.

I added a bar across the bottom by choosing the rectangle shape and stretching it out to fit the width of the card:

Finally, I added my writing, saved it to my computer, and ta-dah! I'm done!

I'll probably print these out on heavy card stock, but you could also have them printed at Walmart or Target in a matte finish for better picture quality. It's so easy to do, and I LOVE that I can make things exactly the way I want them. It makes it so easy to coordinate everything, from the invitations all the way to the thank you cards.
What do YOU do with digital scrapbook paper?