My Creative Blog [Search results for interior]
interior doors

New Orleans Style

Chevron

Going Full Circle

Good morning to all!
The New Gray?

December top ten

Axel Vervoordt Timeless Interiors

Ladder Love

Sometimes you get lucky

Decadence

DIY Headboards

The Sauna

Kitchen Renovation {Putting it Back Together}

Amazing Achievements

a new angle...
Michael Trapp is on the Move!

DIY Wood Slice Wreath

Autumn bouquet

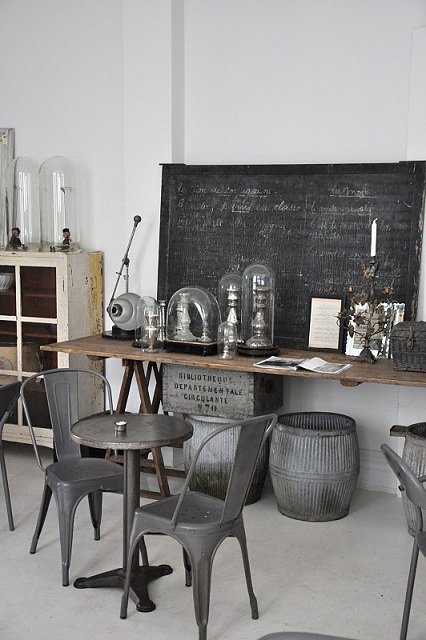
A love for Tolix chairs