My Creative Blog [Search results for how to]
Creating with the Stars: Link Up Winner {Round 2}

How to Make Domino Jewelry

Anthro-Inspired Plate Wall {While They Snooze}

How to Make a Pallet Crate {the space between}

How To Make Pysanky (Ukrainian Easter Eggs)

How to Build a Patio- Update # 4
Projects Not to Miss

A Transformation Story {Be Intentional}

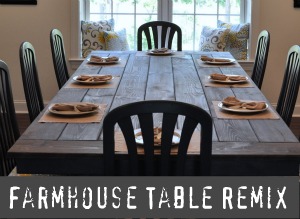
Farmhouse Table Remix {How to Build a Farmhouse Table}
Trendy Tire Table: {While They Snooze}

How to Make a Headboard {Shutter Headboard}
For all you Tomboys out there…

Happy 2nd Blogiversary to Us!

How to Make a Gender Reveal Box (that has style) and Plan an Epic Gender Reveal!

Submissions are Open! {Creating with the Stars}
{Blossoming Business} Guest Blogger

Holiday Your Way with Bed Bath & Beyond
Creating with the Stars Round 1 Voting

Ladies Night Out DIY White Box Challenge!

How to Cut a Perfect Mohawk using Frog Tape!


