My Creative Blog [Search results for family]
Fab Find Friday {Salvatori Photography}

Dating Divas- Hot Topics & a Special Announcement!

Ginormous Family Art {With an Industrial Flare}
Wood Grain Christmas Countdown 2012

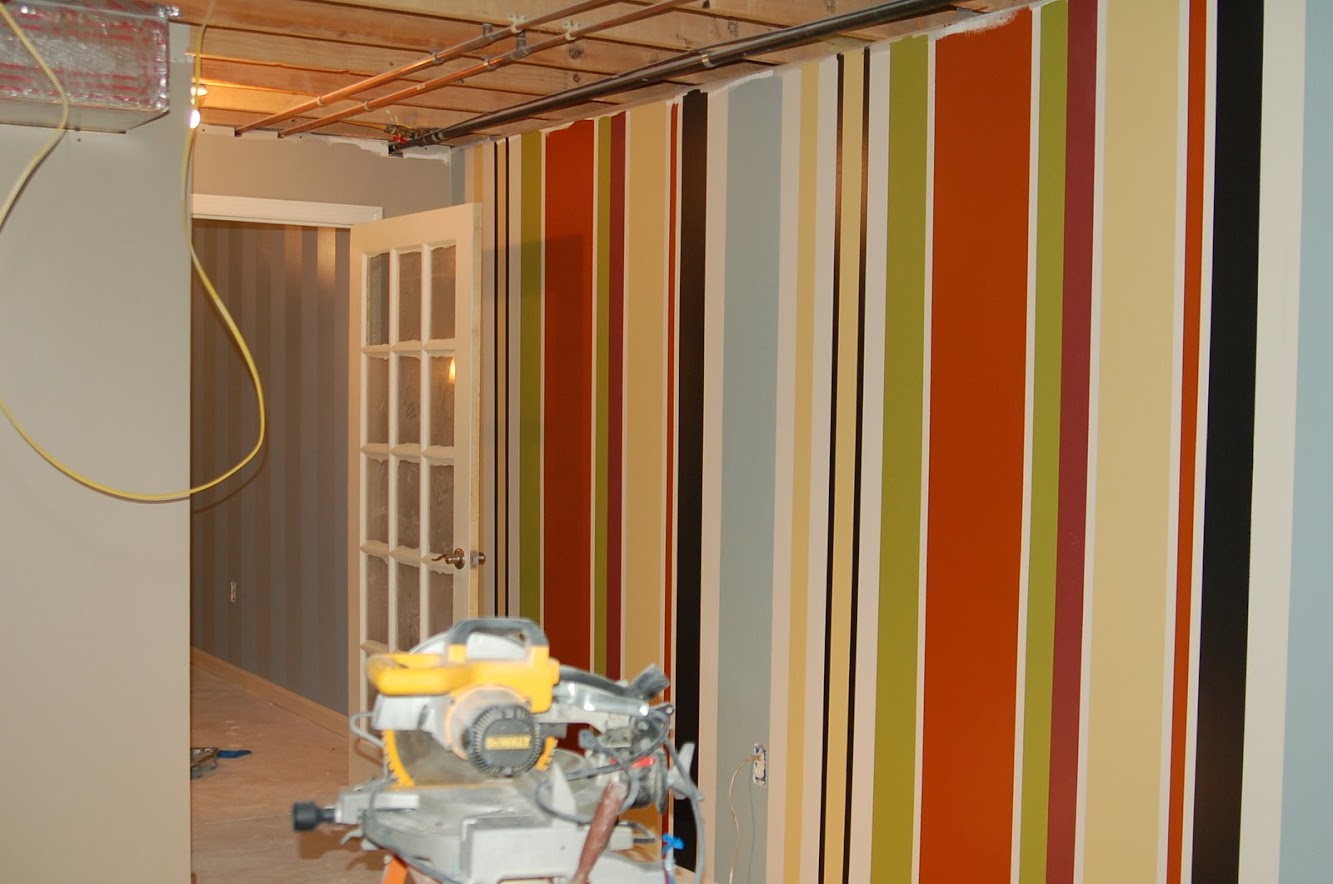
Family Room Update {AKA What ever happened to those stenciled wall panels?}

Monica's Christmas House Tour 2012

The Evolving House {C1's Bedroom}

Family Valentine's Mailboxes {Try this Now}
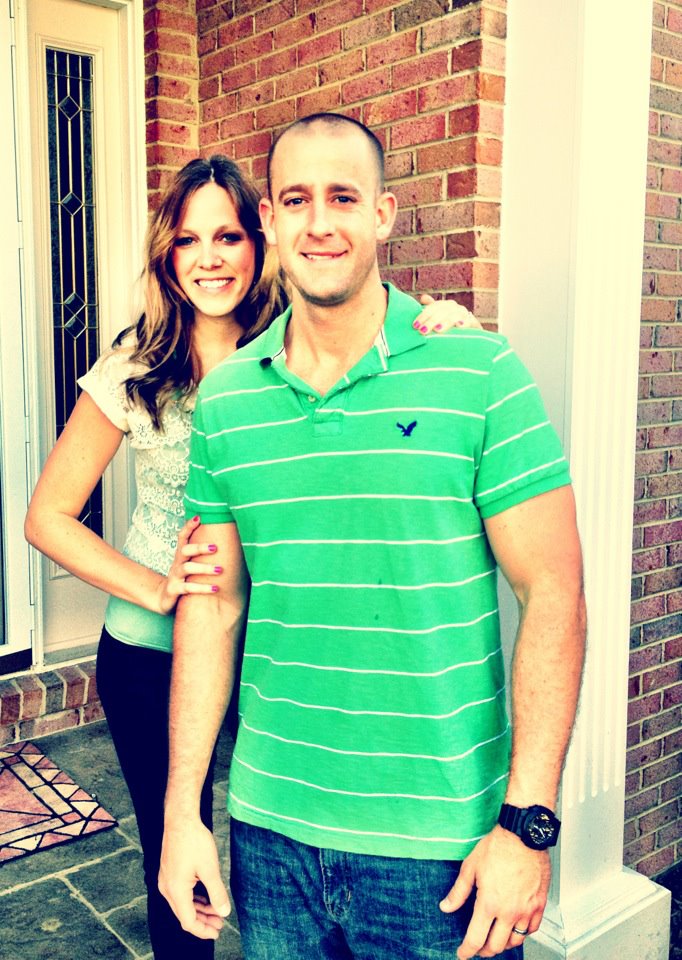
This is How We Roll… {The Mangin Family}

{Be Intentional}

And it's a …

10 Fall Kids' Crafts
Christmas Card Love 2012 {Send Us Your Card!}

How to Make a Gender Reveal Box (that has style) and Plan an Epic Gender Reveal!
Family Room Art & How To Add Grommets!

Birds on Vintage China Patterns

FOR SALE!

A Pinteresting Home! {Meet Kelly}
{Be Intentional}

Journey to the Perfect Stripe