My Creative Blog [Search results for design]
My Design Process For Working With Unique Elements: Vintage Keys

Making Design Easier {Design Seeds}

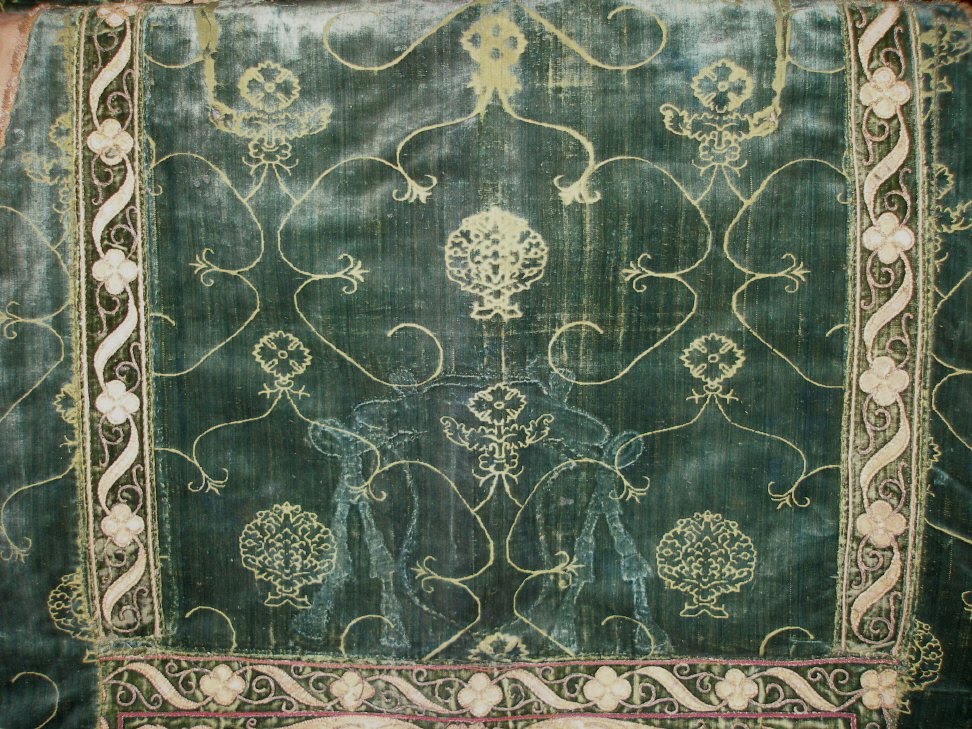
Italian and French silk velvets
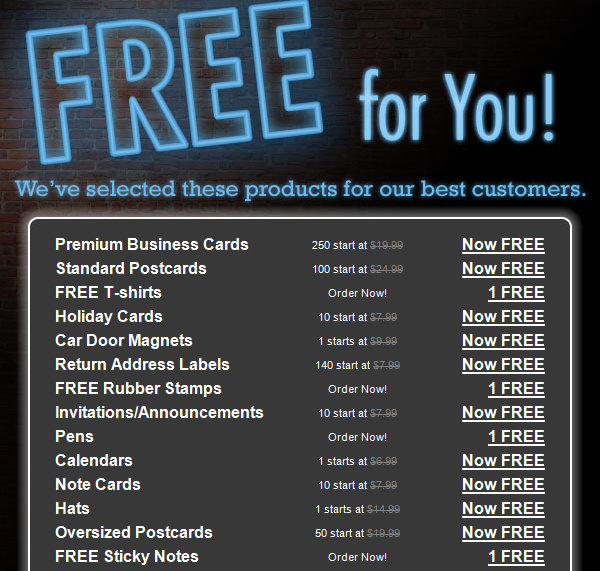
Don't Try this at Home, but Do Try this…

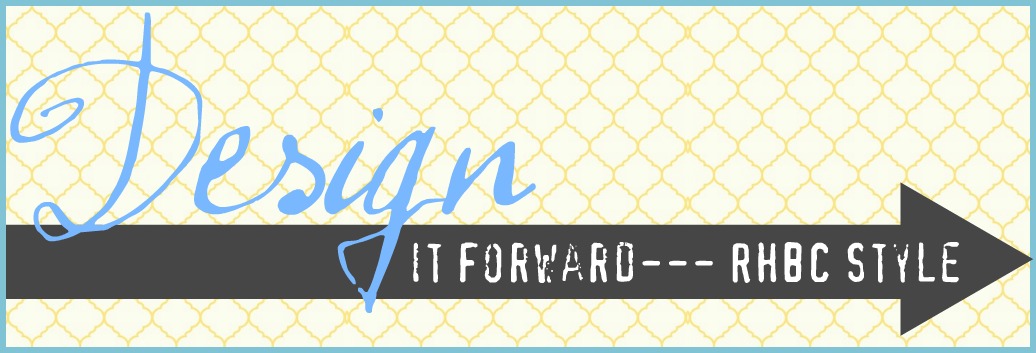
{Design it Forward}
Candice Price Garden Designs

Summer Sponsor Spotlight

Chevron

Last Giveaway! {Royal Design Studios}

Tips for Accessorizing your Space {SuperFab Room Redesign}

Travel-Inspired Design {Part 1}

Happy 2nd Blogiversary to Us!

Landscape Design

our passion for design...

Design it Forward Recap

Fancy That Design House & Co {Giveaway!}

East Coast Creative 10k Fan Giveaway!
Stenciled Wall Panels {Royal Design Studio}

Design Icons {of the Blogosphere}

Do you Vista?