My Creative Blog [Search results for crafting]
Wood Shim Wall Art {Crafting for Charity with Homes.com)

Fab Find Friday

Top 11 Projects of 2011 {Jess' Recap}

Adios Amigos Day 4 {Sew Dang Cute Crafts}
79 Valentines & An Instagram Valentine's Idea

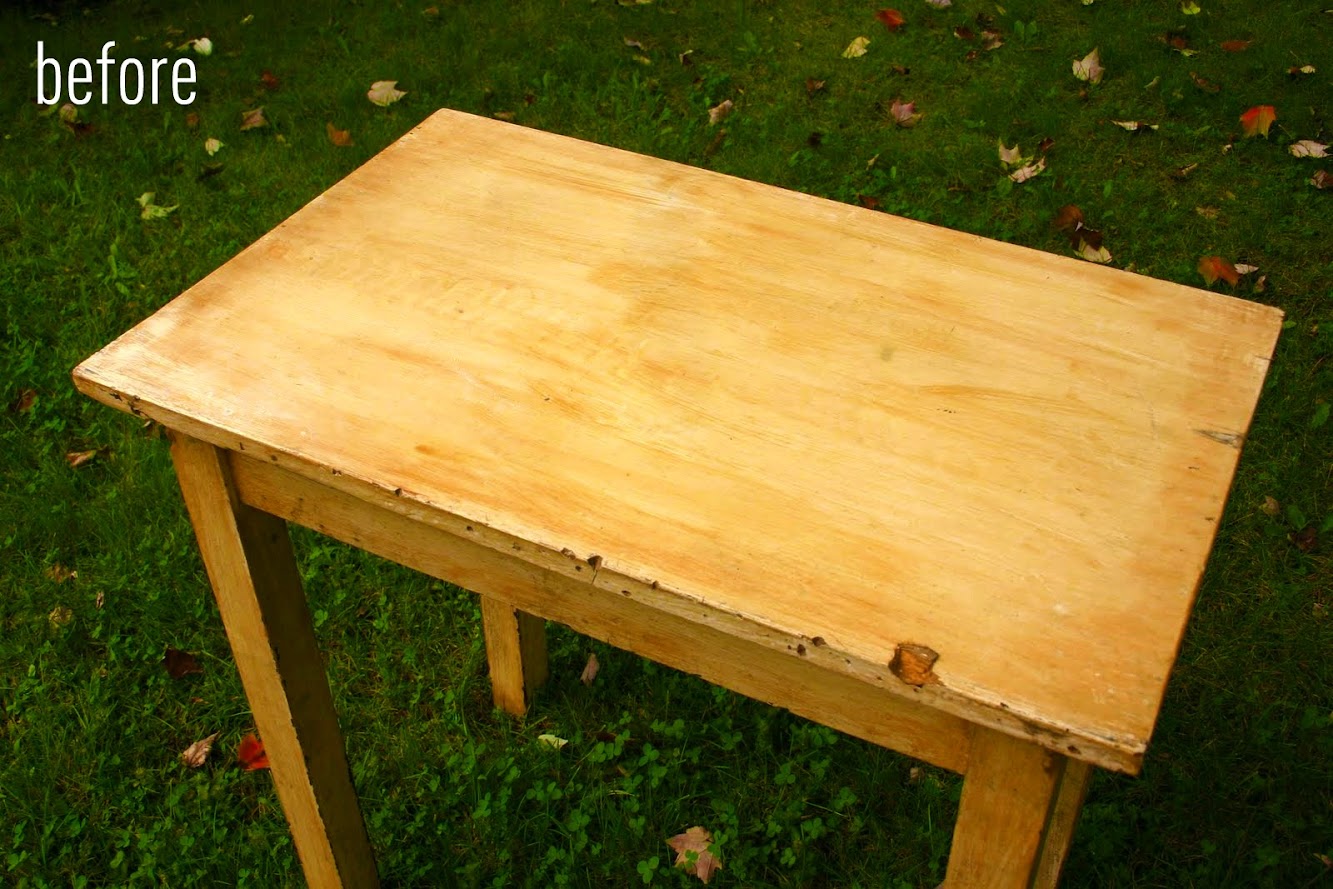
Antique Table Turned Vanity {Bathroom Redesign Update}
Blogging 2 Better Summer Challenge

Christmas Shopping, anyone?

Board & Batten Love

Barnwood Artwork

Fab Find Friday

The Curtain Solution {DIY Painted Curtains}
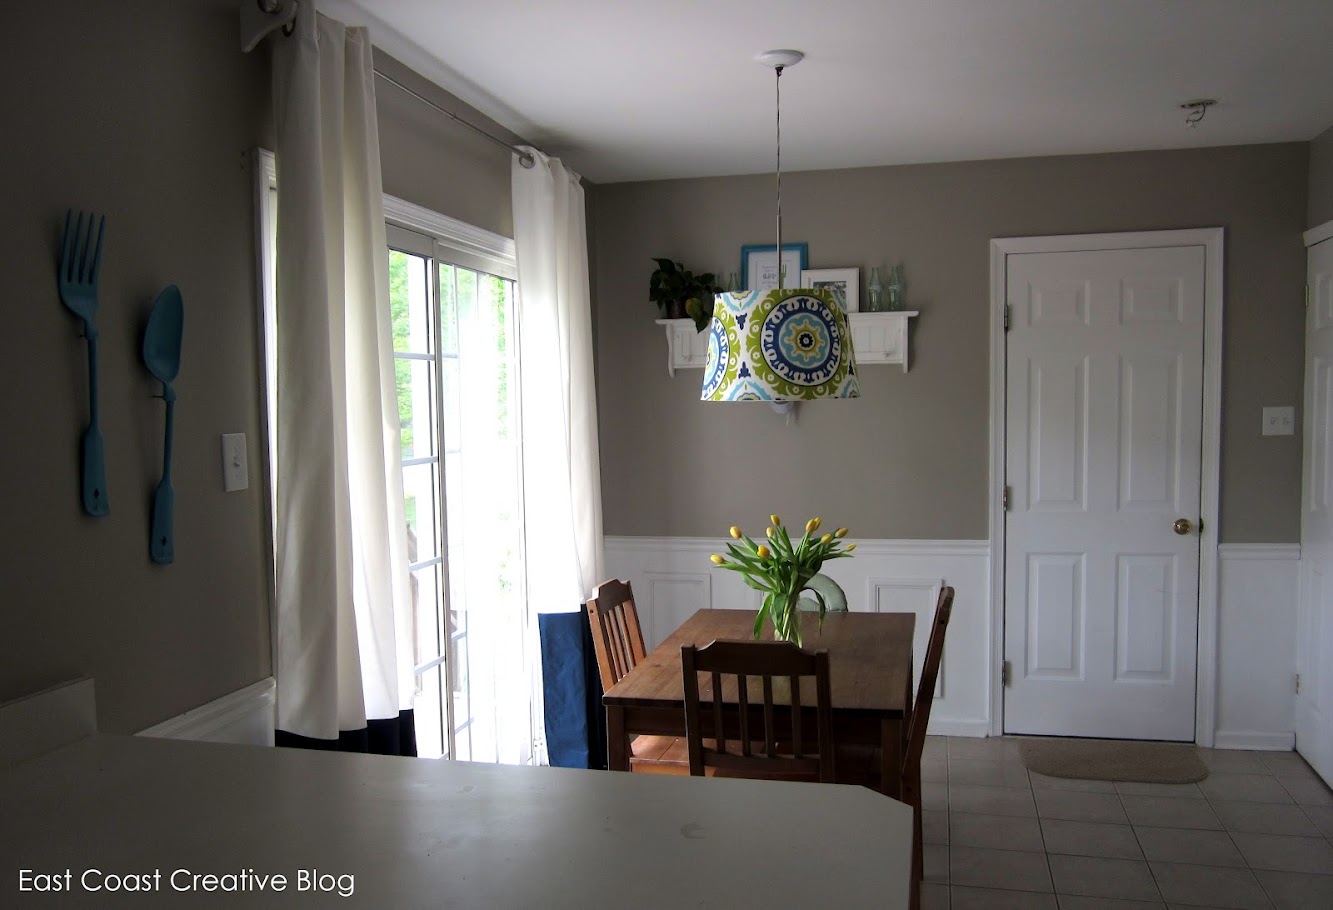
Making the Master our Own

Short & Sweet

Wood Grain Christmas Countdown 2012

Fab Find Friday- ZOTS!
DIY Fabric Flower Bouquet {My Girlish Whims}

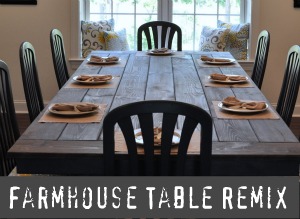
Farmhouse Table Remix {How to Build a Farmhouse Table}
Anthro Ordinal Dresser {Knock Off Style}

Creating with the Stars on EC2!


