My Creative Blog [Search results for Vacation]
House Snooping {Oxford, Maryland Vacation}

A bunch of Fun Stuff

Disney Recap {and awesome blog alert!}

Travel-Inspired Design {Part 1}

Merry & Bright Christmas Inspiration

These are a Few of our Favorite Things {Sponsor Spotlight}

FOR SALE!

Travel-Inspired Design {Part 2}

Adios Amigos Day 3 {Living with Lindsay}

Photobooks

Fab Find Friday {super-cool blog}

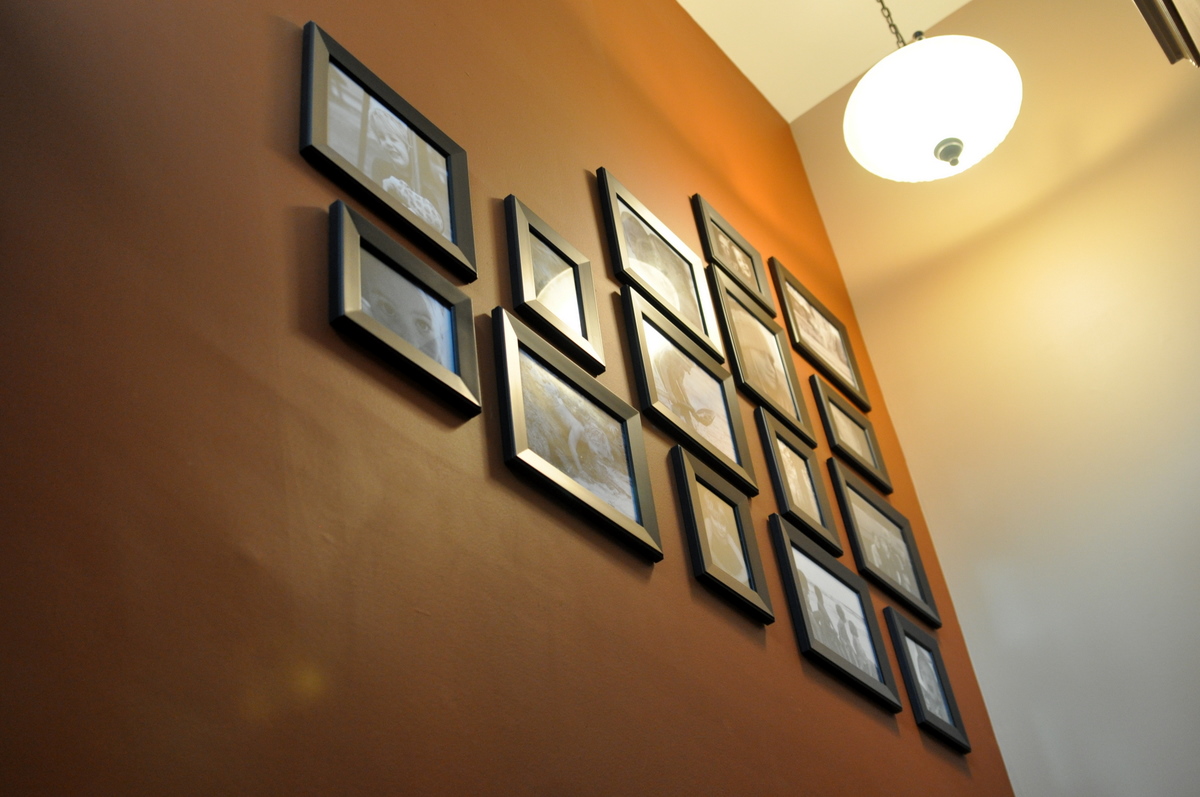
Gallery Walls {We Love Them}
Tie Dye Pennant Banner & Sign

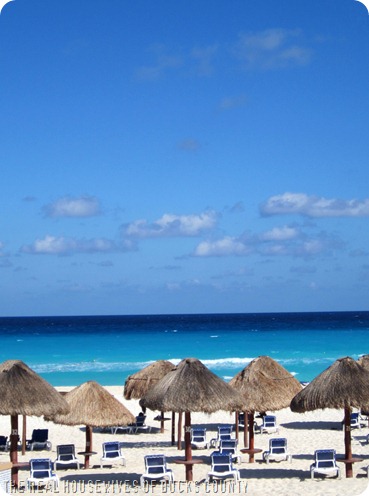
Mexican Dream {Iberostar Cancun}
DIY Shutters and Window Box

Christmas Vacation {Not just for the kids!}

How to Make a Pallet Crate {the space between}
Does anybody else love Coordinates?

Fab Find Friday {The BEST One Yet!}
Colour me happy