My Creative Blog [Search results for The Farmhouse]
Farmhouse Table Remix {How to Build a Farmhouse Table}
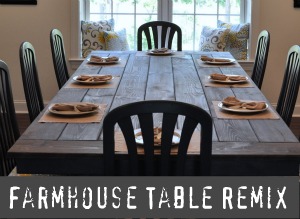
Farmhouse Table & Freebie Chairs

The Living Room: Before and After

Landscape Design

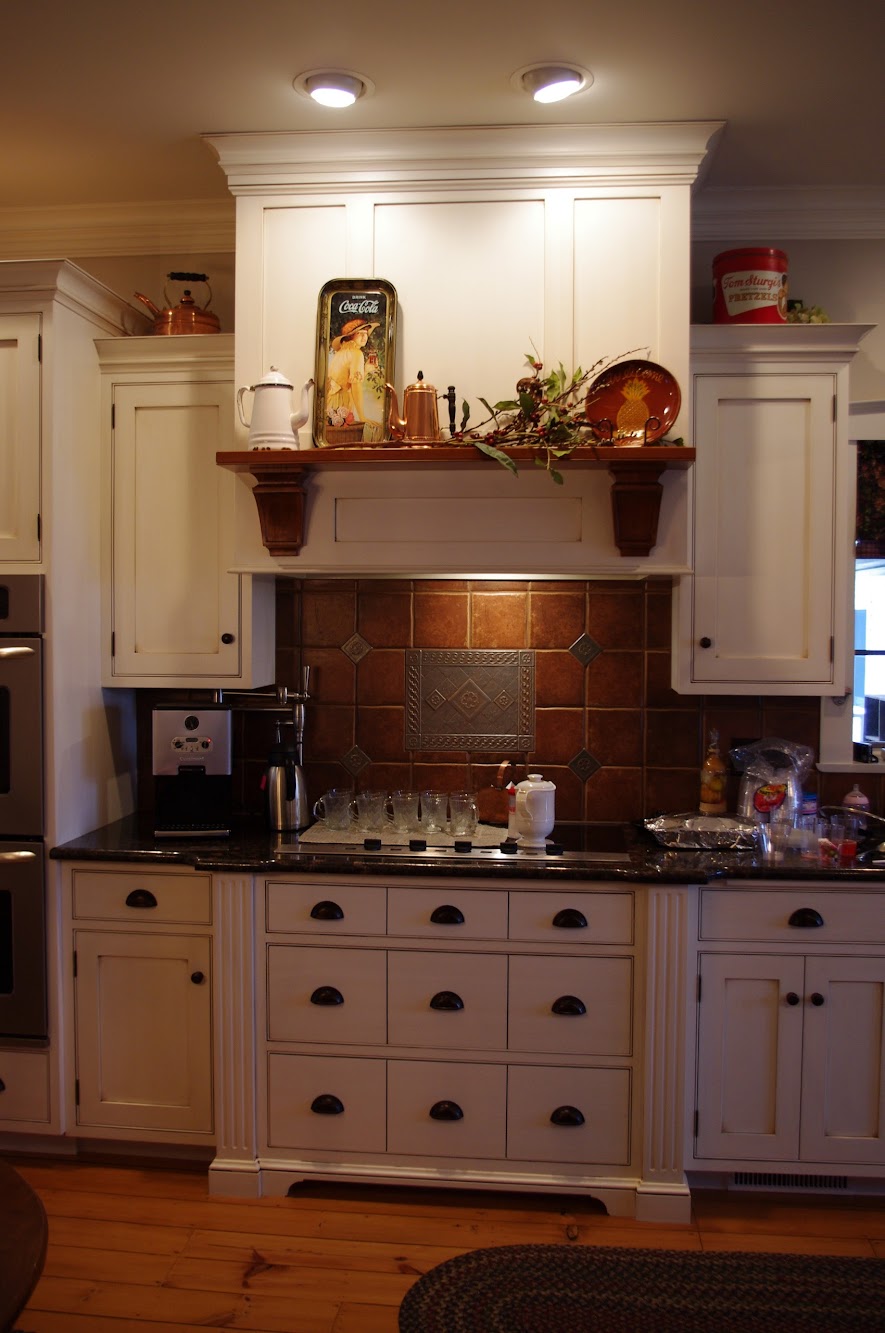
Kitchen Envy
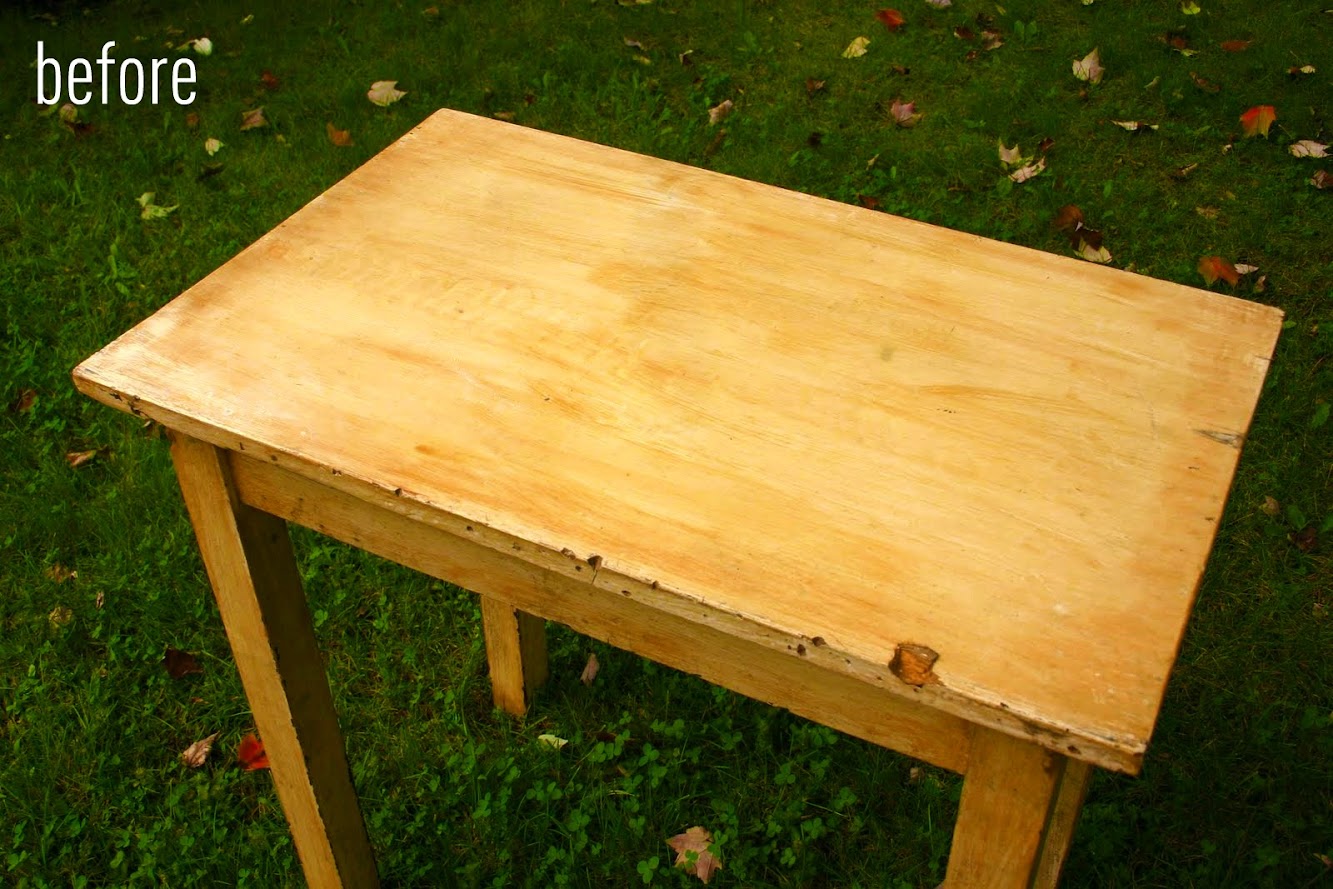
Antique Table Turned Vanity {Bathroom Redesign Update}
Kitchen: Part Two

The Original Funkmaster… My DIY Dining Room and CWTS Updates!

DIY Patio Reveal {It's Finally Here!}
Dining Room — After

Anthro Ordinal Dresser {Knock Off Style}

Multi-Tasking

Hello World

Top 11 projects from 2011 {Monica's Recap}

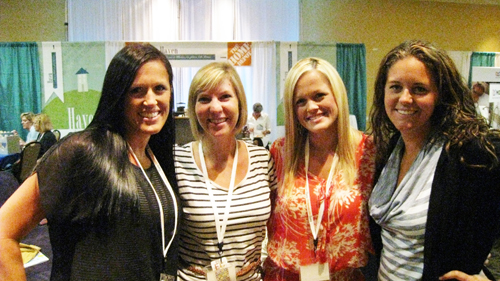
Who are the Real Housewives of Bucks County???

DIY Photo Block Display {Shanty 2-Chic}
Modern Country Designs…Say What?
Custom Kids' Picnic Table {Knock It Off DIY Project}

Teacher Love {B2S Day 3}

Right Now… What's going on in our World.

