My Creative Blog [Search results for The Barn]
Moving along & Buttoning things up!

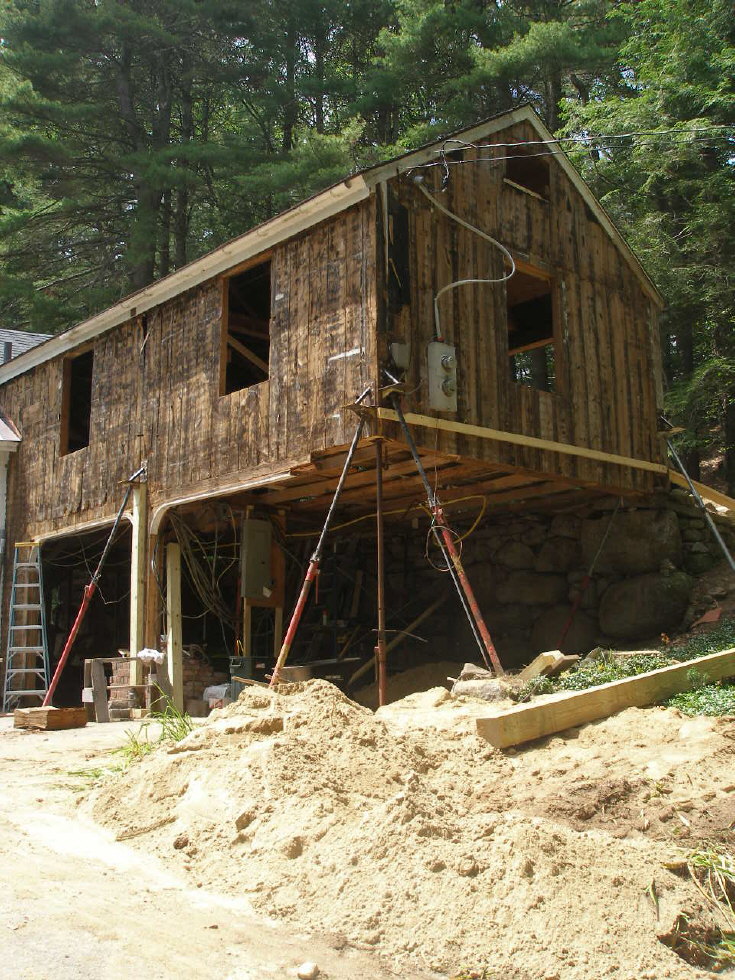
Barn Renovation Part 2: An Engineering Feat!
Barn Renovation Part 3: The Journey Continues & Thank you

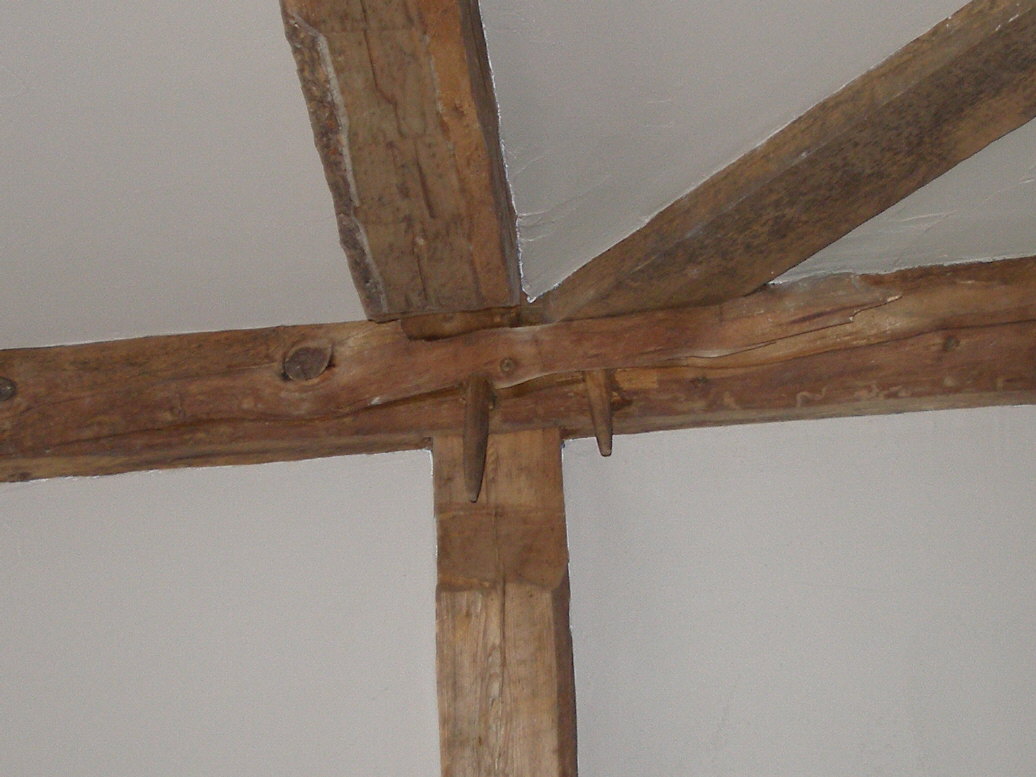
It's in the Details!

Windows & the Annex

Details: Mister man Built a little somethin'

DIY Barn Meets Beach Coffee Table

The Sauna

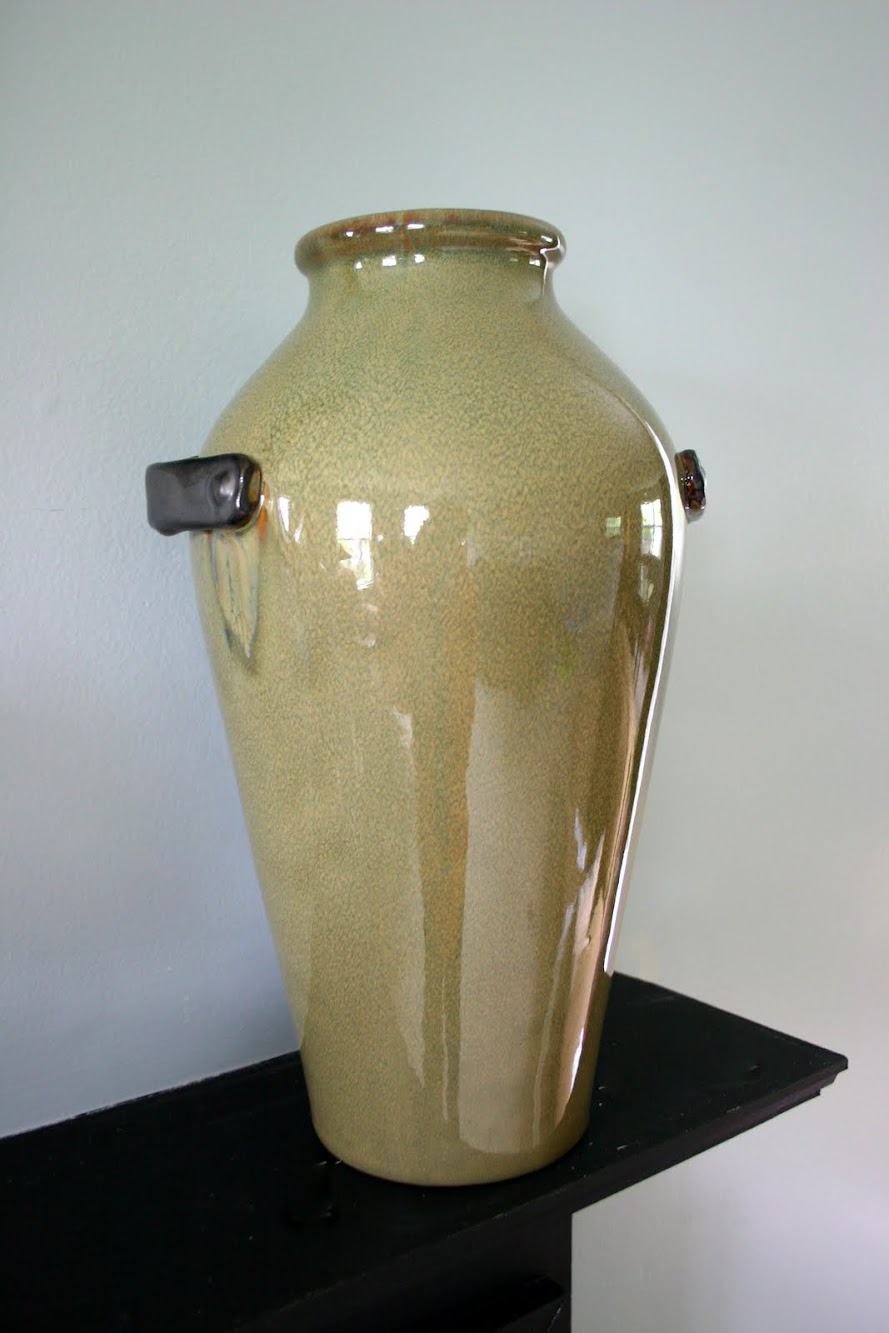
Finding Treasures {Flea Market Hunt}
Years in the Making!
A Secret Barn

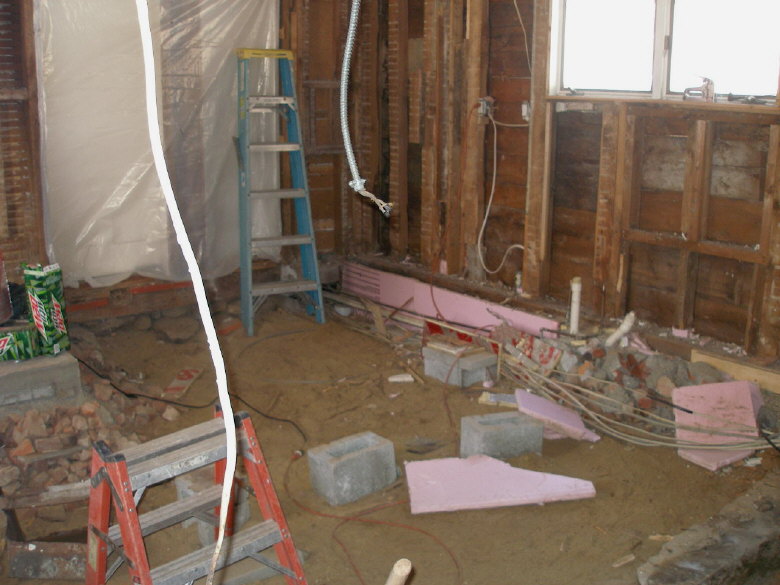
A Clean Slate

The Bench

DIY Shutters and Window Box

DIY Console Table {A Pottery Barn Knock Off}
Hello World

Kitchen Renovation: Before and After
That boy sure is handy!

DIY Barnwood Shelves

Barn Sale Treasure! {DIY Chalkboard Mirror}
