My Creative Blog [Search results for Pin it]
DIY Pendant Light & Custom Shade

Once a Month Lunches {20 minutes: 35 sandwiches}
Frame your own HUGE Photo for Under $20!
Ginormous Family Art {With an Industrial Flare}
Monica's Christmas House Tour 2012

For all you Tomboys out there…

Top Projects 2012

Birds on Vintage China Patterns

Project Time!
Creating with the Stars Round 1 Voting

Top 11 Projects of 2011 {Jess' Recap}

Wood Grain Christmas Countdown 2012

How to Make Domino Jewelry

Nate's 12 Days of Holiday DIY's {Day 11: The Details}

Favorite Things Party

A Transformation Story {Be Intentional}

12 Awesome Fabrics {Arrows, Stars, and Narwhals Oh My!}

{Design it Forward}

A Pinteresting Home! {Meet Kelly}
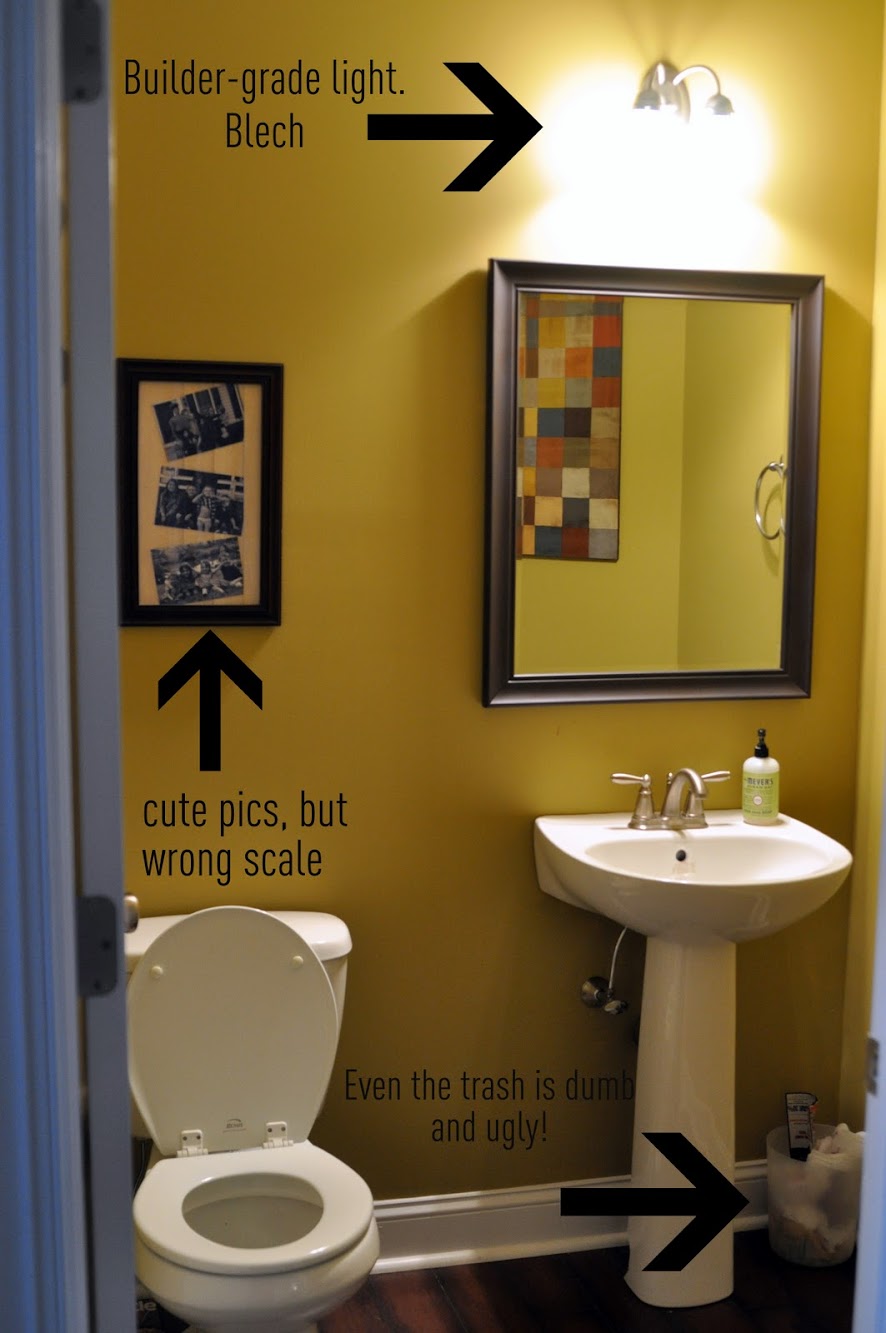
Ugly. Ugly. Ugly.