My Creative Blog [Search results for Pin]
Birds on Vintage China Patterns

How to Make Domino Jewelry

Project Time!
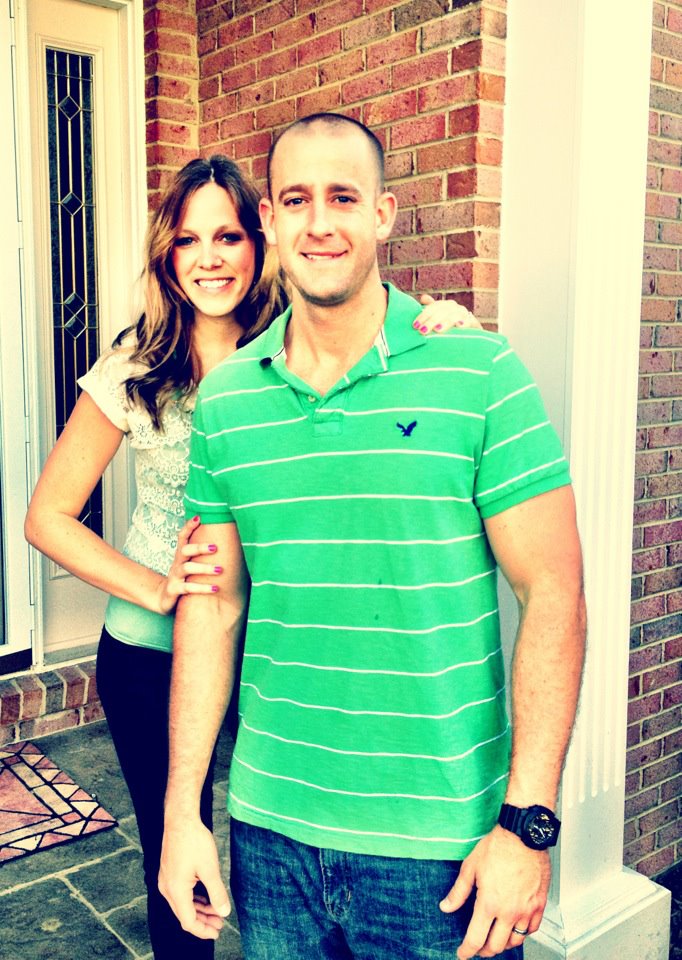
A Pinteresting Home! {Meet Kelly}
For all you Tomboys out there…

I Heart Fiesta & My Fiesta Hearts Me

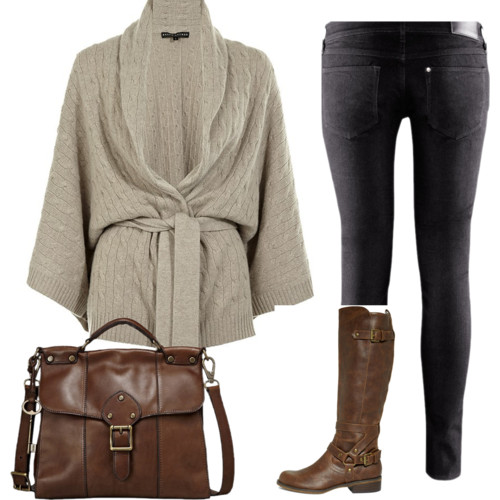
Classic, Timeless Style {FOSSIL Vintage Revivals Handbag GIVEAWAY!}
Adios Amigos Day 4 {Sew Dang Cute Crafts}
DIY Pendant Light & Custom Shade

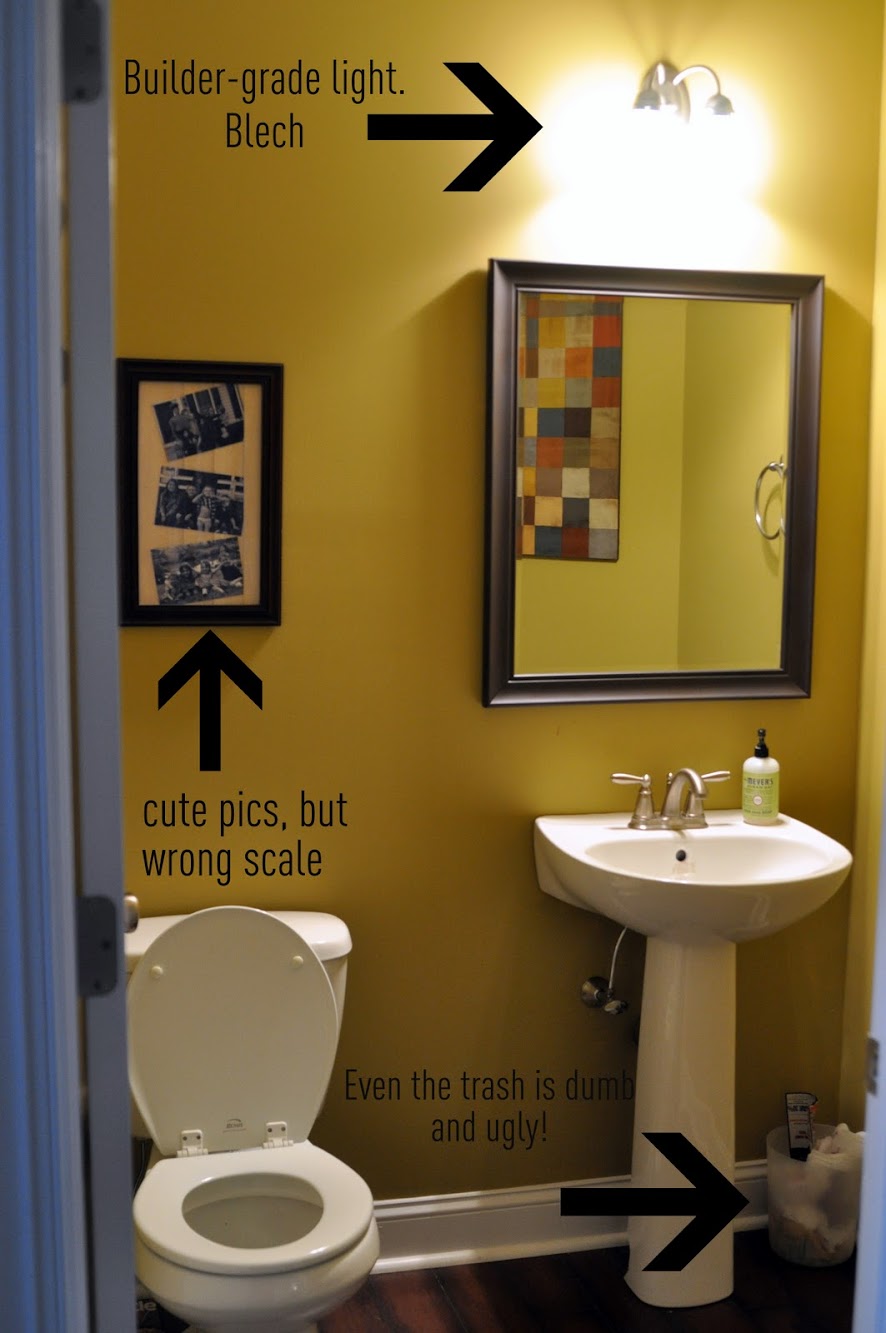
Ugly. Ugly. Ugly.
Monica's Christmas House Tour 2012

Favorite Things Party

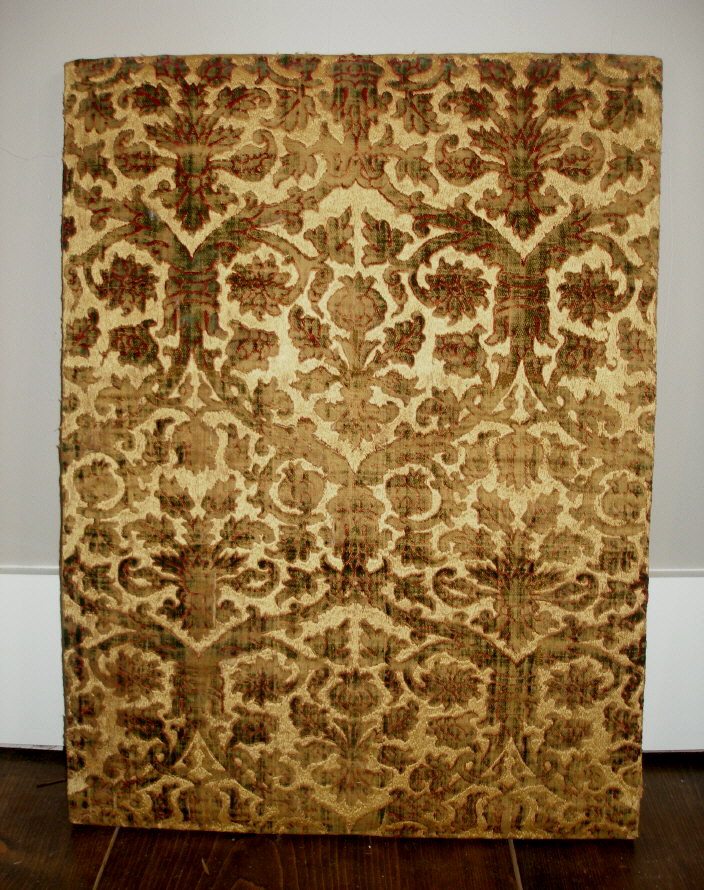
Fabulous Fabric Wallpaper

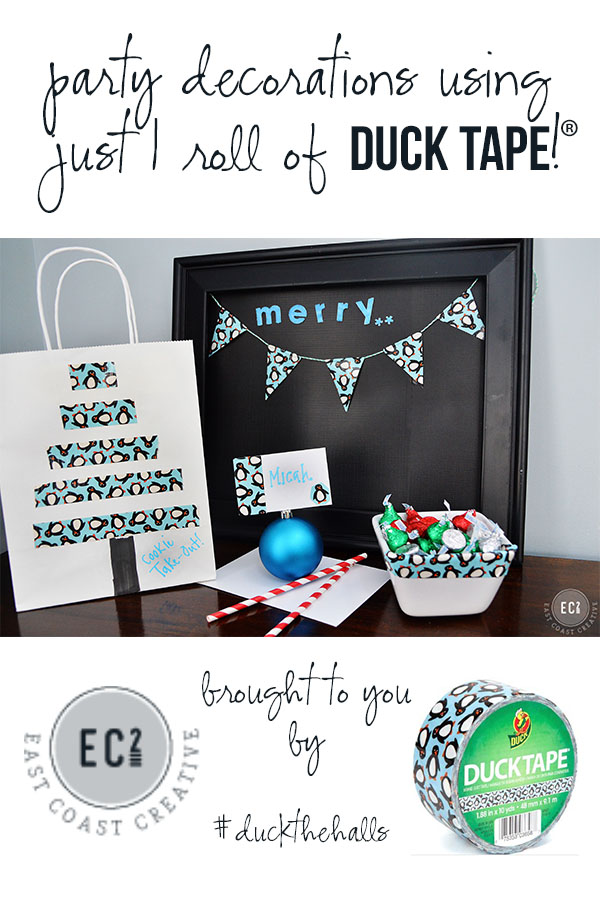
Decorate for a party using just 1 Roll of Duck Brand® Tape: Cookies & Carols
I Was Once Broken... Jewelry Made From Broken Calendar Plates

12 Awesome Fabrics {Arrows, Stars, and Narwhals Oh My!}

Wood Grain Christmas Countdown 2012

Top Projects 2012

How To Make Pysanky (Ukrainian Easter Eggs)

Love This Etsy Treasury!


