My Creative Blog [Search results for Part-Time Blogger]
Advice for the Part-time-Blogger {Part-Time Bloggers Dilemma Part 2 }

The Part-Time Blogger's Dilemma {Let's Be Honest}

Blogging 2 Better Summer Challenge

Teacher Love {B2S Day 3}

Photobooks

How to Paint a Mosaic Accent Wall {Bedroom Makeover}

{Blossoming Business} Guest Blogger

Pallet Possibilities {How to Build a Wooden Pallet Wall}

New Curtains {REAL Confessions}

Happy 2nd Blogiversary to Us!

79 Valentines & An Instagram Valentine's Idea
The Countdown is On! {CWTS 2013}
The Official Countdown
Fab Find Friday {Contact Us- Help a Reader Out}

Done…for now! {Kitchen Renovation Update}

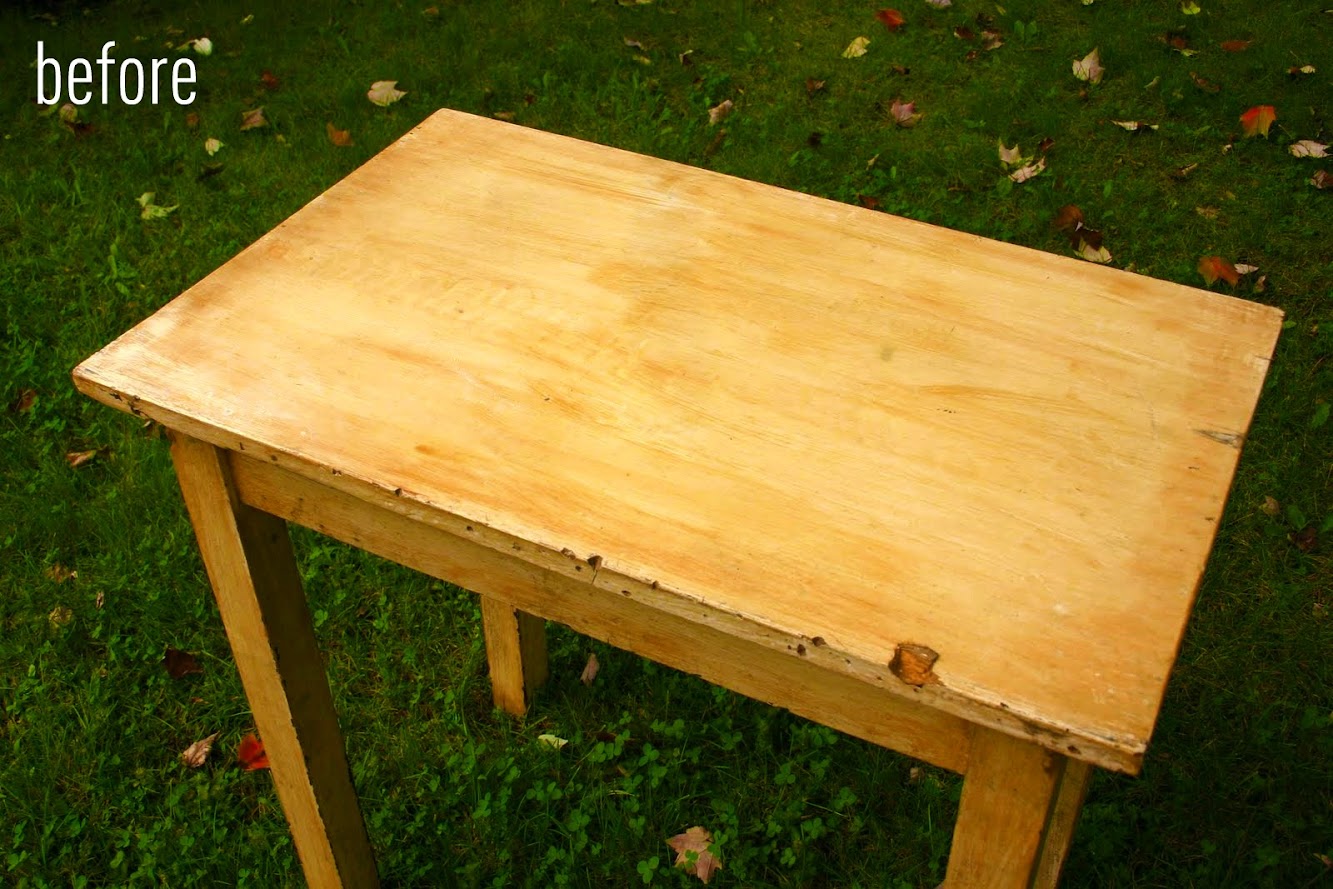
Antique Table Turned Vanity {Bathroom Redesign Update}
Adios Amigos Day 1 {Infarrantly Creative}

Fab Find Friday {super-cool blog}

Bloggers Rock!

Journey to a Vertical Garden Part 2 {Home Depot #Dig In}

