My Creative Blog [Search results for Pallet]
Pallet Possibilities {How to Build a Wooden Pallet Wall}

How to Make a Pallet Crate {the space between}

Pallet Love {And Giveaway Winner Announced!}

Pallet Possibilities

How to Make a Pallet Garden

Wooden Memo Board
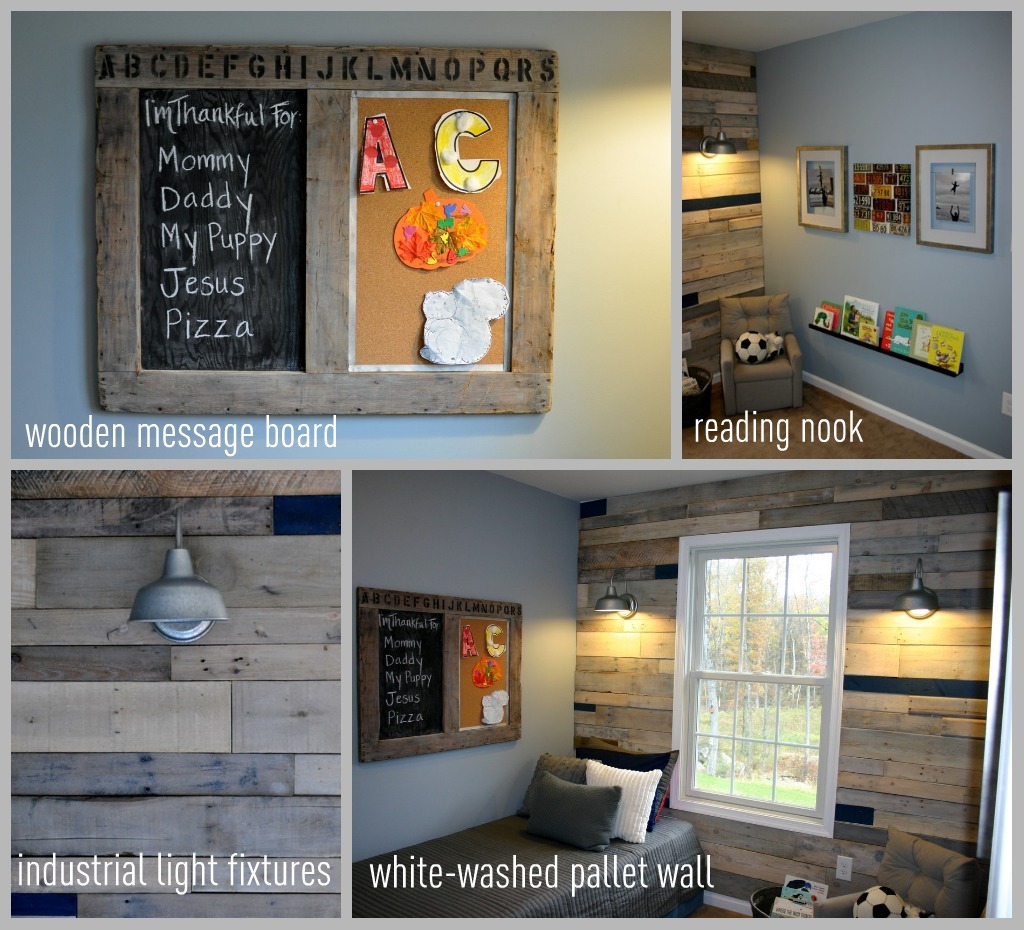
Nate's 12 Days of Holiday DIYs {Day 8: Pallet Wall Take 2}

Blogging 2 Better Summer Challenge

CWTS Updates, Link Up, and some Favs!

DIY Headboards

Top 11 projects from 2011 {Monica's Recap}

Journey to a Vertical Garden {The Home Depot #Digin}

Top 11 Projects of 2011 {Jess' Recap}

Philadelphia Home Show

Illuminated Deer Art

25+ Upcycle Ideas & Ikea Hacks

The Painted Home {Guest Post}

A Big Day!

Fall & Halloween Porch Decor
Colorful Bedroom Makeover {KJ's Bedroom}


