My Creative Blog [Search results for Make a wish....]
Creating with the Stars Round 1 Voting

Spring Things {Spring Mantle Inspiration}

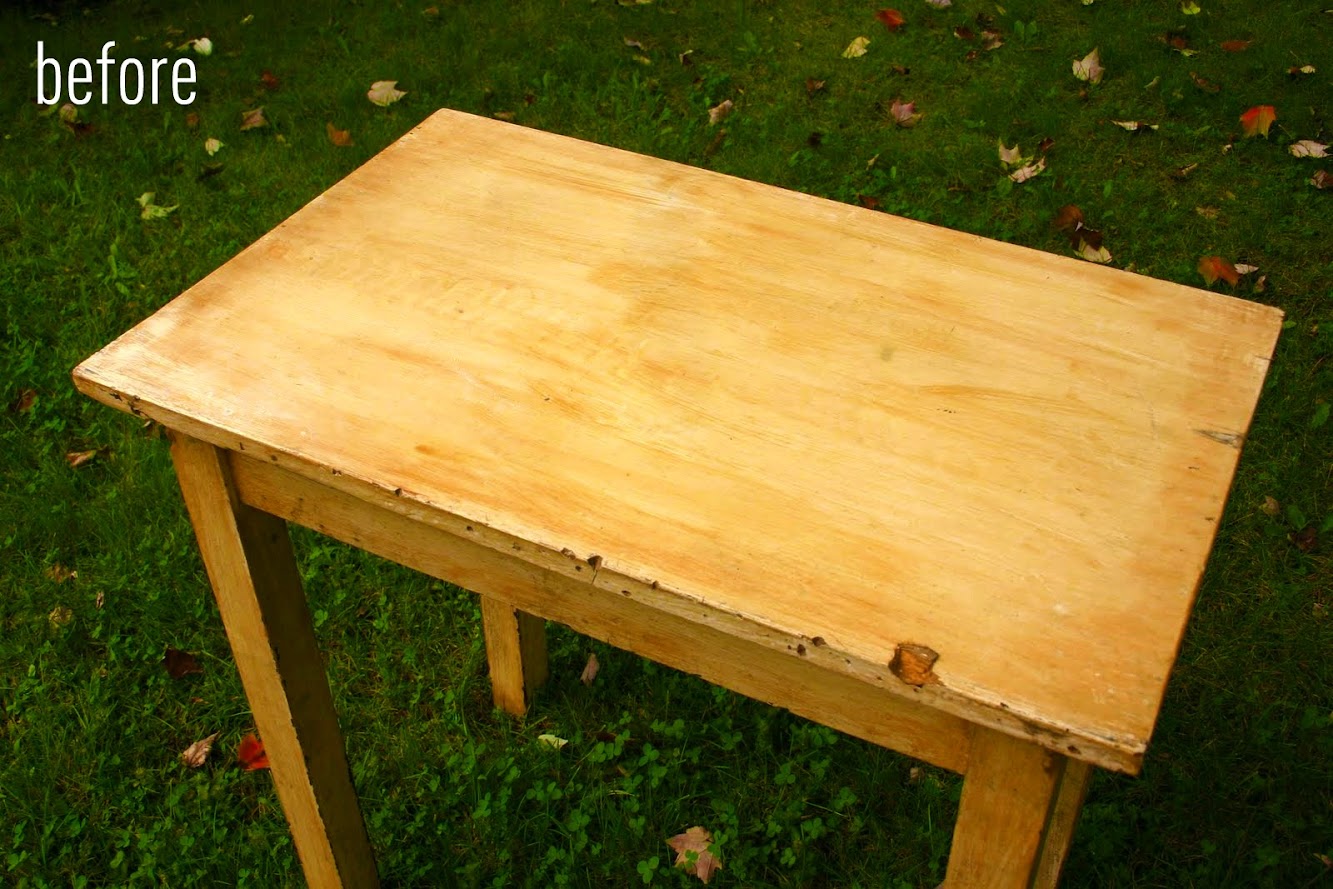
Antique Table Turned Vanity {Bathroom Redesign Update}
Ladies Night Out DIY White Box Challenge!

How to Paint a Mosaic Accent Wall {Bedroom Makeover}

Bicycle Wheel Clock {Thistlewood Farms}

Transformed Beverage Cart & Details {The Nate Show}
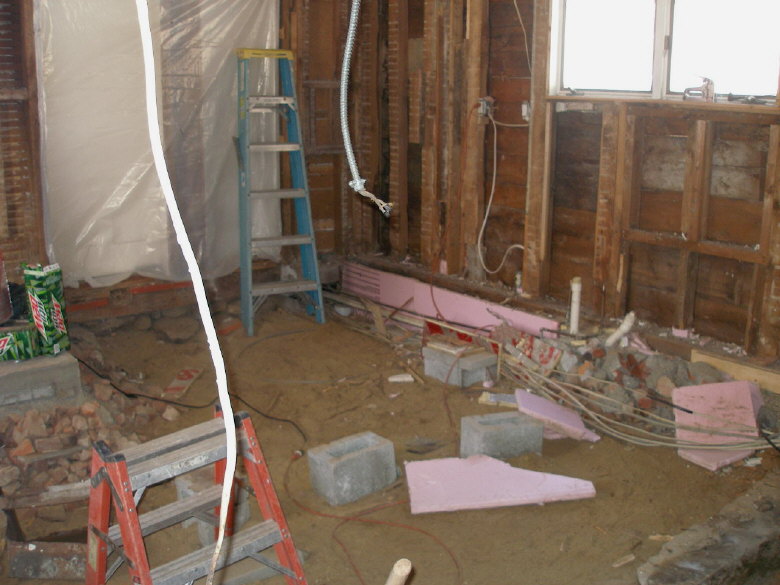
Kitchen Renovation: Before and After
Brass Fireplace Update

Creative Pumpkin Decorating Ideas 2012

Holiday Your Way with Bed Bath & Beyond
How to Make a Gender Reveal Box (that has style) and Plan an Epic Gender Reveal!

Babysitting Swap

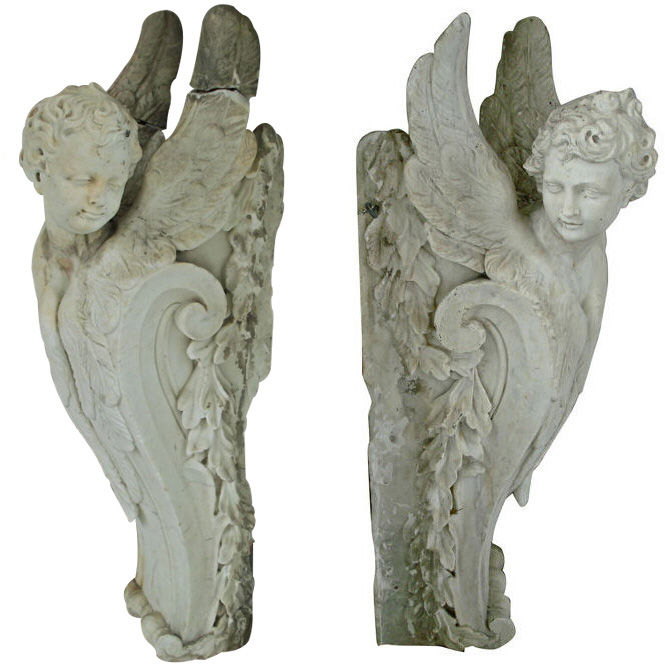
1stdibs, a New Record!
A New Look {Free Firmoo Glasses}
True Confessions of a Blogger {and a Giveaway}

Blank & White
Not your Mama's Pumpkin!

Journey to a Vertical Garden Part 2 {Home Depot #Dig In}
Welcome {To My Entryway}

