My Creative Blog [Search results for Kids]
{Grow}

Something to Celebrate {B2S Day 4}

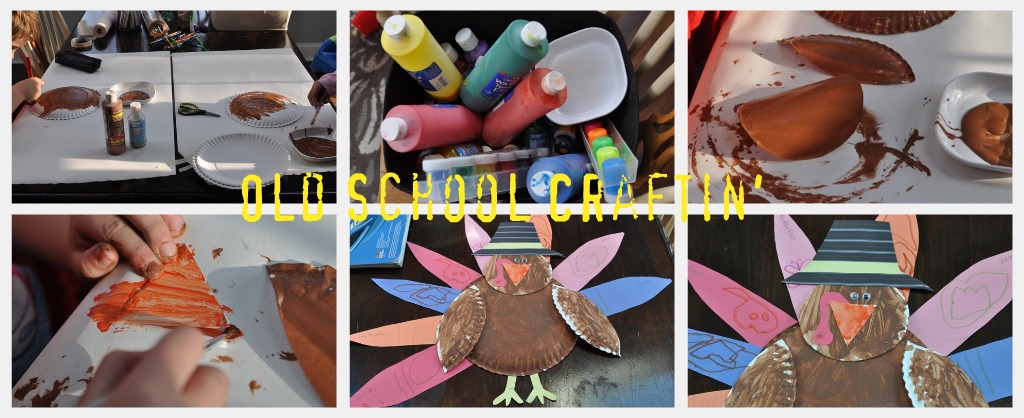
10 Fall Kids' Crafts

I Wonder if they'll eat it? {Wonder Bread Review & Giveaway)

Fab Find Friday

B2S Fashion

Teacher Love {B2S Day 3}

Monster Mash Candy"Bowl" with Martha Stewart Crafts

Make Homework Happy {B2S Day 2}

Father's Day Gift Round-Up

Thanksgiving #1 and Dining Room Update!
Kids Desk & Craft Area

Kids Printable Olympic Medal Tracker

Interactive Playroom Wall {Five Foot Twelve Creations}

79 Valentines & An Instagram Valentine's Idea
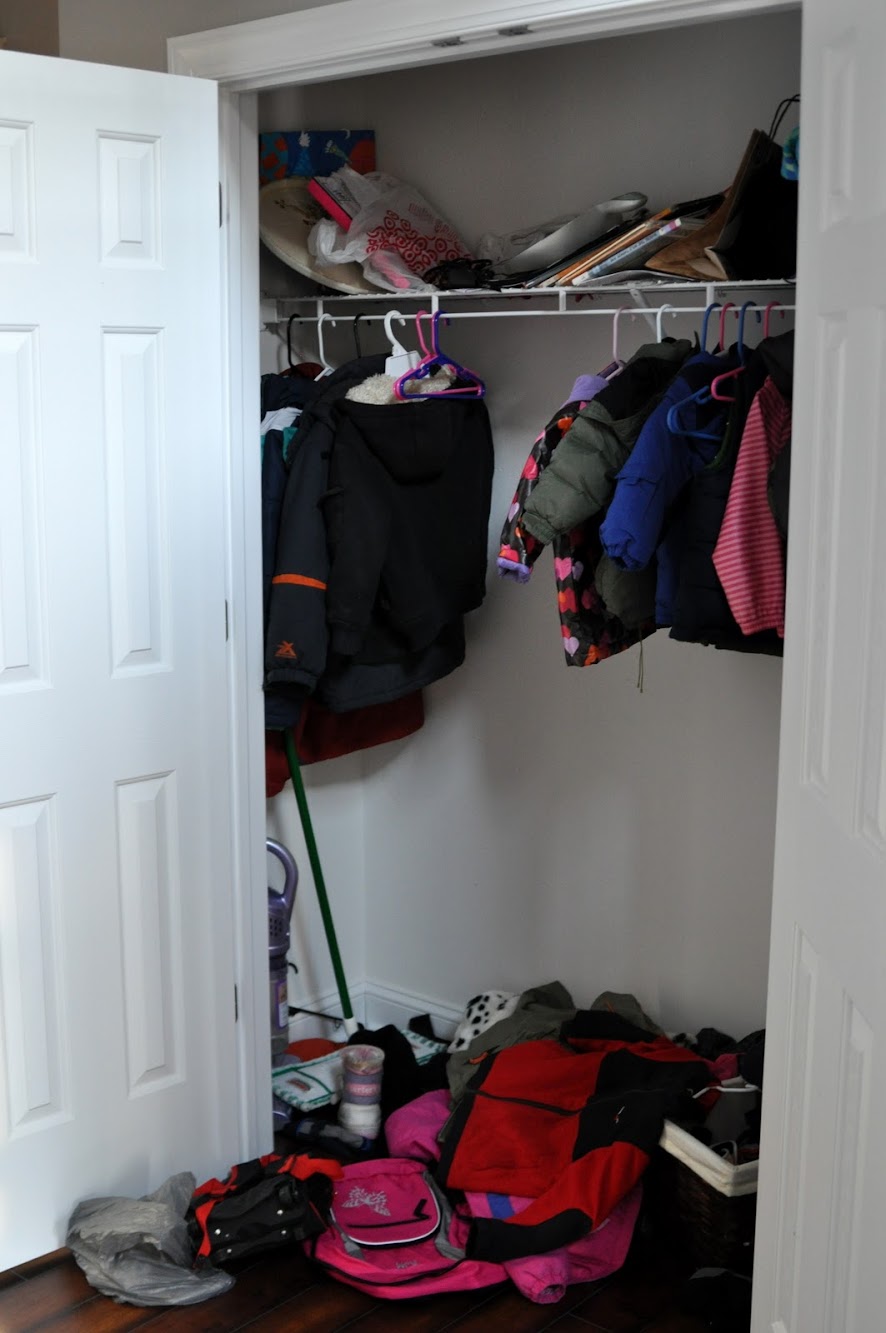
Garage Mudroom Makeover {For the REAL Family}

Want vs. Need
4 Tips for Taking Fabulous Pics of your Kids {GIVEAWAY}

Pallet Possibilities

Kid-Friendly Design: A Gallery Wall With Staples Engineer Prints


