My Creative Blog [Search results for Conference]
How to Build a Patio- Update # 4
Haven 2012 {Conference Recap}

We're Going to Haven! (Blog Conference)

Dining with Daffodils

Jewelry Organizer {The Ugly Duckling House)
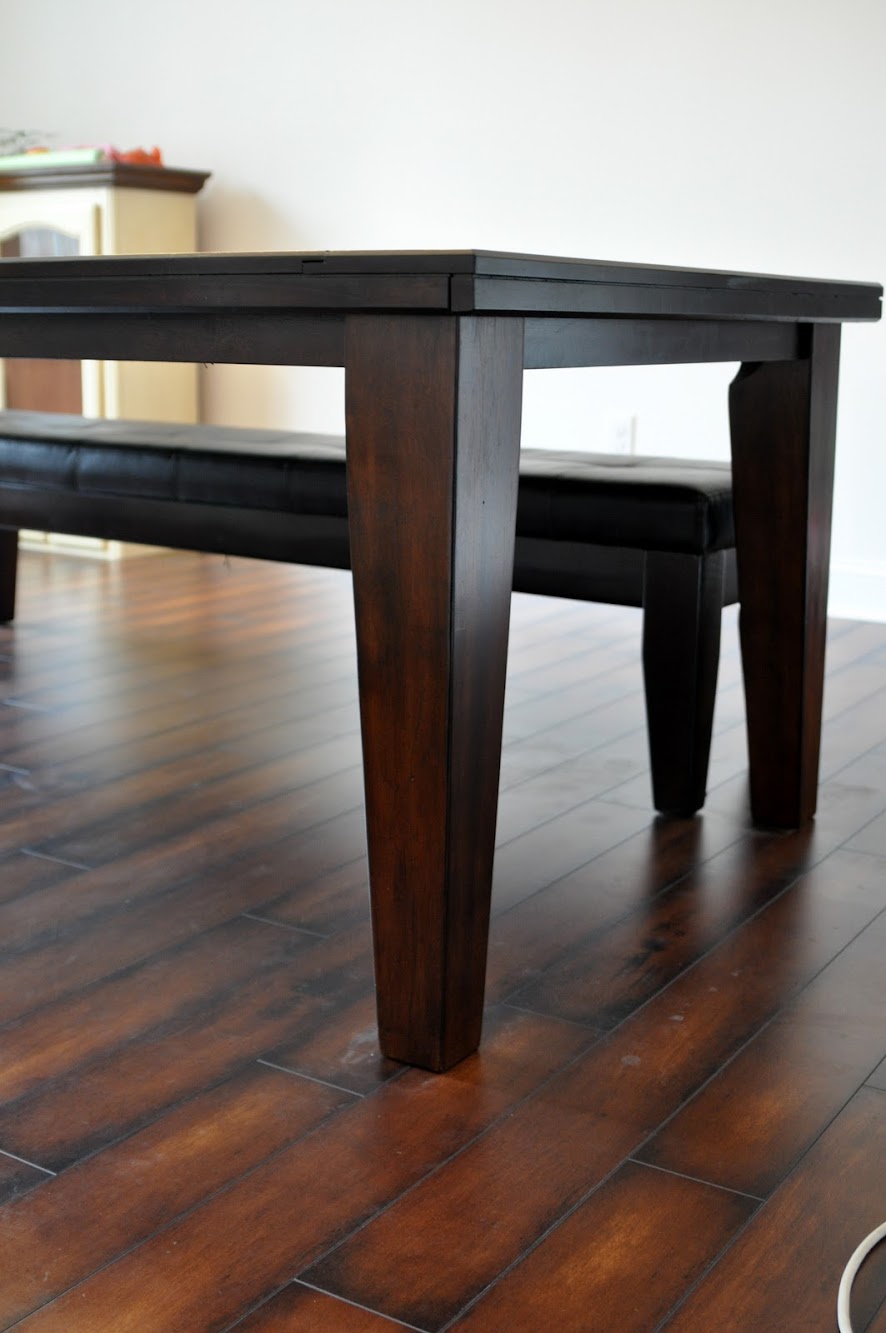
The Evolving House: Dining Room Table Conundrum
Advice for the Part-time-Blogger {Part-Time Bloggers Dilemma Part 2 }

5 FREE Home Decor Projects {Free Stylin' Beth)

Make your own Cube Puzzle {Jamie from C.R.A.F.T}

How to Cut a Perfect Mohawk using Frog Tape!


