We have another one of our Haven Conference pals visiting today! Story time: Jess and I were at Haven and noticed one of the cutest girls ever. We're talking adorable outfit, super no-fuss look, but yet perfectly put together. Then we both had a discussion about how I probably should go change my outfit because I tend to lean towards the overly casual side of fashion (what? My Phillies tee wasn't a good choice?). Anyhow, the adorable girl ended up being even cooler once we met her. Let us introduce you to Jamie!
Jamie has some awesome projects on her blog, but recently she hit a major home run with this cool kitchen organizer.

It is modern, awesome, and was featured by Design Sponge. Yup, we're talking the real-deal folks! So without further ado… Welcome to EC2 Jamie! -----------------------------------------------------------------------------------------------------------

I blog over at C.R.A.F.T., where I Create Really Awesome (mostly) Free Things (it's a nifty little acronym) for your home (junk drawer organzier), wardrobe (pillow case skirt), kitchen (jalapeno hummus), and kids (dot painting)! I 'm super excited to be guest posting on East Coast Creative today… I met these awesome ladies in real life at Haven in July. I like them and their blog even more now: ) Today's tutorial is a great summer time craft since it is fun for kids and adults… It's a puzzle cube!

You'll need:
- wood glue
- q-tips
- paint
- wooden cubes
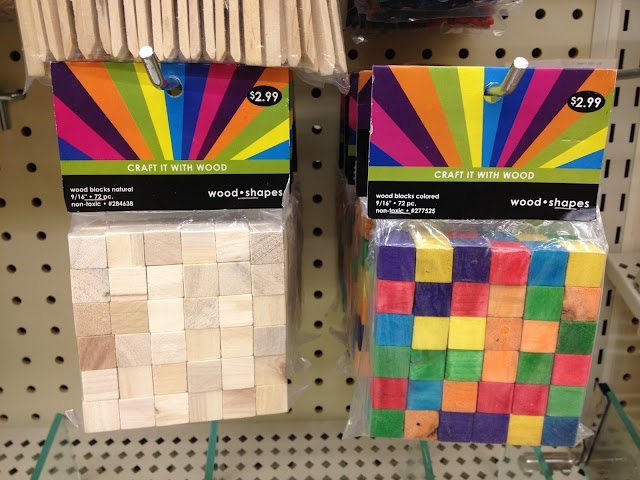
You can get these at Hobby Lobby or any local craft store: Here's what I did to make my cube puzzle…

Let me explain:
- Step 1: Count out 27 cubes
- Step 2: Build your 3x3 cube so you have something visual to work with…
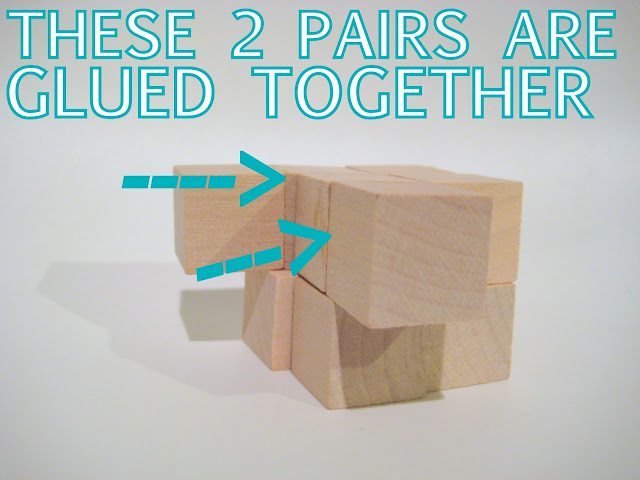
- Step 3: Use a q-tip to carefully start gluing your cubes together. It gets kind of tricky.
- Step 4: A few times I glued only 2 cubes together so I could keep the 3x3 cube shape, and better see what I'm working with.
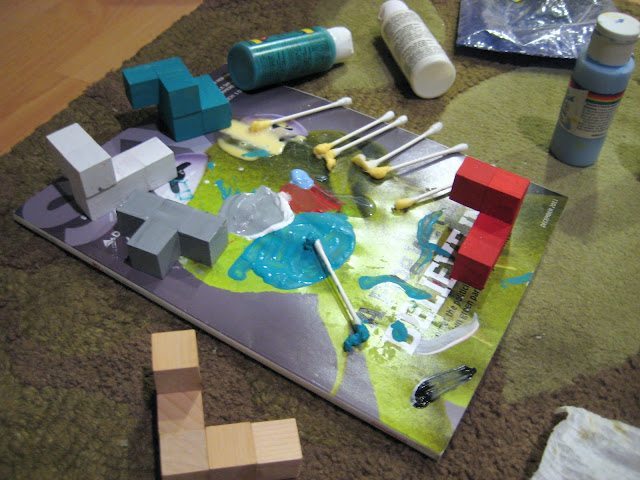
Now, it's time to paint… I picked an Americano theme only because those are the Plaid paints I had on hand. I don't suggest painting with q-tips… I tried since the Q-tips were out and I didn't want to dirty a paint brush… trust me on this one, it's not worth it: ) Not to mention, why I tried to paint and glue on a magazine, another dumb move… I could have at least opened the magazine up for more surface area!
I used sand paper after the cubes dried because a few pieces were clumpy. I like how it turned out. Take a few pictures like the ones below so that you can remember how the pieces go back together!


Fun and easy, right? If you like the puzzle cube, check out more C.R.A.F.T. projects to keep you and kiddos happy, entertained, and creatively inspired this summer! -------------------------------------------------------------------------------------------------------------- Thanks so much Jamie! I think this would look really cool as an accessory in my family room. It's functional and trendy looking. My ten year old now has a project to keep her busy this weekend! Thanks Again!