My Creative Blog [Search results for Chalk Paint]
Simple Fireplace Upgrade {Annie Sloan Chalk Paint}

Stenciled Faux-Tile Fireplace {Tutorial}

Annie Sloan Chalk Paint {Fab Find Friday}

Green Painted Piano {Annie Sloan Chalk Paint}

Creating with the Stars Round 3 Link Up Winner

Side Table Makeover {Annie Sloan Chalk Paint}

Creating with the Stars Round 3 Voting
A Plain Pot: 3 Ways

Refinished Dining Room Table {Furniture Makeover}
Haven 2012 {Conference Recap}

Curb Appeal

How to Paint a Mosaic Accent Wall {Bedroom Makeover}

Chalkboard Door {Garage Entry}

Antique Doorknob Decor {Being Brook}

Boring Kitchen No More! {Chevron Wall}
How to Paint a Whiteboard Wall
Interactive Playroom Wall {Five Foot Twelve Creations}
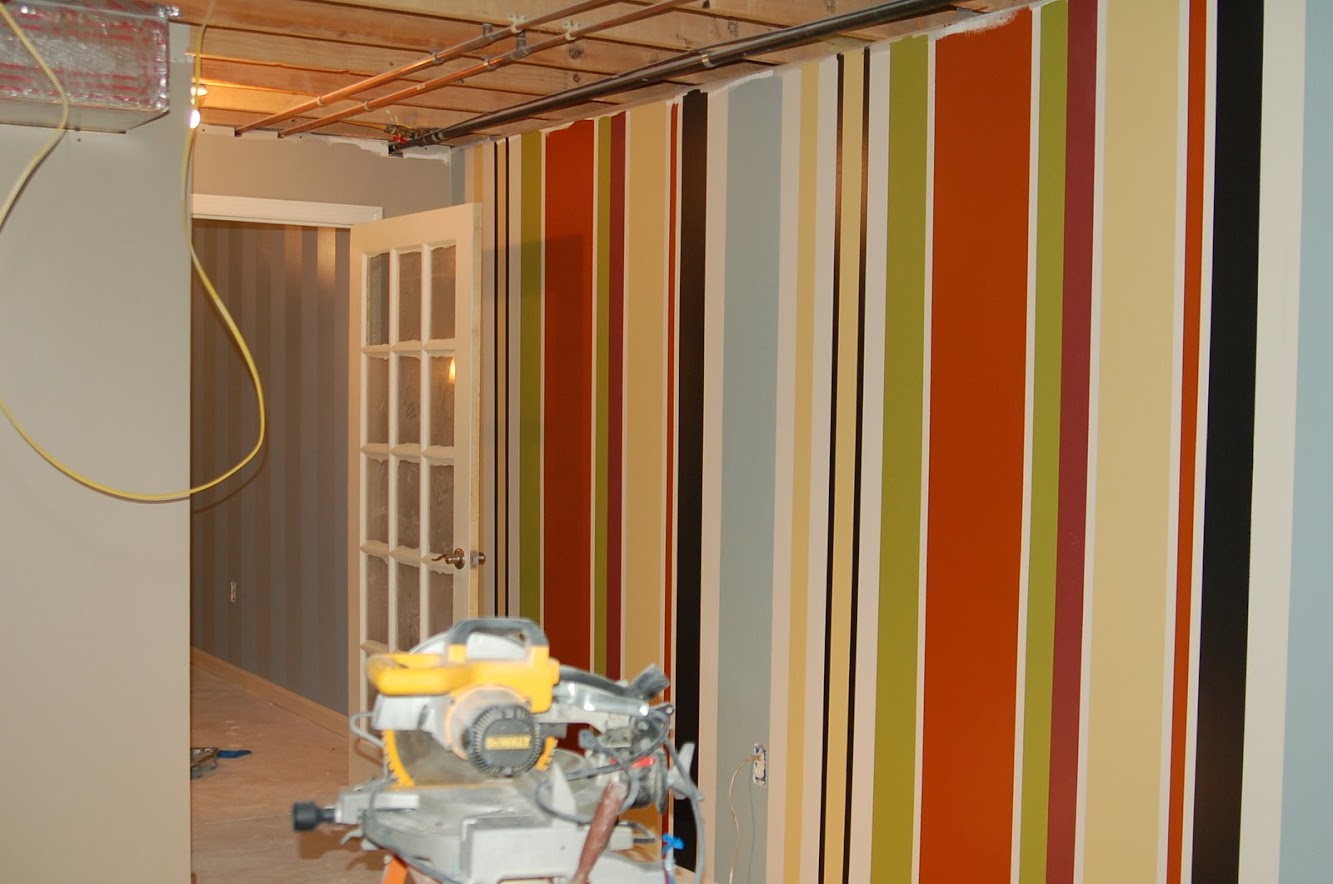
Journey to the Perfect Stripe
Monster Mash Candy"Bowl" with Martha Stewart Crafts

Orange, Gray & Mint Nursery Reveal