My Creative Blog [Search results for Canvas]
Fall Kickoff Giveaway! {FREE Canvas for You!}

Free Canvas for You!

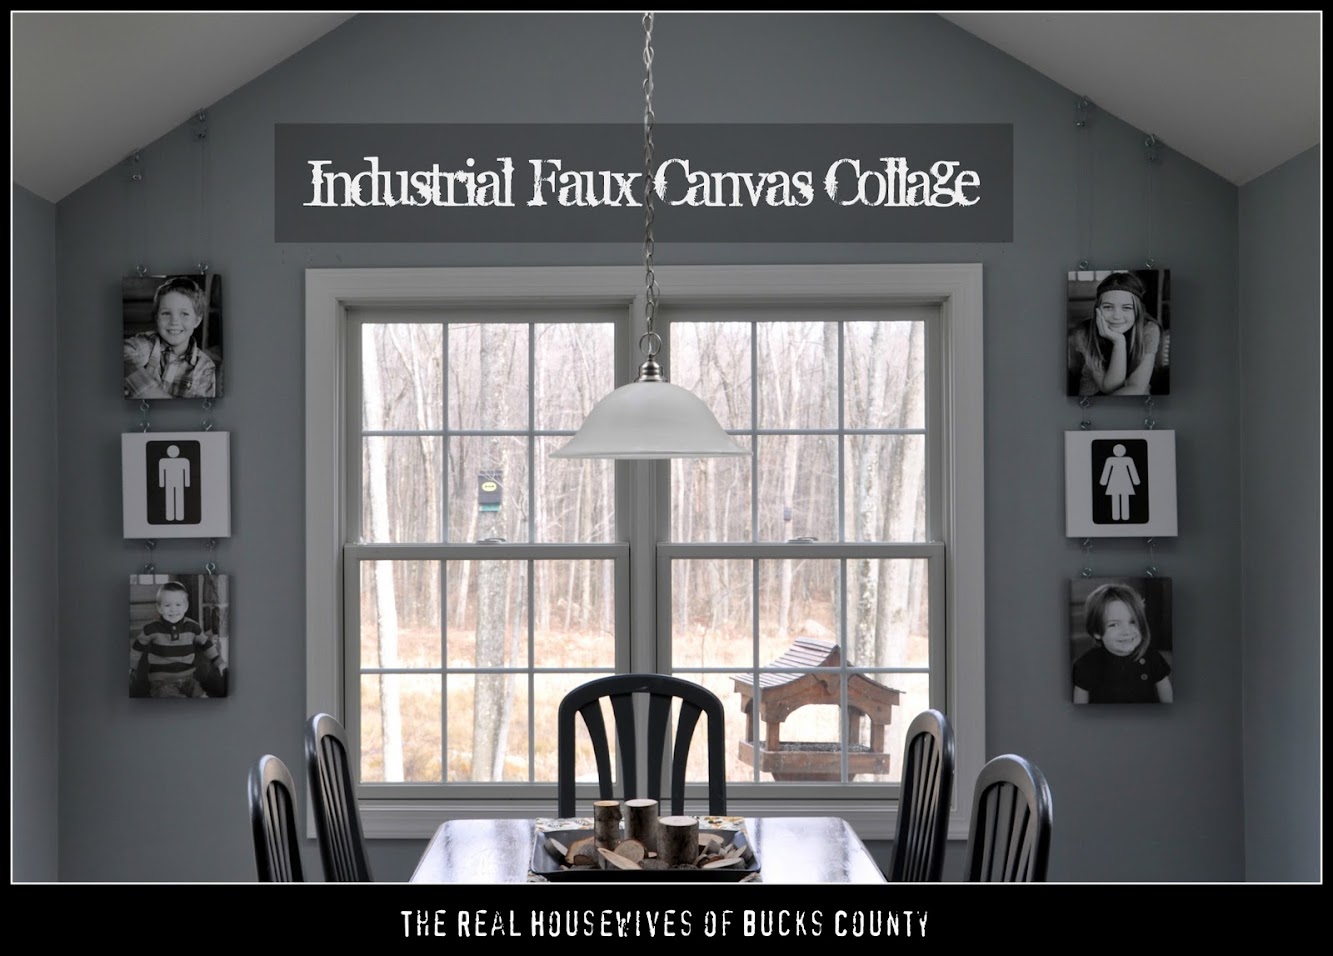
Industrial Faux Canvas Collage
Fabric Thankful Tree Canvas

Canvas for Valentines! {11x11 for only $11}

Wood Slice Christmas Canvas

October Sponsor Love
Nate's 12 Days of Holiday DIYs {Day 3}

Reindeer Artwork {Nate Berkus Blast From the Past}
Creating Custom Artwork

Fab Find Friday {Contact Us- Help a Reader Out}

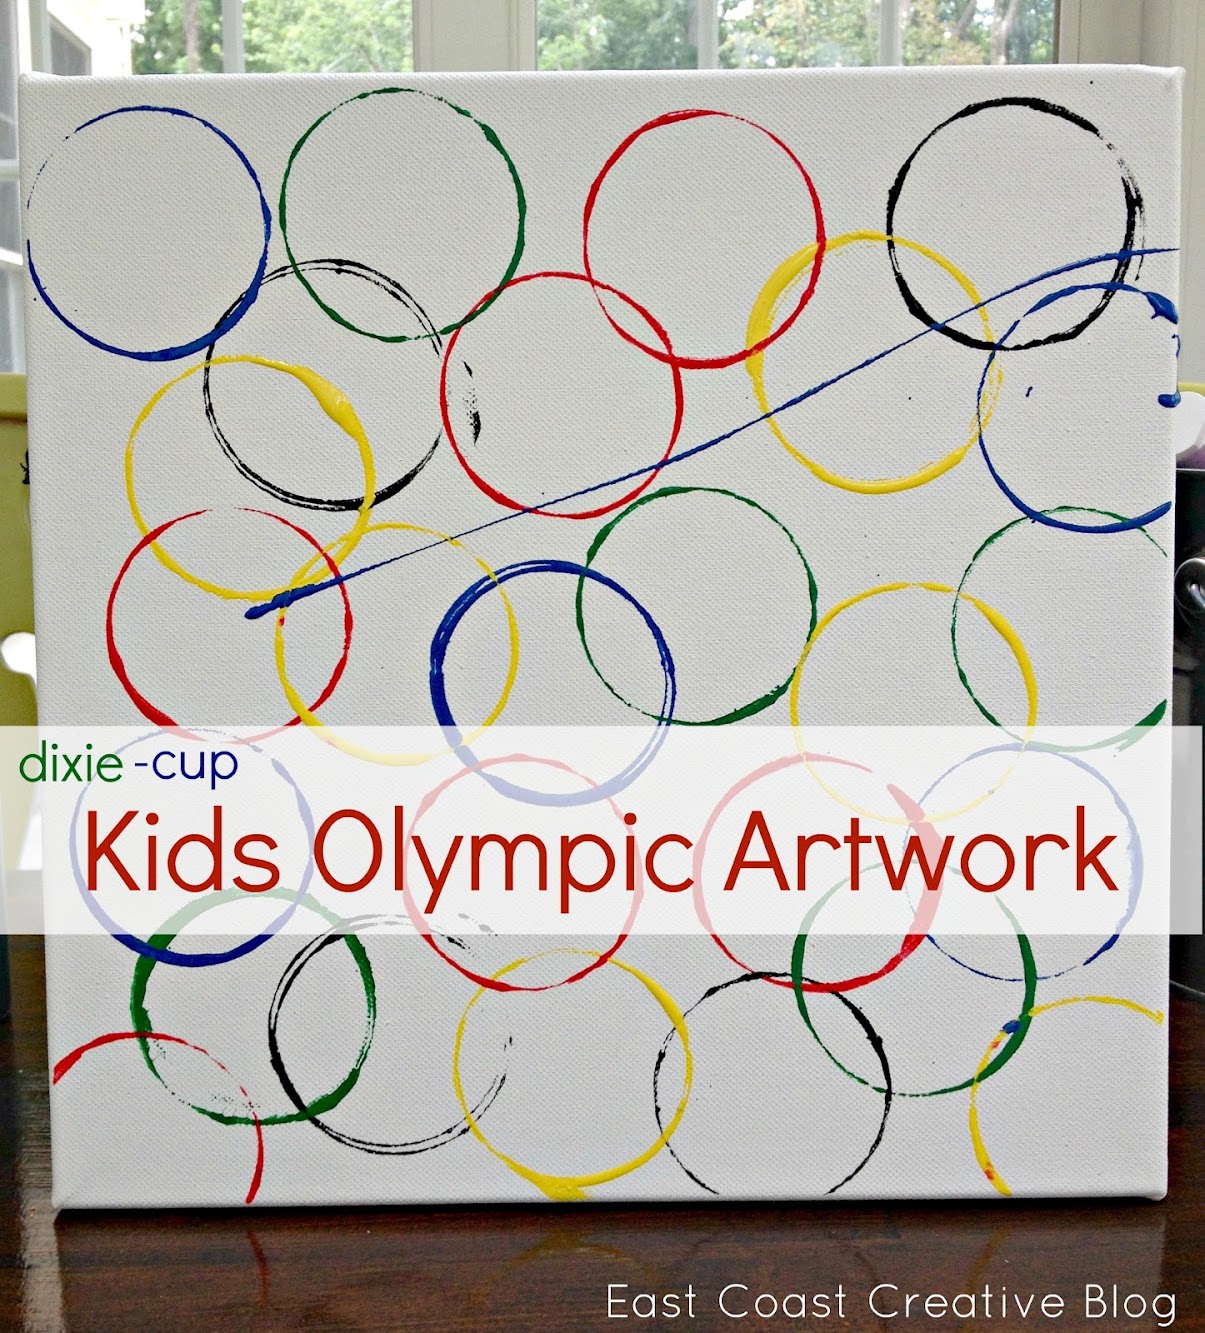
Olympic Crafts for Kids {2012 Olympic Games}
Faux Gallery-Wrapped Canvases {Knock It Off DIY Project}

Drop Cloth Window Treatments {Tutorial}

Spring Things {Spring Mantle Inspiration}

A Favorite

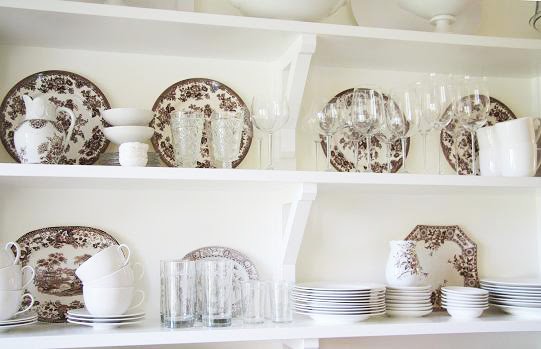
Transfer Ware
Ladies Night Out White Box Challenge: The Details
Grapevine Wreath with a Twist
Travel-Inspired Design {Part 2}

