My Creative Blog [Search results for tutorials]
Garage Mudroom Makeover {For the REAL Family}

Blog Reader Survey Results

DIY Sunroom Makeover {Knock It Off Episode}
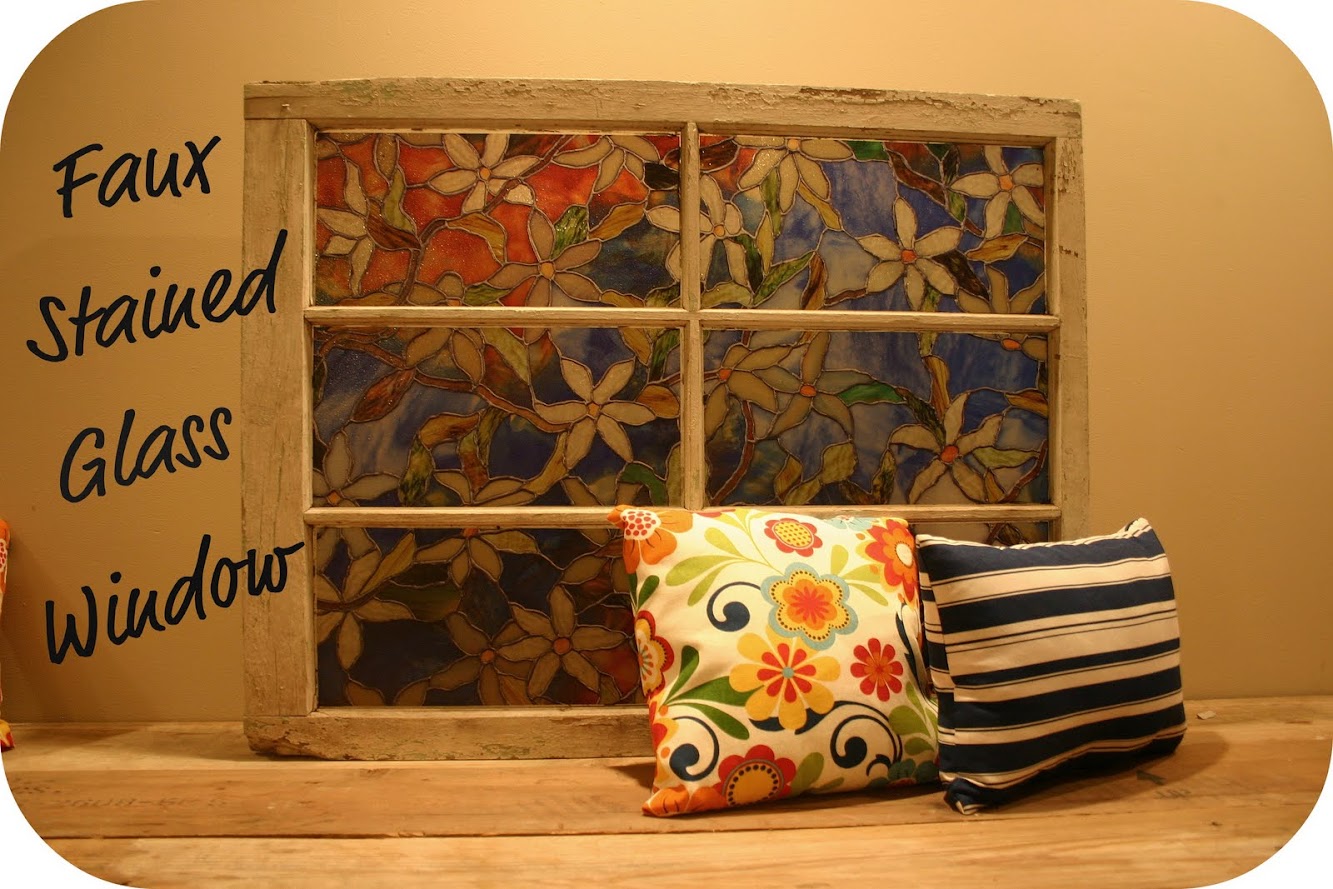
Faux Stained Glass Window {Tutorial}
A Pinteresting Home! {Meet Kelly}
Board & Batten Love

Barnwood Artwork

Custom Painted Runner Rugs {Garage Mudroom Makeover}

Creating with the Stars Round 3 Results!

The Countdown is On! {CWTS 2013}

Fabulous Fabric Wallpaper

Rustic Industrial Bedroom Makeover {Knock It Off}
Painted Kitchen Cabinets {Knock it Off Project}
Dreary to Cheery Family Room Makeover {Knock It Off}

DIY Headboards

DIY Glitter Placemats {Tulip Shimmer}

Temporary Accent Wall with Grass Cloth & Nailheads {Sarah M. Dorsey Designs}

From an Oops! to a Yes!
Antique Doorknob Decor {Being Brook}

We're Baaaack! (Well, we were only kinda gone)