My Creative Blog [Search results for rooms I love]
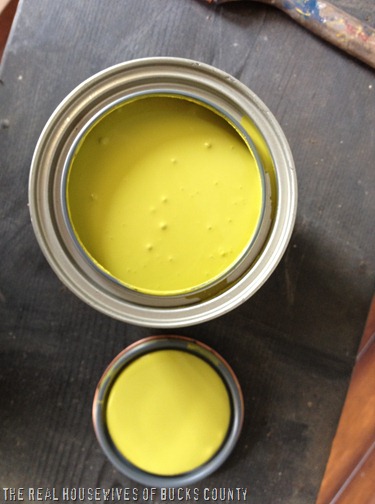
Green Painted Piano {Annie Sloan Chalk Paint}

Right Now… What's going on in our World.
Fancy Mantle (Fall Lovers Series-Day 2}

Creating with the Stars Round 1 Voting

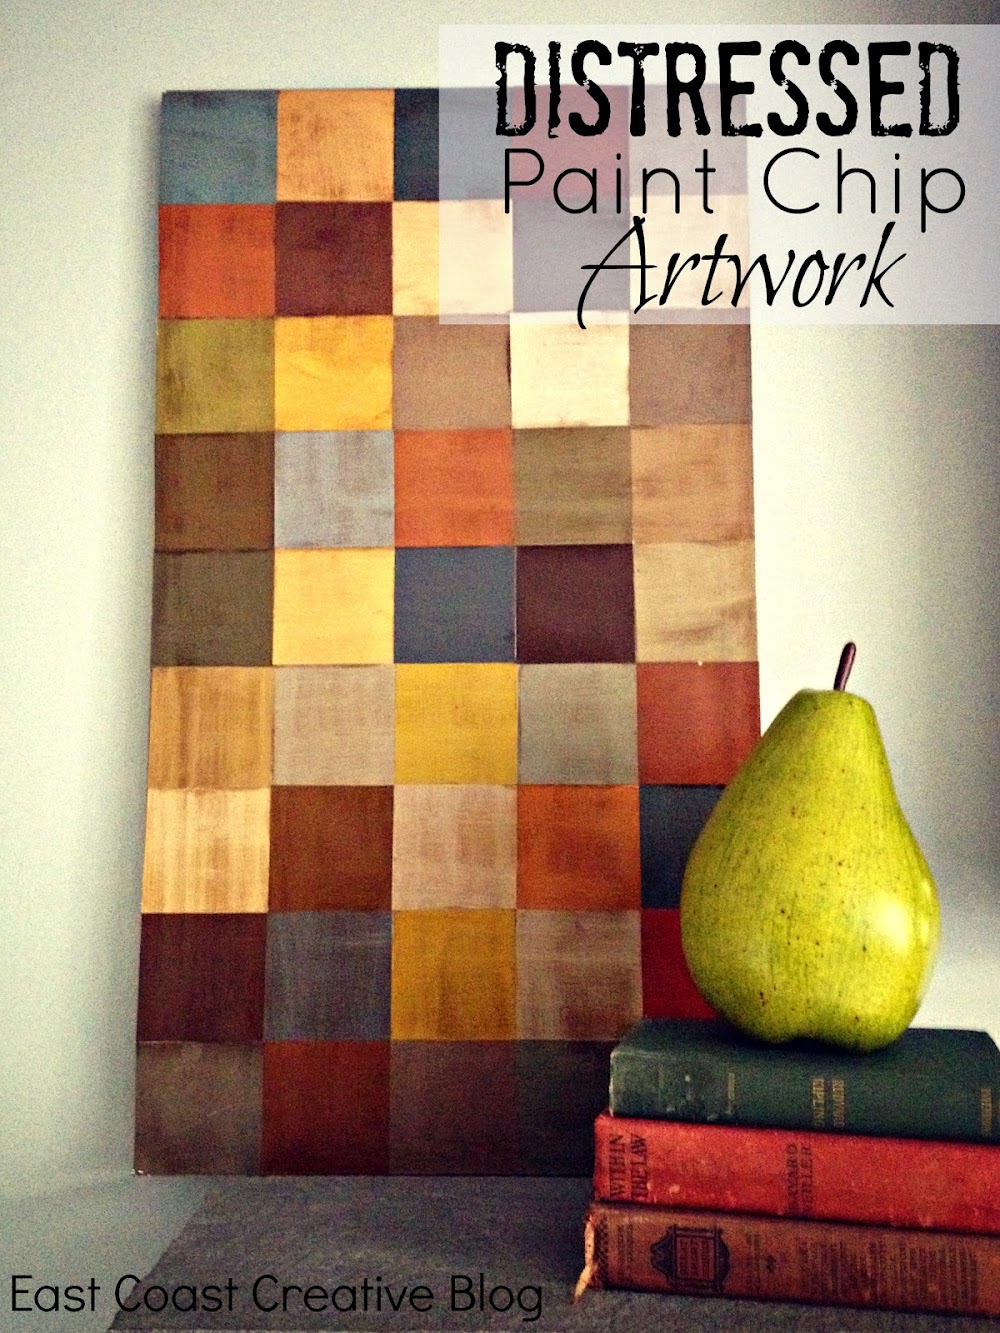
Paint Chip Wall Art
Veranda: Life in Ruins

A Transformation Story {Be Intentional}

EC2 Home Tour — Welcome to My Foyer!
New Orleans Style

12 Free Nursery Printables

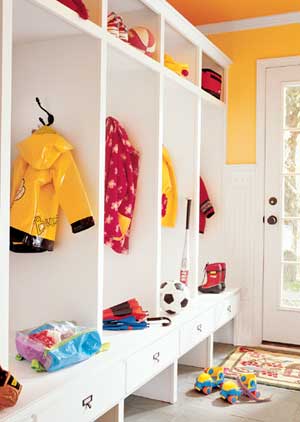
Mudroom Tour
Kids Desk & Craft Area

Our Home Goals for 2013

Nate's 12 Days of Holiday DIYs {Day 7: Great Minds}

The Evolving House {C1's Bedroom}

The Living Room: Before and After

Rugs, Rugs, Rugs

Travel-Inspired Design {Part 2}

Dining Room — After

DIY Pendant Light & Custom Shade

