My Creative Blog [Search results for party]
Party Planning the Mangin Way…

All-American Boy Birthday Party

Favorite Things Party {Free Printable Invitation}

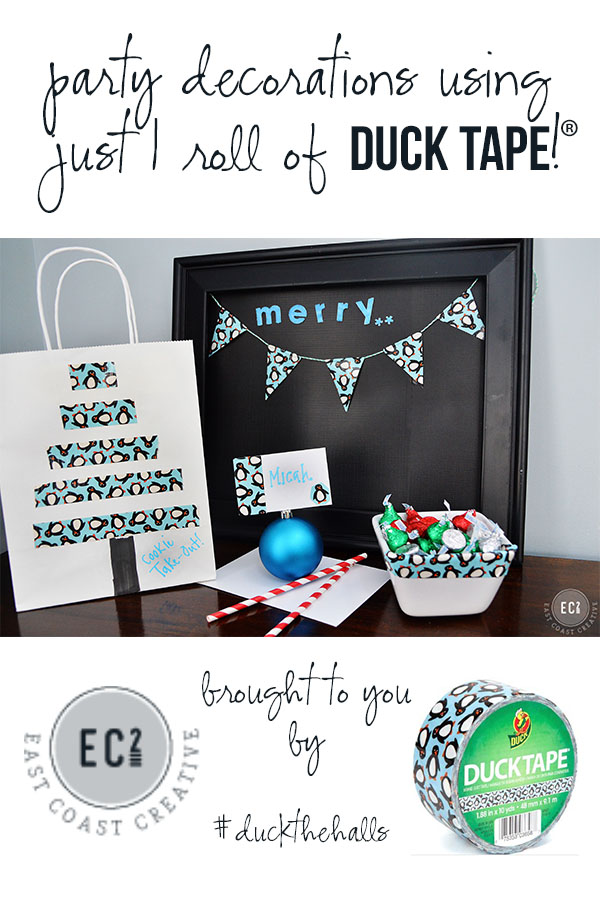
Decorate for a party using just 1 Roll of Duck Brand® Tape: Cookies & Carols
An Angelina Ballerina Birthday Party

Knock It Off Premiere Party Recap!

Host a Cookie Decorating Party with Dollar General

You're Invited! {Knock It Off Premiere}
Something to Celebrate {B2S Day 4}

Christmas Shopping, anyone?

Tangled Birthday Party {And a Great Cause!}

Favorite Things Party Recap

20 Hours and Counting…

Tie Dye Pennant Banner & Sign

The Inspiration Board
Celebrating 40 Years

{Design it Forward}

These are a Few of our Favorite Things {Sponsor Spotlight}

Creating with the Stars: Link Up Winner {Round 2}

Submissions are Open! {Creating with the Stars}


