My Creative Blog [Search results for outdoor DIY]
Stenciled Outdoor Rug

Big Time DIY- Welcome to My Patio Project!

DIY Patio Reveal {It's Finally Here!}

Top Projects 2012

Pallet Possibilities

How to Build an Outdoor Sectional {Knock It Off}

How to Make a Headboard {Shutter Headboard}
Spring is FINALLY here! {The Home Depot Gardening Club}

DIY-FO SHO! {Bench Renovation}
Solar Terrarium Tutorial
Best DIY Projects of 2012

DIY Tiered Planters {With a Little Southwest Flair!}
How to Build a Patio- Update # 4
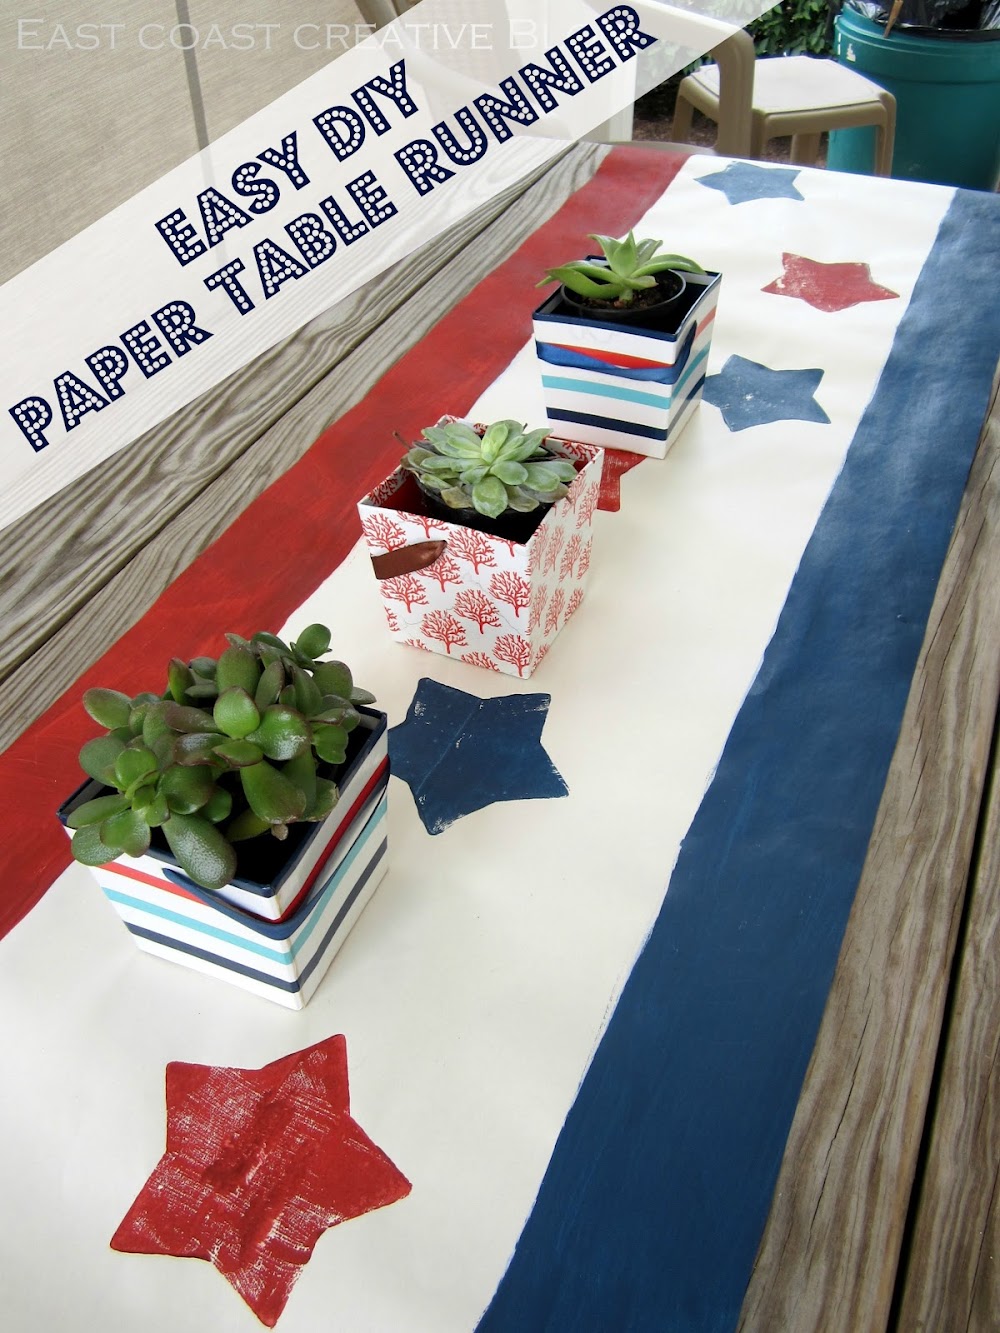
Easy DIY Paper Table Runner
CWTS Updates, Link Up, and some Favs!

Custom Painted Runner Rugs {Garage Mudroom Makeover}

Nate's 12 Days of Holiday DIYs {Day 10 Pillow} & Fab Find

DIY Sunroom Makeover {Knock It Off Episode}
Creating with the Stars Round 1 Voting

Ombre Painted Dresser {Knock It Off DIY Project}

