I'm so excited to introduce you to one of our biggest DIY Projects ever! Over the next weeks we're going to be taking you step-by-step through our DIY Patio Project. I was thrilled when Stone Depot and EP Henry decided to partner with us on this crazy adventure.

So, here's the plan, each week I'll be giving you an update with info and tips on what we've completed. You're going to be amazed at how do-able this DIY really is (just LOTS and LOTS of work- husbands, please don't send me hate mail!) and don't worry, for those of you that definitely don't want to tackle this as a DIY, I'll hook you up with the pros at Stone Depot and they can help you out.
I'm way impulsive, so for a Big-Mama DIY, I needed a plan to keep me focused and doing things in the right order (or I would drive my hubs nuts!)

Step #1- Plan Patio Layout This was honestly very, very tricky. I learned a few things… As I planned, my patio mysteriously got BIGGER and BIGGER and planning is not as easy as I thought it would be. I had a few requirements 1- A large space for a BIG Dining Table (I feel another DIY table coming soon!) and 2- An area for a fire pit and sitting. Here was brainstorm number one… Now, remember I'm NOT an artist or a landscape designer. This looked pretty on paper, but having an opening for stairs off the patio only about 3 feet away from the opening for the walkway was weird.

Brainstorm Number Two looked like this… Still had the weird stairs/walkway combo and I also added a bump out area. Why you ask? Well, I love sitting in the sun! The way the sun crosses our house, that little area would have sun 24-7 (Well, not really, but you get the idea). Eventually I talked myself out of that because it was weird and made me seem a tad vain (enter the Carly Simon music).
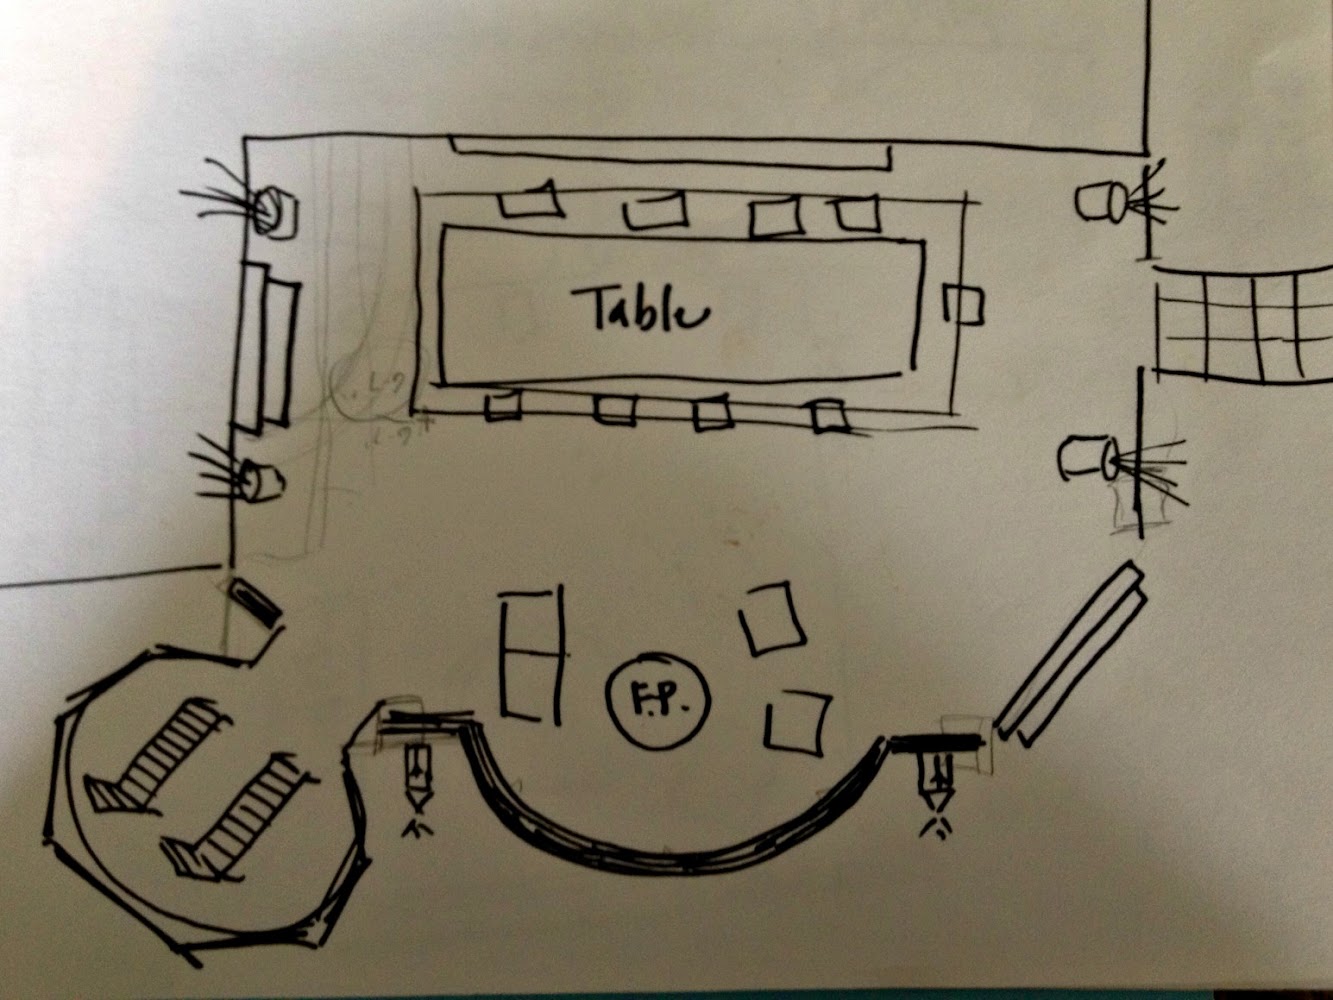
The Final Plan is different than both of our initial ideas, but it's clean, simple, and big enough for all my requirements!

Now, it looks kind of small in these pictures, but it's about 600sq/ft and will be perfect for parties and lots of outdoor fun.
DIY PATIO TIP: Use leftover spray paint to draw out your design on the grass to make sure it's what you really want. I had about 7 colors going on at one point.

Step #2- Choose EP Henry Stone from Stone Depot Once we had our plan, we headed off to Stone Depot in Perkasie. They have a HUGE selection and their guys know their stuff! We were able to walk around outside and see actual patios and samples of each of the different paver options and colors.

Here's what we picked! Bristol Stone in Blue Spruce. I think the color will go really well with our house.

Here's a better picture, but in a different color. We're going to have sitting wall, like this, along the back and we're going to add fun lighting too!

I love how the stone sizes are varied and I like that they're larger than traditional pavers. At our old house we had Old Town Cobble, which is nice, but the Bristol Stone has a more contemporary feel to me.
The next step is measuring and planning outside the house. Here's a picture to give you a general idea. Next week I'll give you all of our tips for the measuring, trust me we learned a thing or two along the way! DIYing with my hubby is a tad different than DIYing with Jess! HA!

So be honest, are we CRAZY for taking on this DIY? Any tips or advice?