My Creative Blog [Search results for old homes]
Creating with the Stars Round 1 Voting

Philadelphia Home Show

100 Abandoned Houses

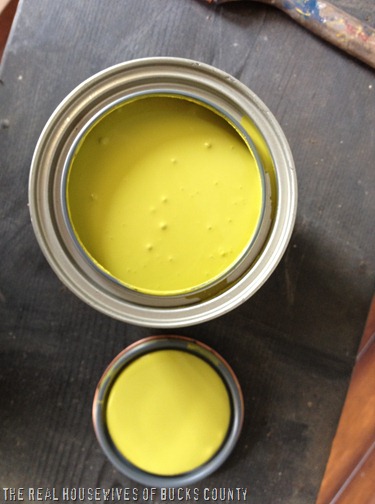
Bucks County Designer House & Gardens

Love is in the Air & a CWTS Update

Back to School Special {Sponsor Spotlight}

Submissions are Open! {Creating with the Stars}

That boy sure is handy!

Behind the Scenes of a Small Business {Lucent Lampworks}

Creating with the Stars Round 4 Voting {The Final Round!}

Creating with the Stars Round 1 Winners Announced!
EC2 Home Tour — Welcome to My Foyer!
CWTS Round 1 Link Party
Travel-Inspired Design {Part 2}

Todays news
Wood Shim Wall Art {Tutorial}

Hello World

The Bench

Does anybody else love Coordinates?

Living With What You Love

