My Creative Blog [Search results for in my house]
Jewelry Organizer {The Ugly Duckling House)

Curb Appeal

Top Projects 2012

Welcome {to my New & Improved Entryway!}

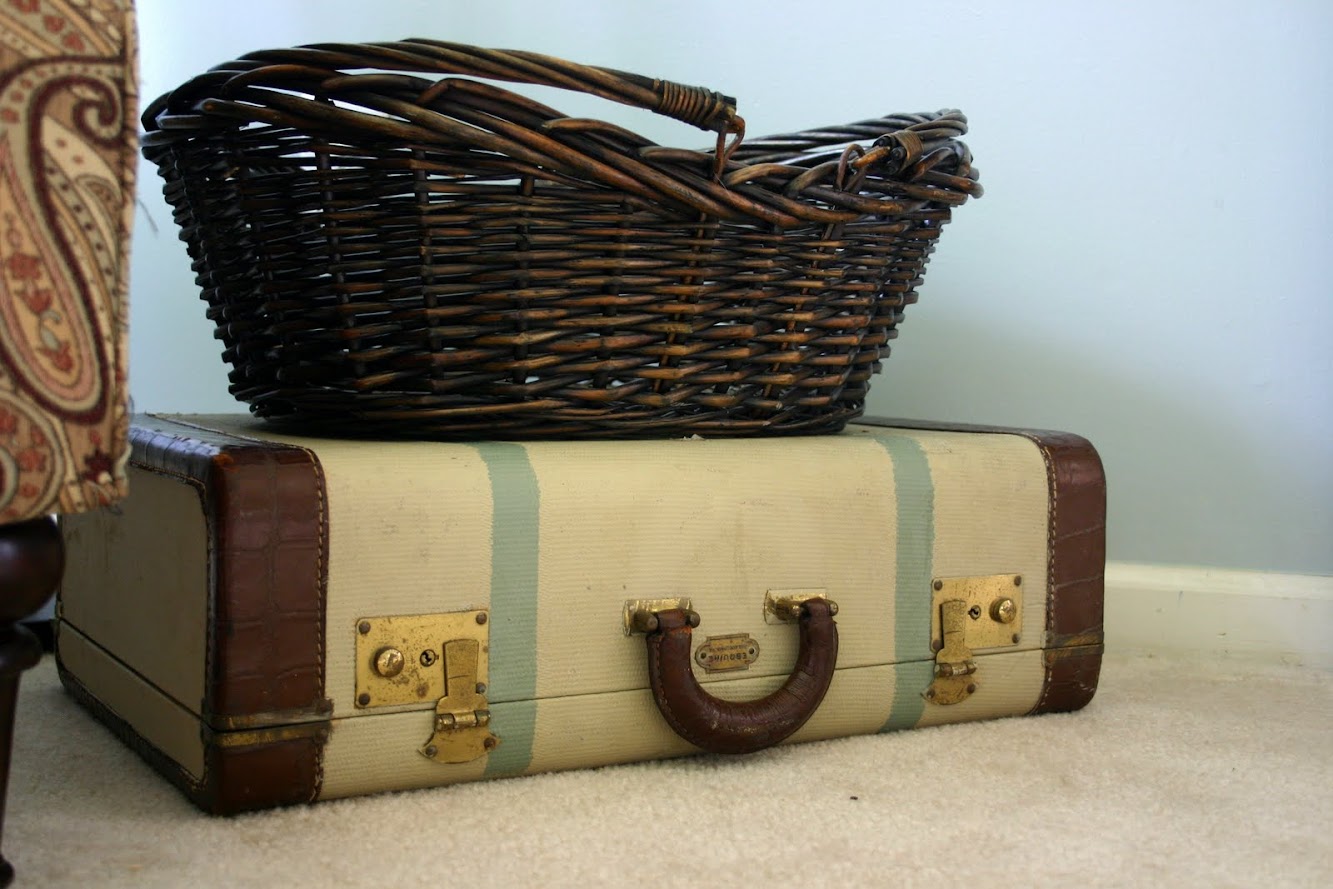
Travel-Inspired Design {Part 1}

A Garden Wall

Kitchen Renovation: Part 1, Ideas
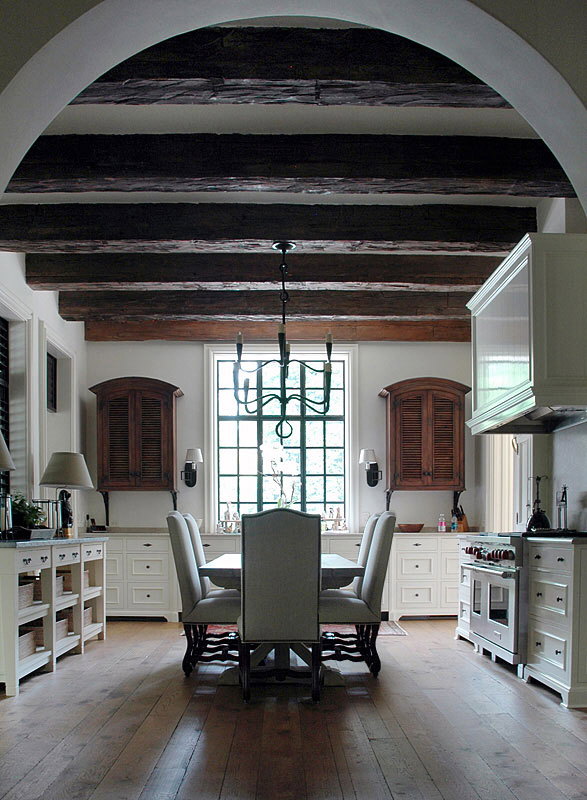
House Snooping {Oxford, Maryland Vacation}

I-Can't-Believe-This! Finds
Creating with the Stars Round 1 Voting

Fab Find Friday {What We're Crushing on!}

Going Full Circle

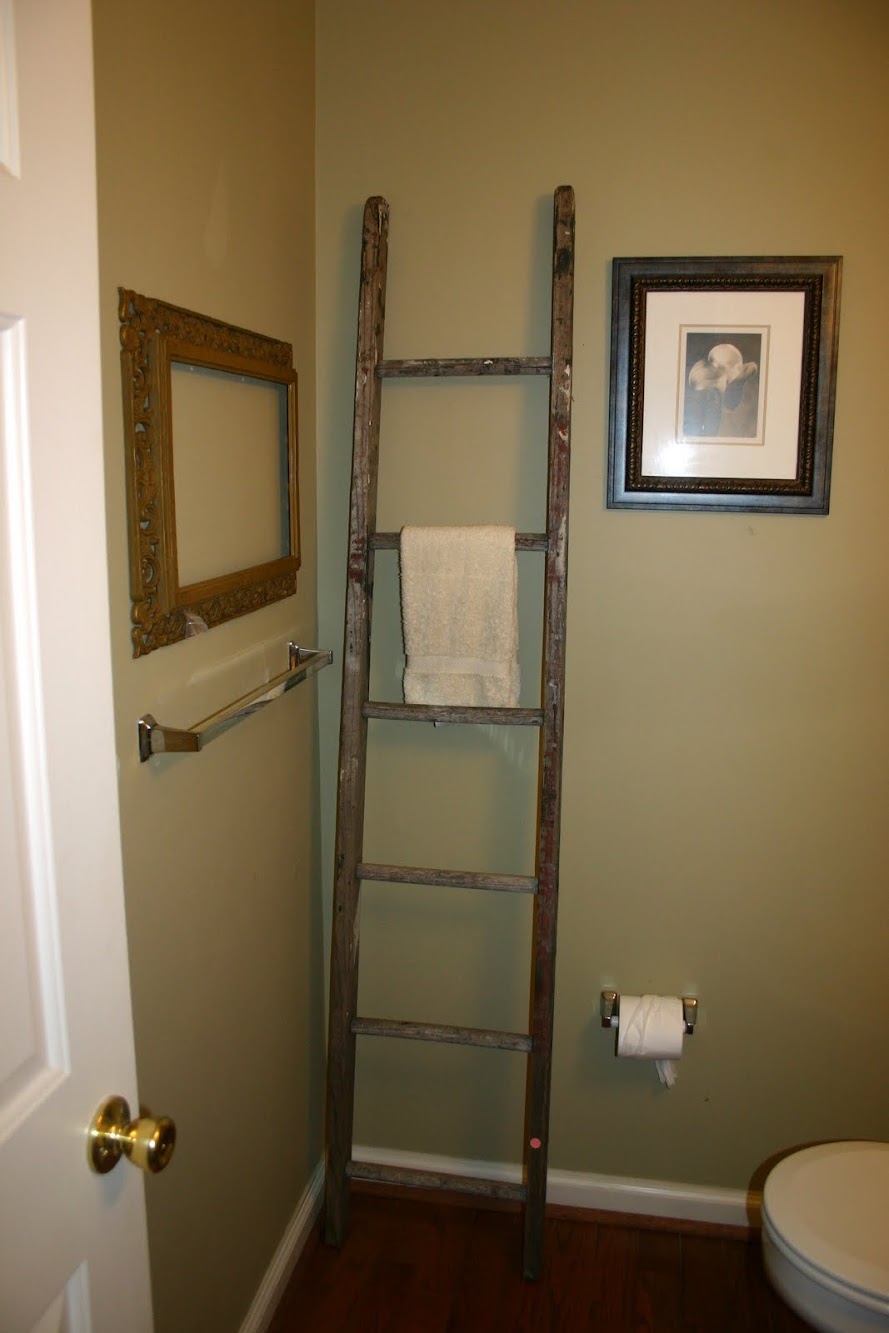
Moving Right Along {Bathroom Redesign}
The Evolving House {C1's Bedroom}

Our Closet

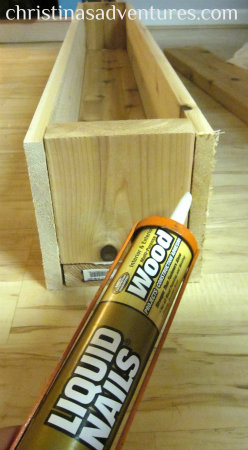
DIY Decorative Flower Trough {Christina's Adventures}
Blog Award & Thank you...

My Go-To Meal {Entertaining Part 2}

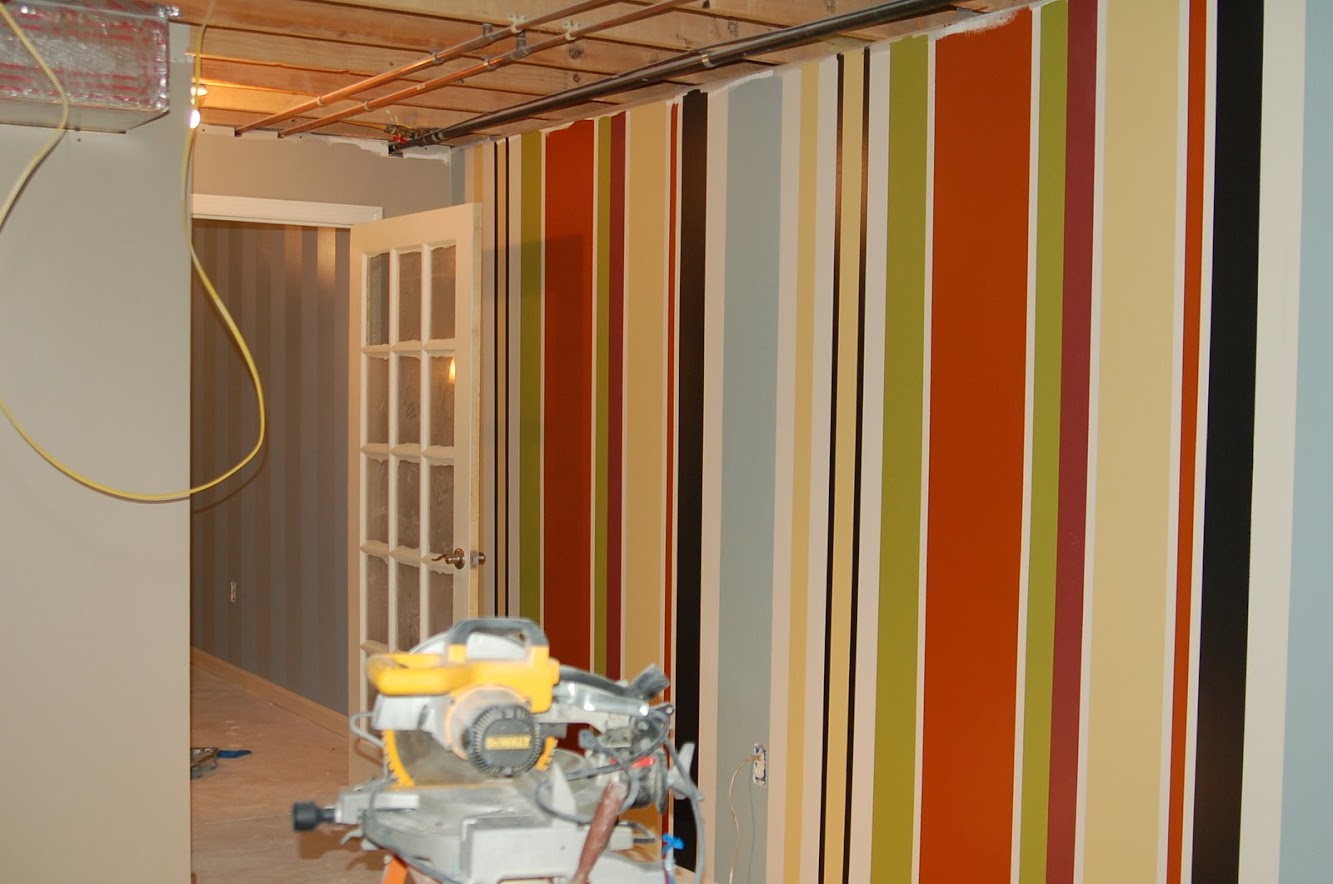
Journey to the Perfect Stripe
New Orleans Style